Publish a zine
Create and publish a simple zine using drawings, short writing, collage, and photocopies; design pages, assemble, and share copies with friends.


Step-by-step guide to publish a zine
How To Make A Zine! | Tate Kids
Step 1
Choose a theme for your zine like pets space jokes recipes or short stories.
Step 2
Gather all the materials listed and put them on a clean workspace.
Step 3
Decide how many pages your zine will have.
Step 4
Write one short idea for each page on a scrap sheet in the order you want them.
Step 5
Draw pictures for each page using your pencil.
Step 6
Add short captions or tiny stories to each page with your pencil or coloring materials.
Step 7
Cut out pictures or words from magazines and glue the best pieces onto your pages for collage.
Step 8
Create and decorate a cover page that shows your zine title and a fun drawing.
Step 9
Arrange all pages in the order you planned with the cover on top.
Step 10
Fold the stacked pages in half along the middle to make your zine shape.
Step 11
Trim any uneven edges with scissors so the pages line up neatly.
Step 12
Bind the folded zine by stapling or taping along the spine to hold pages together.
Step 13
Make photocopies of your finished zine so you have extra copies to give away.
Step 14
Share your finished zine on DIY.org.
Help!?
What can we use instead of a stapler if we can't bind the zine?
If you don't have a stapler, bind the folded zine by sewing along the spine with a needle and thread, using a hole punch and tying yarn, or firmly taping the spine with strong tape as the instructions suggest.
My pages don't fold evenly—how do I fix alignment and trimming?
After you fold the stacked pages in half, press the zine under a heavy book to flatten, mark a straight edge with a ruler, then trim any uneven edges with sharp scissors or a craft knife before binding.
How can I adapt this zine project for younger kids or older kids?
For younger children, simplify by making fewer pages, using stickers and pre-cut magazine pictures for collage while an adult handles folding and stapling, and for older kids add more pages with short stories or recipes, detailed drawings, and make photocopies to distribute.
How can we make the zine more unique or publish-worthy?
Personalize and enhance your zine by creating a bold cover page with layered magazine cutouts, adding hand-lettered captions and a small table of contents, then make clean photocopies after trimming and include an author note before sharing on DIY.org.
Watch videos on how to publish a zine
The History of Zines with Kate Bingaman-Burt
4 Videos

The History of Zines with Kate Bingaman-Burt
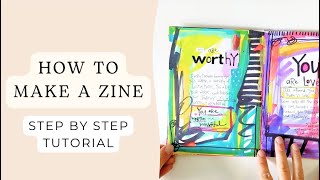
Zine Tutorial: How to Make a Colorful and Inspirational Zine, Easy DIY Booklet | Mixed Media Collage
Let's Talk About Zines and Why You Should Make One
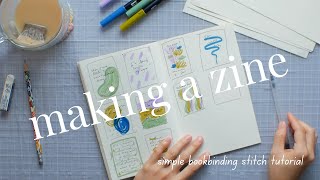
MAKING A ZINE ✦ sew your own zine without staples, easy bookbinding stitch tutorial
Facts about zine-making for kids
📚 The word “zine” is a shortened form of “magazine” and grew from fan-made “fanzines” — tiny homemade magazines!
✂️ The word “collage” comes from the French for “glue” (coller) — artists like Picasso used glued bits to create new textures and pictures.
🖨️ Xerography, invented by Chester Carlson in 1938, led to photocopiers that let zine-makers quickly produce many copies.
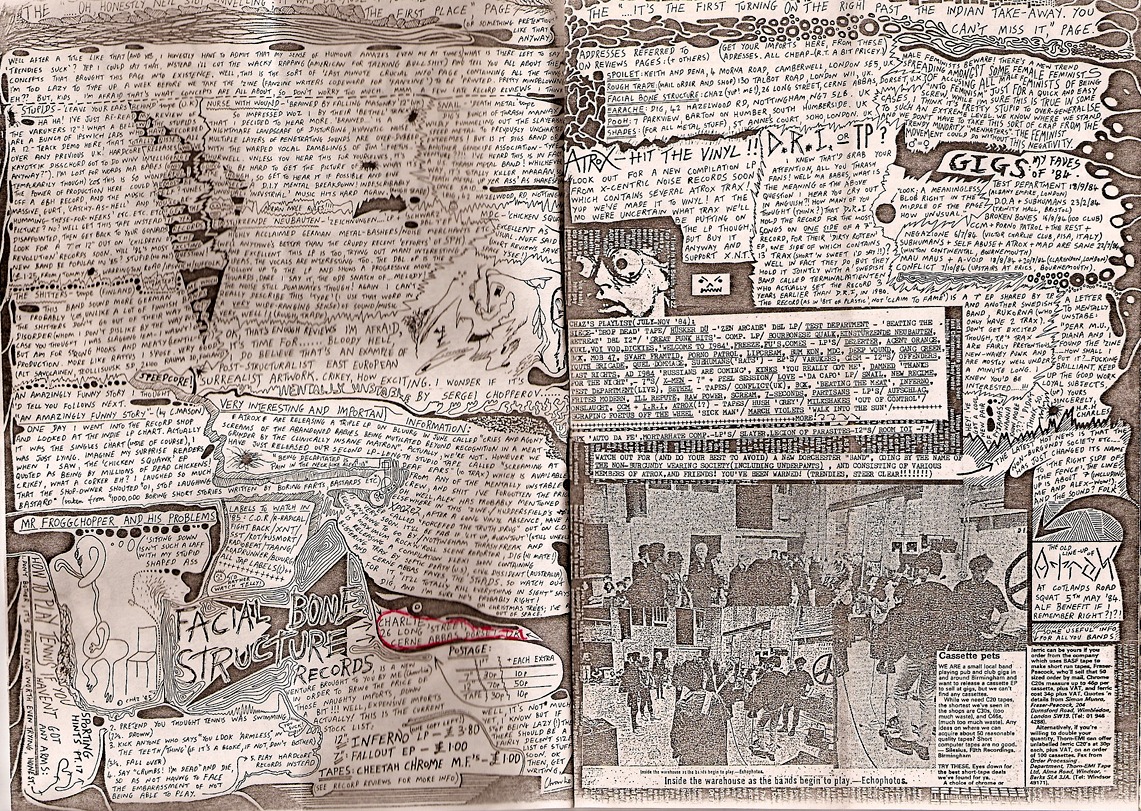
🎸 Punk and indie music scenes in the 1970s used fanzines to share reviews, art, and show flyers — fueling DIY culture.
🤝 Zine fairs and swaps happen all over the world, where creators trade, sell, and celebrate homemade mini-magazines.
How do you create and publish a simple zine with a child?
What materials are needed to make a child-friendly zine?
What ages are suitable for making and publishing a zine?
What are the benefits and safety tips for children making zines?
