Explain fossilization
Make fossil imprints using salt dough and leaves or shells, observe layers and explain how organisms become fossils over long periods.


Step-by-step guide to make salt dough fossil imprints
How Do Fossils Form? The Incredible Process of Fossilization Explained!
Step 1
Wash your hands and clear a clean flat workspace to keep your project tidy.
Step 2
Measure 2 cups of all-purpose flour and 1 cup of table salt into the mixing bowl.
Step 3
Pour 1 cup of water slowly into the bowl.
Step 4
Stir the mixture with the spoon until it starts to come together into wet dough.
Step 5
Knead the dough with your hands for about 3 to 5 minutes until it is smooth and not sticky.
Step 6
Use the rolling pin or bottle to roll the dough into a flat slab about 1/2 inch thick.
Step 7
Press a leaf or a shell firmly into the dough to make a clear imprint.
Step 8
Gently lift the leaf or shell straight up to reveal the fossil imprint in the dough.
Step 9
Place a thin sheet of dough over the imprint to simulate sediment burying the organism.
Step 10
Smooth the edges where the two dough layers meet so the imprint is sealed between layers.
Step 11
With an adult, put your slab on a baking tray and bake in the oven at 200°F (95°C) for about 2 hours.
Step 12
Let the baked slab cool and then look closely and write or say one sentence that explains how layers and pressure over a long time can turn buried remains into fossils.
Step 13
Take a photo of your fossil imprint and share your finished creation on DIY.org.
Help!?
What can we use if we don't have all-purpose flour, table salt, or an oven?
If you don't have 2 cups all-purpose flour and 1 cup table salt or want to avoid baking, use store-bought air-dry clay or non-toxic playdough and skip the 200°F oven step, or buy self-hardening salt dough and follow its drying instructions.
My imprint is faint or the slab cracks in the oven—how can I fix that?
If the imprint is faint, press the leaf or shell more firmly into the 1/2-inch slab and if the dough is too sticky knead in a little extra flour (or a few drops of water if too dry) and be sure to smooth the edges where the two dough layers meet before baking at 200°F for about 2 hours to reduce cracking.
How can I change the activity for different ages?
For preschoolers, have an adult prepare and roll the dough and let them press leaves into the slab and take the photo, while older kids can measure 2 cups flour/1 cup salt, knead 3–5 minutes, bake at 200°F, and write the explanatory sentence about layers and pressure themselves.
How can we extend or personalize the fossil project?
To extend the activity, tint separate portions of the dough to make colored sediment layers before placing the thin sheet over the imprint, add different shells or small fossils, label each layer with notes about pressure/age, paint the cooled slab, and then photograph it to share on DIY.org.
Watch videos on how to make salt dough fossil imprints
How Do Fossils Form? | The Complete Guide to Fossilization and Evolution
4 Videos
How Do Fossils Form? | The Complete Guide to Fossilization and Evolution
How Do Fossils Form? A Paleobotanist Explains the Secret to Fossilization

Fossils | What are Fossils & How are they made?
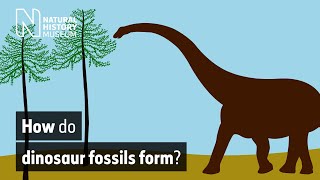
How do dinosaur fossils form? | Natural History Museum
Facts about fossil formation
🦴 Some fossils are super old — the earliest known fossils are around 3.5 billion years old!
🌿 Leaf and plant prints often become "impression fossils" that preserve the shape and veins of leaves.
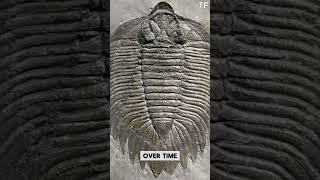
🐚 Hard parts like shells and bones fossilize more easily because minerals can replace or fill them.
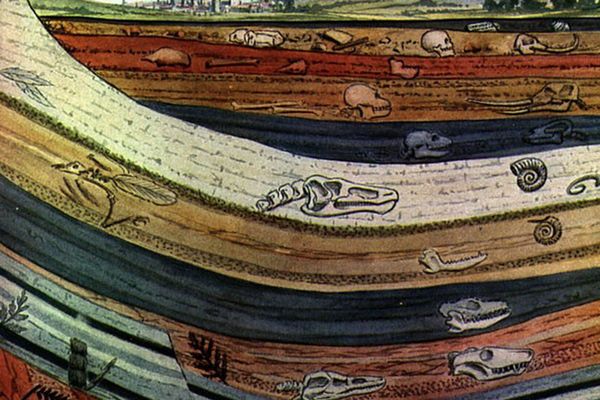
⏳ Fossilization usually takes thousands to millions of years as layers of sediment slowly bury remains.
🧭 Mary Anning was a pioneering fossil hunter in the early 1800s who discovered important marine reptile fossils.
How do I make fossil imprints with salt dough and leaves or shells?
What materials do I need to make salt dough fossils and observe layers?
What ages is making salt dough fossil imprints suitable for?
What are the benefits and safety tips for a salt dough fossil activity?
