Build a parachute capsule
Build a small parachute capsule using lightweight materials, test drops from safe heights, and learn about air resistance and design improvements.


Step-by-step guide to build a parachute capsule
Parachute | DIY | School project | science project | STEM activity
Step 1
Lay all materials on a table where you can reach them easily.
Step 2
Use the ruler and marker to measure and mark a circle about 30 cm across on the plastic bag or fabric.
Step 3
Cut along the marked circle to make the parachute canopy.
Step 4
Cut four equal lengths of string about 40 cm long each.
Step 5
Tape one end of each string evenly around the edge of the canopy at four points 90 degrees apart.
Step 6
Tie the loose ends of the four strings together in a single knot so they form a sling.
Step 7
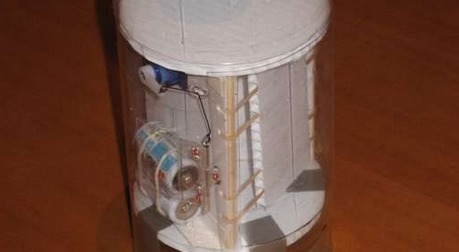
Tape the knot or sling securely to the rim of the paper cup so the cup hangs upright.
Step 8
Place a small weight like a coin into the cup if you want a heavier payload.
Step 9
Hold the parachute by the canopy top and drop it from a safe low height while an adult watches.
Step 10
Watch how fast the parachute falls and whether it floats straight or spins.
Step 11
Change one design thing to try to improve the fall such as changing canopy size adding small slits or adjusting the weight and then test again.
Step 12
Share your finished parachute capsule and what you learned on DIY.org
Help!?
What can we use if we don't have a plastic bag, string, tape, or a paper cup?
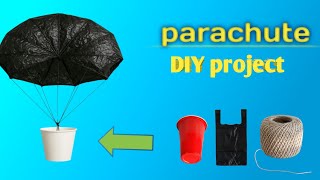
If you don't have a plastic bag or fabric to cut the 30 cm canopy, use a clean trash bag or lightweight scarf, replace the four 40 cm strings with yarn or thin ribbon, use glue or stapler instead of tape, and swap the paper cup for a small yogurt pot while using a pebble or washer as payload.
Why does my parachute spin or the cup tilt when I drop it, and how can I fix it?
If the parachute spins or tilts and falls too fast, make sure the four 40 cm strings are truly equal and taped evenly 90 degrees apart around the 30 cm canopy, retie the knot so the sling centers the cup, and adjust weight or add small slits to rebalance the descent.
How can we adapt this parachute activity for younger children or older kids?
For younger children, pre-cut the 30 cm canopy and four 40 cm strings and let them tape and drop the cup, while older kids can measure fall times, test different canopy sizes and slit patterns, and record whether the parachute floats straight or spins.
What are some creative ways to improve or personalize our parachute capsule after the first test?
Personalize the 30 cm canopy with markers or stickers, try changing canopy size or adding patterned slits and adjusting coin weight to find the slowest, straightest fall, and then share your experiments and results on DIY.org.
Watch videos on how to build a parachute capsule
Easy Parachute Science Project - Science for Kids
4 Videos
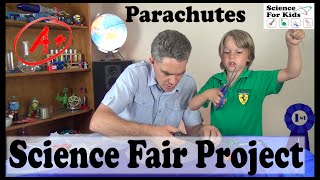
Easy Parachute Science Project - Science for Kids
"Easy Science Project: Build Your Own Parachute at Home!"

DIY Parachute Science Experiment | Easy At-home Experiment for Kids
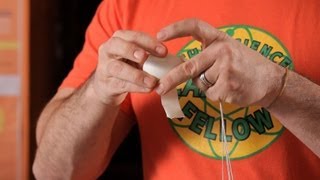
How to Make a Parachute | Science Projects
Facts about aerodynamics and air resistance
🪂 Parachutes slow descent by creating air resistance — a skydiver can go from 200+ km/h to about 5 m/s under a canopy.
🧵 Early parachutes were made from silk; modern parachutes usually use nylon because it's strong, light, and tear-resistant.
⚖️ Heavier capsules need much larger parachutes to land gently — adding weight often means a much bigger canopy.
🎯 Shape matters: round parachutes are very stable, while rectangular/square (ram-air) shapes can glide and steer.
🧪 Tiny design changes (string length, knot placement, canopy holes) can make big differences — testing and iterating is how engineers improve designs.
How do I build a small parachute capsule to test air resistance with my child?
What materials do I need to make a kid-friendly parachute capsule?
What ages is building a parachute capsule suitable for?
What safety tips and fun variations can we try with parachute capsule tests?
