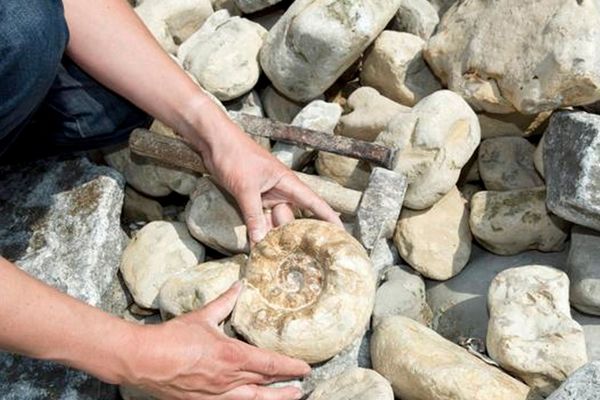
Dig for fossils
Dig for and uncover replica fossils in a sandbox excavation, learn to identify, clean, and record finds while exploring paleontology basics safely.


Step-by-step guide to dig for fossils
Fossils for Kids | Learn all about how fossils are formed, the types of fossils and more!
Step 1
Fill the sandbox or large container with play sand so you have a dig site to explore.
Step 2
Bury the replica fossils in different spots and at different depths so some are easy and some are tricky to find.
Step 3
Lay sticks or string on the sand to make a simple grid to map your dig squares.
Step 4
Choose one grid square and use the small trowel or spoon to dig gently in that square.
Step 5
Use the soft paintbrush to brush away loose sand and reveal any hidden shapes.
Step 6
Lift any uncovered fossil piece out carefully and place it on the tray or bowl to keep it safe.
Step 7
Look closely at the fossil with a magnifying glass to notice bumps lines and textures.
Step 8
Draw the fossil in your notebook and write the grid square and date next to your sketch.
Step 9
Hold the fossil over the tray and use a soft toothbrush dipped in a little water from the cup to brush away dirt gently.
Step 10
Ask an adult to help you compare your cleaned fossil to pictures in a book or online to identify it.
Step 11
Write the fossil’s name and one cool fact you learned about it in your notebook.
Step 12
Share a photo or description of your fossil hunt and what you discovered on DIY.org
Help!?
What can we use if we don't have play sand or replica fossils?
If you don't have play sand, fill the container with clean topsoil, rice, or kinetic sand, and substitute replica fossils with small plastic dinosaurs, shells, or painted rocks to bury in step 2.
What should we do if fossils keep breaking or getting missed while digging?
When digging in the chosen grid square (step 4), loosen sand gently with the spoon or trowel, use the soft paintbrush from step 5 to reveal shapes instead of scraping, and lift pieces slowly onto the tray to avoid damage.
How can we adapt the dig for different ages?
For younger children, bury larger items just under the surface and let them spoon and brush in one grid square with adult help, while older kids can make smaller grid squares, hide fossils at varying depths, and complete detailed sketches and identifications in the notebook per steps 7–11.
How can we make the activity more fun or educational after the dig?
Turn your findings into a mini 'museum' by labeling fossils with their grid square and date from step 8, creating info cards with the fossil name and fact from step 11, photographing them for the DIY.org post in step 12, and arranging them on a tray for display.
Watch videos on how to dig for fossils
The basics of fossils for KS1 & KS2
4 Videos

The basics of fossils for KS1 & KS2
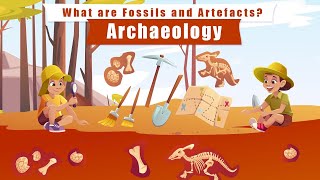
Archaeology for Kids | Learn All About Fossils and Artefacts | PIEX Education
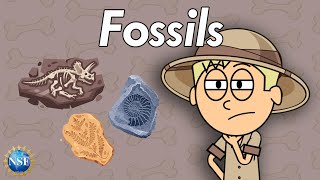
What are Fossils? Science For Kids
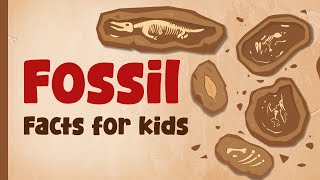
Fossil Facts for Kids | Digging into the Past: The Fascinating World of Fossils!
Facts about paleontology for kids
🦴 Fossils can be millions of years old — some formed when minerals slowly replaced bone or wood and turned them to stone.
⛏️ Real paleontologists often use tiny tools like brushes, dental picks, and toothpicks to gently uncover fossils — not big hammers!
🧼 Cleaning a fossil takes patience: soft brushes, water, and careful scraping are common — haste can damage a specimen.
📋 Where a fossil is found (and how it sits in the rock) helps scientists figure out its age and the ancient environment it lived in.
📏 Measuring, drawing, and photographing finds are important — field notes let scientists (and kid-explorers) share discoveries accurately.
How do I set up and run a backyard fossil dig activity?
What materials and tools do I need for a sandbox fossil excavation?
What ages is a fossil dig activity suitable for and how should I adapt it?
What safety tips and benefits should I know for a kid-friendly fossil dig?
