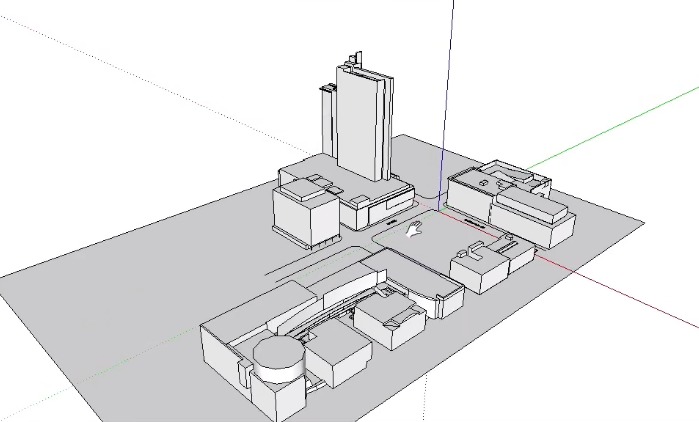
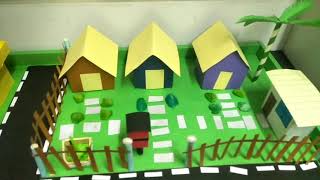
Model a 3d city
Build a 3D model of a city using cardboard, paper, glue, and markers; design streets, buildings, and parks while learning scale and planning.

Step-by-step guide to build a 3D city model
3D Shapes City Model | Creative Geometry Project for Kids
Step 1
Pick a flat piece of cardboard to be your city base and place it on a clear table.
Step 2
Decide a simple scale for your city like 1 cm equals 1 house and say it out loud.
Step 3
Use your pencil and ruler to lightly draw a rough map of streets parks and building blocks on the base.
Step 4
Draw straight street lines on your map using the ruler so the roads follow the scale you chose.
Step 5
Measure and mark rectangles and squares on scrap cardboard for different building sizes using your ruler and pencil.
Step 6
Cut out the building shapes from the cardboard with scissors while an adult watches.
Step 7
Fold or glue the cut pieces into boxes or towers to make 3D buildings and let the glue set.
Step 8
Cut small paper pieces to make roofs doors and windows and glue them onto the buildings.
Step 9
Colour and decorate each building with markers or crayons to give them unique looks.
Step 10
Cut green paper shapes and make simple trees and grass patches to create parks.
Step 11
Glue your buildings parks and trees onto the cardboard base following your street map.
Step 12
Draw road markings crosswalks and small details on the streets with a marker.
Step 13
Make tiny paper cars and people and place them on the streets and sidewalks.
Step 14
Check every piece is glued down securely and tidy any loose edges with tape.
Step 15
Share your finished 3D city on DIY.org so others can see your design and planning skills.
Help!?
What can we use if we don't have a large cardboard base, scrap cardboard, or white glue?
Use a flattened cereal box or poster board as the city base, cut buildings from empty food boxes or cardstock, and replace white glue with a glue stick or double-sided tape when you 'fold or glue the cut pieces into boxes' and 'glue your buildings, parks and trees onto the cardboard base'.
My buildings keep falling apart or the glue isn't holding — what should I try?
When you 'fold or glue the cut pieces into boxes' and 'let the glue set', add small folded glue tabs, reinforce seams and any loose edges with clear tape, and press glued pieces under a heavy book until dry while an adult helps with cutting in the 'cut out the building shapes' step.
How can I adapt this 3D city activity for different age groups?
For younger children, simplify the 'decide a simple scale' and 'measure and mark rectangles' steps by using larger pre-cut boxes and stickers for doors and windows, while older kids can keep precise scale measurements, use a ruler for exact building sizes, paint details, and add tiny paper furniture or LED lights with adult supervision.
What are some ways to extend or personalize the finished city?
After you 'glue your buildings, parks and trees onto the cardboard base', personalize it by adding labeled street signs, movable paper cars on brads, a scale key on the base, translucent paper for water features, or photograph and share your city on DIY.org as suggested.
Watch videos on how to build a 3D city model
Smart City 3D Model Project step by step making || Diy || School project 2025
4 Videos
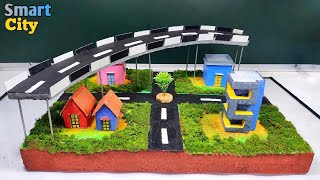
Smart City 3D Model Project step by step making || Diy || School project 2025
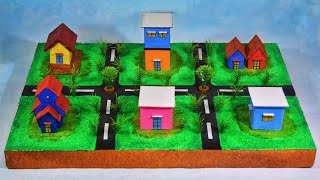
How to Make Smart City 3D Model School Science Project
how to make 3d model/ sustainable city 3D Model for school kids
Turn any City into a 3D Model in Seconds - FREE!
Facts about scale modeling and urban planning for kids
🏙️ Miniatur Wunderland in Hamburg is the world's largest model railway and miniature city — people spend hours exploring its tiny streets.
📏 Architects and model-makers often use scales like 1:500 or 1:1000 to turn real cities into pocket-sized models.
📦 Cardboard is lightweight, easy to cut and glue, and is one of the most recycled materials — perfect for building models at home.
🌳 Adding parks to a city model is realistic: real urban trees and parks can cool nearby air by several degrees and attract wildlife.
🗺️ Many famous cities (like Manhattan) use a grid street layout, which makes designing streets for a model neat and simple.
How do I build a 3D city model with my child?
What materials do I need to make a 3D cardboard city model?
What ages is the 3D city model activity suitable for?
What are the benefits and safety tips for making a 3D city model?
