Build a public parklet
Design and build a small model public parklet using cardboard, mini-plants, seating, and decorations; plan layout, measure, and present ideas to others.


Step-by-step guide to build a public parklet
Easy DIY Playhouse Ideas For Your Kids
Step 1
Spread your materials out on a flat table so everything is easy to reach.
Step 2
Pick how big you want your parklet to be by choosing a length and a width.
Step 3
Measure and mark the rectangle footprint of your parklet on the cardboard using the ruler and pencil.
Step 4
Cut out the cardboard base along your marks using safety scissors or ask an adult to use the craft knife.
Step 5
Draw where you want benches planters and a path on the base so you can see the layout.
Step 6
Measure and cut small pieces of cardboard or popsicle sticks to make benches and planter boxes.
Step 7
Glue or tape the bench and planter pieces together to build each tiny furniture item.
Step 8
Attach the finished benches and planters to the cardboard base so they stay in place.
Step 9
Put your mini-plants into the planters and secure them with a bit of tape or extra cardboard supports.
Step 10
Decorate the parklet with colouring stickers signs and decorative paper to make it look inviting.
Step 11
Practice a short presentation describing three features of your parklet and who would use them.
Step 12
Share a photo and your presentation about the finished parklet on DIY.org
Help!?
What can we use if we don't have a craft knife or real mini-plants for the parklet?
If you don't have a craft knife use strong safety scissors or score the cardboard with a nail and fold along your pencil marks, and if mini-plants aren't available make foliage from green tissue paper, pom‑poms, or torn construction paper to tuck into the planter boxes and secure with tape.
My benches or planter boxes won't stay attached to the cardboard base—how can we fix that?
If pieces won't stay when you 'attach the finished benches and planters to the cardboard base,' reinforce them with hot glue or double-sided tape and add small cardboard support tabs under each bench or planter for extra stability.
How should we change the steps for younger kids or make it more challenging for older kids?
For younger children skip the 'measure and cut' steps by providing a pre-cut cardboard base, larger popsicle sticks, glue sticks and stickers to assemble, while older kids should follow the 'measure and mark' and 'measure and cut small pieces' steps precisely, use a craft knife with adult supervision, and add paint or scale detailing.
What are easy ways to improve or personalize the parklet after building it?
To extend the project beyond 'decorate the parklet' and 'practice a short presentation,' make furniture removable to try different layouts, add a textured path with glued sand or gravel over painted paper, install tiny solar LED lights along the path, and create custom signs showing who would use each feature for your photo and presentation.
Watch videos on how to build a public parklet
Creative Backyard Crafts and Garden Hacks to Upgrade Outdoor Space
4 Videos
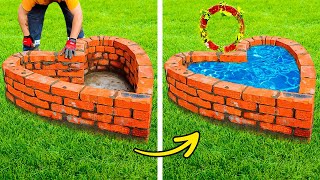
Creative Backyard Crafts and Garden Hacks to Upgrade Outdoor Space
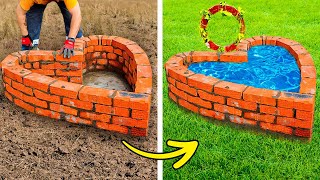
101 DIY Creative Backyard Crafts and Garden Hacks to Upgrade Outdoor Space
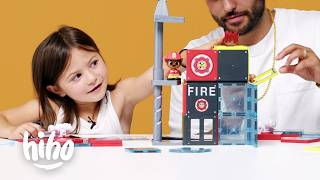
Kids Build a Town With Their Parents!
Transform Your Outdoor Space: Creative Backyard Crafts & Garden Hacks!
Facts about urban design and model building
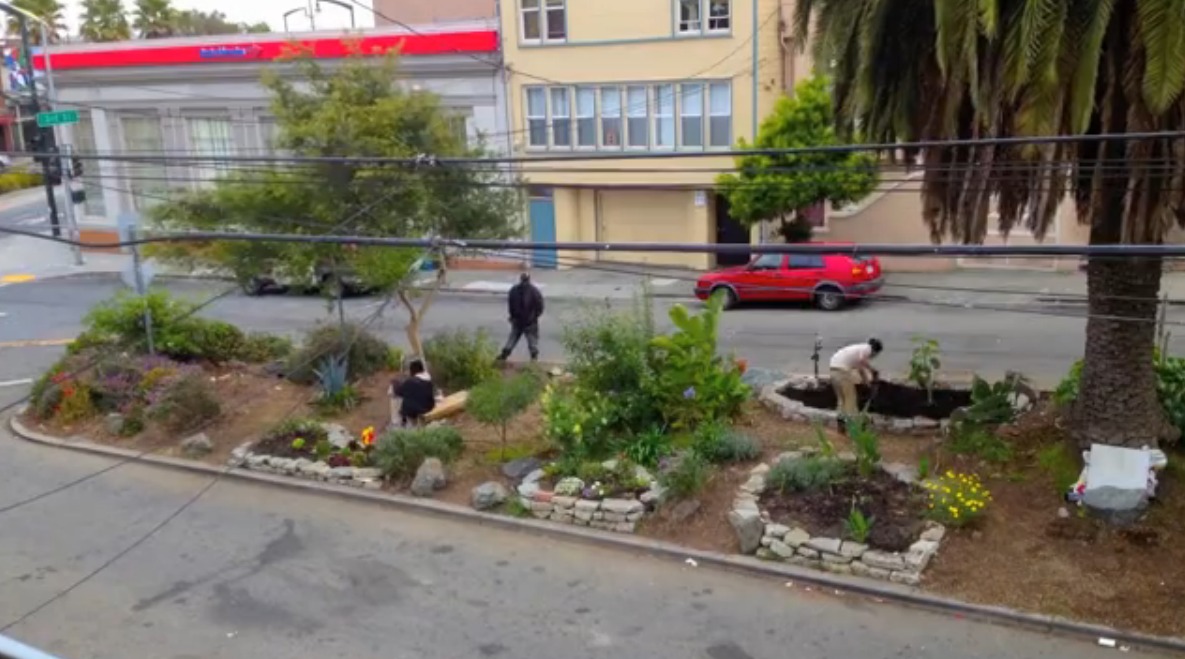
🌳 Parklets are tiny public spaces made from former curbside parking spots — the idea grew popular in cities during the 2010s.
📏 A real parklet usually replaces one or two parking spaces — for models, 1:24 scale is handy so a full parklet can sit on a shoebox.
🪴 Mini-plants like succulents and small ferns are perfect for model parklets because they need little water and are easy to arrange in tiny containers.
🪑 Even small benches or planter-seats in a parklet can make sidewalks feel friendlier and encourage people to stop and chat.
♻️ Corrugated cardboard is lightweight, strong when folded, and recyclable — awesome for quick prototypes and creative building.
How do you design and build a small model public parklet?
What materials are needed to build a parklet model?
What ages is this parklet activity suitable for?
What are the benefits and safety tips for making a parklet model?
