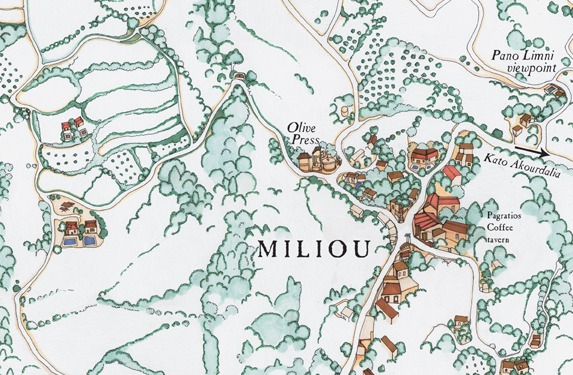
Map your neighborhood
Walk around with an adult, record landmarks, sketch streets, and create a simple neighborhood map using paper, pencil, and symbols.


Step-by-step guide to map your neighborhood
Fun for children: How to make a town map
Step 1
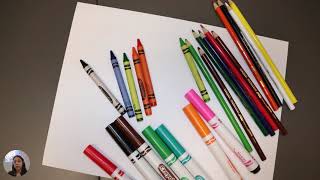
Gather your paper pencil eraser ruler and colouring materials.
Step 2
Ask a grown-up to pick a safe short route to walk with you.
Step 3
Put on comfortable shoes so you are ready to go.
Step 4
On your paper draw a rectangle border to make your map area.
Step 5
Draw a small legend box and make simple symbols for home park store school and trees.
Step 6
Lightly sketch the main streets of your chosen route inside the border using your pencil and ruler.
Step 7
Walk the chosen route with your grown-up.
Step 8
When you stop at a place mark the matching symbol on your paper to show where it is.
Step 9
Count blocks or steps between two places and write that number beside the street.
Step 10
Write any street names or place names you know beside the lines.
Step 11
Erase any extra pencil marks you do not want.
Step 12
Darken the main streets and symbols so your map is clear.
Step 13
Color the symbols and important places using your colouring materials.
Step 14
Show your grown-up the finished map.
Step 15
Share your finished neighborhood map on DIY.org
Help!?
What can we use if we don't have a ruler, crayons, or an eraser?
Use the straight edge of a book or a piece of cardboard to lightly sketch the main streets in place of a ruler, swap markers or colored pencils for colouring materials, and use a folded tissue or kneaded eraser if you don't have a regular eraser.
What if we forget to mark a place or miscount steps while walking the route?
When you stop, immediately mark the matching symbol on your paper and make a quick tally or take a photo with your grown-up so you can write the correct number of blocks or steps beside the street later.
How can we change the activity for different age groups?
For toddlers have the grown-up draw the rectangle border and main streets while the child places stickers for home and park, for early elementary let the child lightly sketch streets and count steps, and for older kids add street names, a simple scale, and more detailed symbols in the legend box.
How can we enhance or personalize our finished neighborhood map before sharing?
Add a compass arrow, color-code places in the legend box, include small photos or notes about favorite spots, and darken the main streets and symbols so your map looks polished before showing your grown-up and sharing on DIY.org.
Watch videos on how to map your neighborhood
How to introduce maps | Neighborhood map for kids
3 Videos
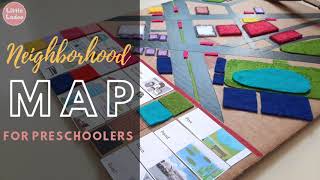
How to introduce maps | Neighborhood map for kids

Make Your Own Neighborhood Map
Activity Kit for Kids: Neighborhood Map
Facts about mapmaking and local geography
🗺️ People have been making maps for thousands of years — ancient civilizations drew maps on clay, stone, and papyrus!
🧭 A compass needle points to magnetic north, which can be a few degrees different from true north — maps sometimes show both.
🏠 Big landmarks like a tree, statue, or colorful mailbox are the easiest things for people (and kids!) to use when finding their way.
📏 Map scale turns map distance into real-world distance — try using 1 cm = 10 m to measure how far your walk is.
🌍 OpenStreetMap is a free, editable world map made by volunteers — anyone can add streets, parks, and landmarks!
How do I map my neighborhood with my child?
What materials do we need to make a simple neighborhood map?
What ages is neighborhood mapping suitable for?
What are the benefits and safety tips for mapping your neighborhood?
