Chalk in street improvements
Design and draw temporary street-improvement ideas on pavement using sidewalk chalk, measuring spaces and labeling features like crosswalks, bike lanes, trees, and benches.


Step-by-step guide to design and draw temporary street improvements with sidewalk chalk
Sidewalk Chalk Mandalas Art Lesson for Kids
Step 1
Choose a flat paved spot on a sidewalk or driveway that you are allowed to draw on.
Step 2
Ask an adult for permission and for them to stay nearby while you work.
Step 3
Measure the area’s length and width with your measuring tape and write the numbers on your paper.
Step 4
Draw a simple top-down sketch of the space on your paper showing the street and sidewalks.
Step 5
Decide where to put crosswalks bike lanes trees and benches and mark those spots on your sketch.
Step 6
Walk to the pavement and mark the four corners or boundaries of your drawing with small chalk dots.
Step 7
Use chalk to draw the main road line and the sidewalk edges inside your boundary dots.
Step 8
Draw crosswalks across the road using parallel white stripes where people will cross.
Step 9
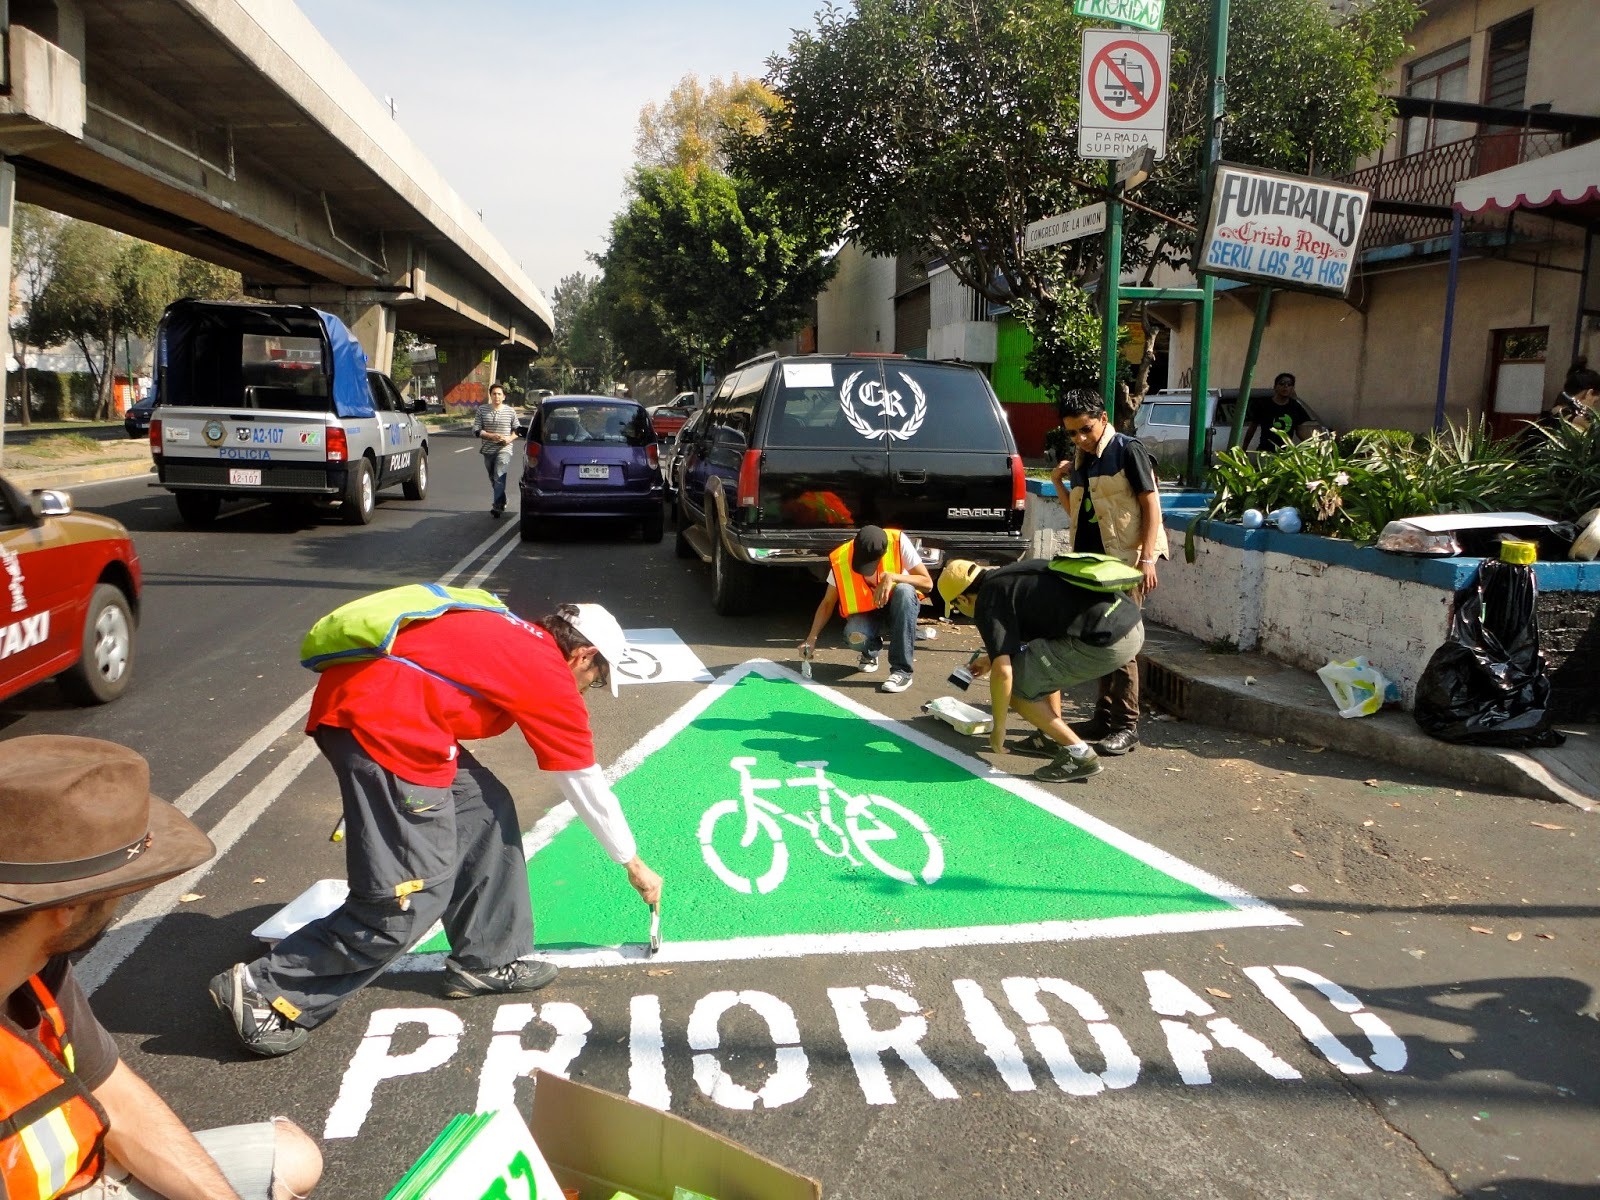
Draw a bike lane beside the road add an arrow and a little bike symbol to show direction.
Step 10
Draw trees and benches where you planned them and add small details like leaves or slats.
Step 11
Write labels and the sizes beside each feature on the pavement and clean your hands and area with the water or wipes when you finish.
Step 12
Share your finished street-improvement creation on DIY.org with the help of an adult.
Help!?
What can we use if we don't have a measuring tape, chalk, or wipes for the activity?
If you don't have a measuring tape, use a long piece of string or a yardstick to measure the area's length and width, substitute sidewalk chalk with thick washable crayons or tempera sidewalk paint for drawing the road and crosswalks, and replace wipes with a damp cloth or a small bucket of water and a sponge to clean your hands and the area after writing labels and sizes.
What should we do if our chalk lines smear or the road and sidewalk edges look uneven after marking the four corner dots?
If the main road line or sidewalk edges smear or look uneven after marking the four corner dots, stretch a taut piece of string between the corner dots (anchored with small rocks) to guide straight chalk lines and redraw any faded sections with short, firm strokes before adding crosswalk stripes.
How can we change the activity for younger kids or make it more challenging for older kids?
For younger children, simplify by choosing a tiny boundary and letting them place big chalk shapes for crosswalks, trees, and benches while an adult measures and marks corners, and for older kids, create a scaled top-down sketch using the measuring tape, calculate area sizes for each bike lane or sidewalk and write precise labels beside each feature.
What are some ways to extend or personalize the street-improvement drawing after we finish?
To extend the activity, add recycled cardboard benches or paper tree models on top of your chalk drawings, take before-and-after photos that include the labels and sizes you wrote on the pavement, and upload the pictures and measurements to DIY.org with an adult to share your improved street plan.
Watch videos on how to design and draw temporary street improvements with sidewalk chalk
How to make a chalk pastel Street Painting
3 Videos
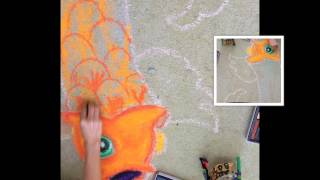
How to make a chalk pastel Street Painting

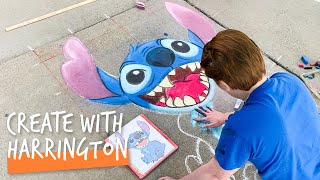
HOW TO SIDEWALK CHALK ART
Chalk Art Tutorial with Nicole Kleinman
Facts about street design and pedestrian safety
🚸 Temporary chalk crosswalks and street drawings are a great way to visualize safer ideas before cities make permanent changes.
📏 A common bike lane width is about 1.5–2 m (5–6.5 ft) — wide enough for a rider and some extra room to feel safe.
🌳 Adding trees and benches can make a street feel cooler and friendlier, turning it into a place people want to hang out.
✏️ Sidewalk chalk is washable and temporary, so your designs can be changed, improved, or washed away by rain.
🧩 Tactical urbanism means testing quick, low-cost fixes (like pop-up bike lanes or chalk designs) to see what helps a neighborhood most.
How do you design and draw temporary street improvements with sidewalk chalk?
What materials do I need to draw street-improvement ideas on pavement?
What ages is sidewalk chalk street-design activity suitable for?
What safety precautions should we take when drawing street improvements with chalk?
