Design a landslide
Build a tabletop model of a landslide using sand, soil, water, and slopes. Test erosion, slope stability, and prevention methods.


Step-by-step guide to design and build a tabletop landslide model
Landslide | Science for Kids
Step 1
Place the tray on a table and press two small cardboard dividers to make three equal lanes.
Step 2
Sprinkle a thin layer of pebbles into the bottom of each lane for drainage.
Step 3
Fill a cup half with sand and half with potting soil and mix them well.
Step 4
Spoon the same amount of the sand soil mix into each lane so they start at the same height.
Step 5
Shape the left lane into a gentle slope about 2 cm high the middle lane into a medium slope about 4 cm high and the right lane into a steep slope about 8 cm high using the ruler to check heights.
Step 6
Press and smooth each slope gently with your hand or the back of a spoon to compact the soil.
Step 7
Leave the left slope bare as your control with no prevention added.
Step 8
Push small plants or twigs into the middle slope or sprinkle and press grass seeds to add vegetation.
Step 9
Place pebbles and build a tiny terrace or rock barrier across the top of the right slope to act as a prevention method.
Step 10
Set a clean sheet of paper or a small shallow container at the bottom of each lane to catch any runoff.
Step 11
Pour exactly 100 ml of water from about 10 cm above the top of each slope three times for each slope using the same speed and method for each test one lane at a time.
Step 12
Look closely and draw or write what happened to each slope noting how much soil moved and which prevention worked best.
Step 13
Take photos or a description of your finished landslide model and share your creation and results on DIY.org
Help!?
What can I use instead of the tray, pebbles, or potting soil if they are hard to find?
If you can't find a shallow tray or small pebbles, use a baking sheet or muffin tin as the tray and substitute aquarium gravel, dried beans, or clean marbles for the drainage pebbles and use garden soil or compost mixed with clean play sand in place of potting soil for the 'half sand half potting soil' mix.
What should I do if the slopes keep collapsing or the water pours unevenly during the tests?
If slopes collapse or runoff is inconsistent, press and smooth each slope more firmly with the back of a spoon as in step 6, re-level the sand-soil so all lanes 'start at the same height', and use the same 100 ml cup plus a 10 cm height guide (stacked books) to keep pouring speed and position identical.
How can I adapt this landslide activity for younger or older children?
For younger kids, pre-cut the 'two small cardboard dividers', pre-measure the sand-soil mix, and allow a single gentle pour while older kids can precisely shape the 2 cm/4 cm/8 cm slopes with the ruler, run three 100 ml trials per lane, and record soil moved in the catchers for data analysis.
How can we extend or personalize the project after finishing the basic tests?
To extend the activity, add food coloring to the 100 ml water to visualize flow paths, compare extra prevention methods like mulch or fabric under the 'pebbles and tiny terrace', and take photos or a time-lapse of your 'finished landslide model and results' to share on DIY.org.
Watch videos on how to design and build a tabletop landslide model
What are Landslides? (Facts for Kids)
4 Videos
What are Landslides? (Facts for Kids)
Landslides for Kids 🪨 | Natural Disaster Science & Safety Made Fun

How Can You Stay Safe During A California Landslide? - Earth Science Answers
Landslide Facts for Kids - Natural Disaster Educational Video for Classrooms and Homeschool
Facts about landslides and soil erosion
🌧️ Heavy rainfall is the most common trigger for landslides — intense storms can quickly saturate soil and cause slopes to fail.
🏔️ Steeper slopes and loose, sandy soils are more likely to slide than gentle slopes with dense clay.
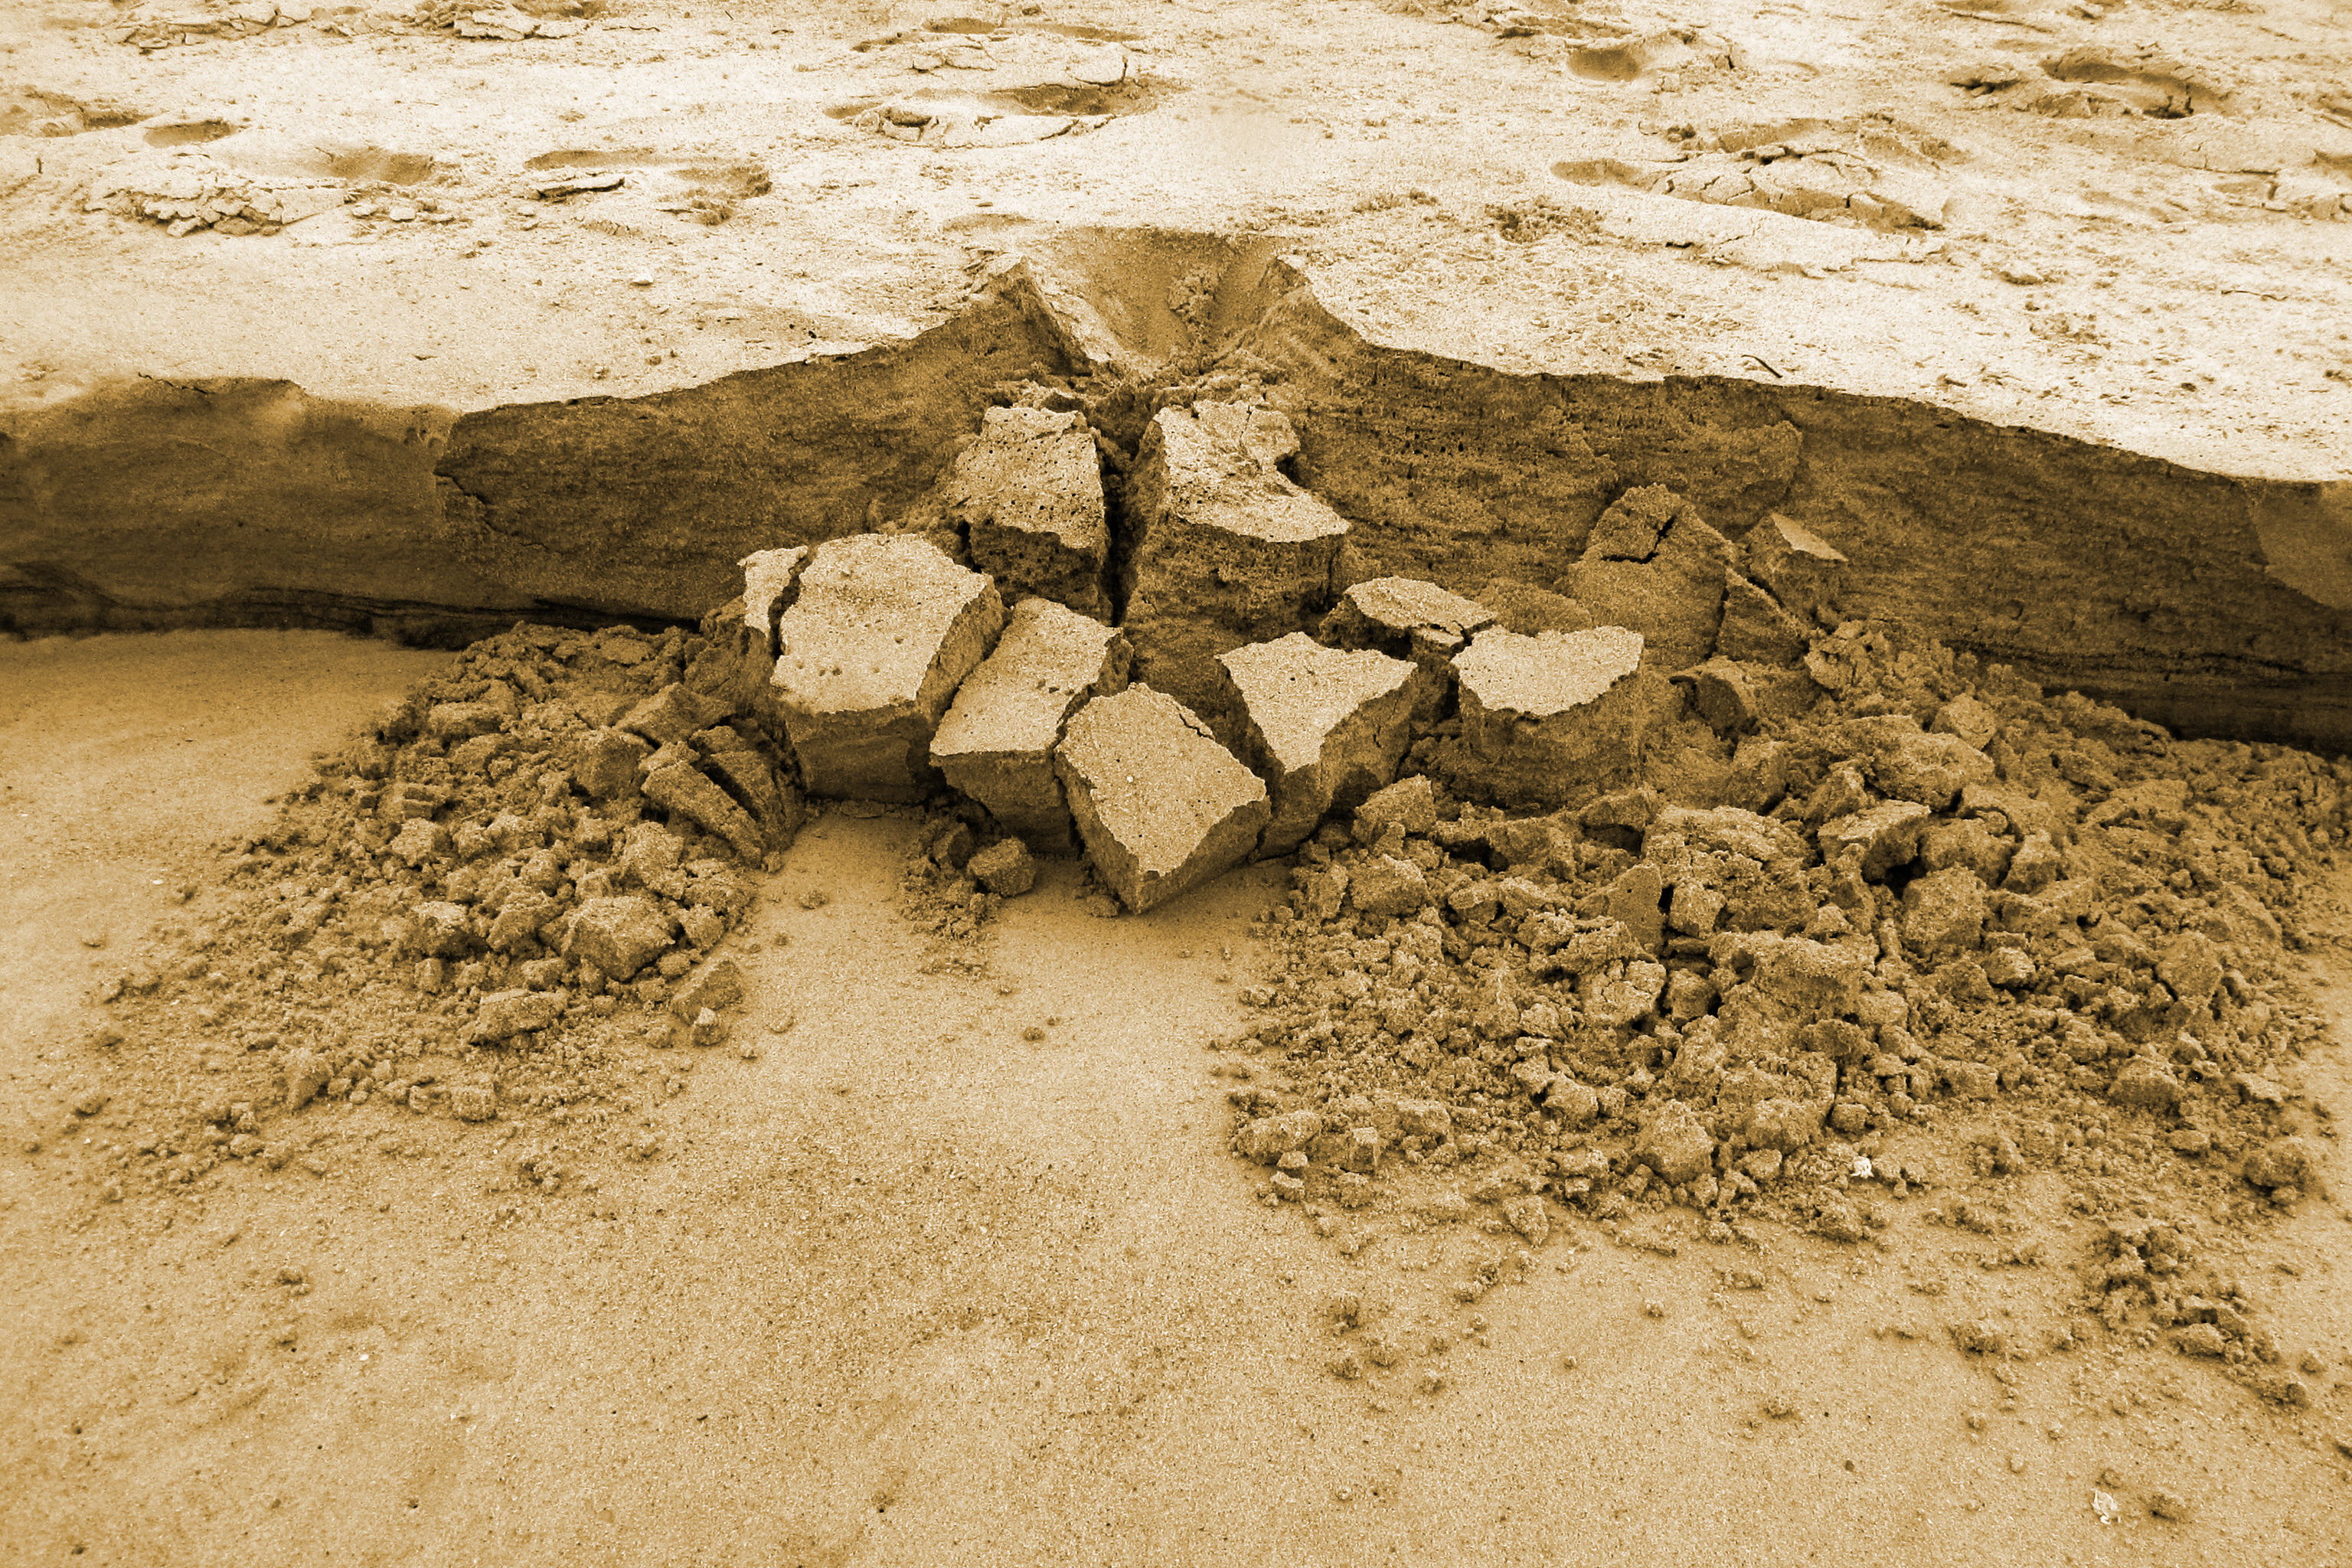
🧪 Tabletop models with sand, soil, and water can reproduce real erosion patterns and help test prevention methods.
🌱 Plant roots act like natural netting, binding soil and reducing erosion — replanting is a common stabilization method.
⚠️ Human actions like deforestation, road cuts, and adding heavy loads to slopes can dramatically increase landslide risk.
How do I build a tabletop landslide model?
What materials do I need to make a tabletop landslide model?
What ages is a tabletop landslide model suitable for?
What safety precautions and variations should I consider?
