Model erosion
Build a small landscape model with soil, sand, and clay, then simulate erosion with water and wind to observe landform changes.


Step-by-step guide to model erosion
5th grade Science project | Soil Erosion
Step 1
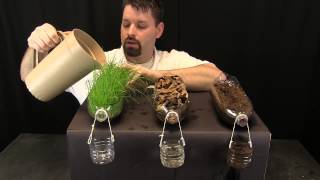
Gather all your materials and bring them to your workspace.
Step 2
Put the tray on a stable table where spills can be caught.
Step 3
Spread modeling clay across the bottom of the tray to make a flat base.
Step 4
Build a small hill of potting soil on the left side of the tray.
Step 5
Create a sandy slope in the middle by piling play sand and shaping it with your hands or spoon.
Step 6
Press and smooth a patch of modeling clay on the right to make a sticky clay area.
Step 7
Place small pebbles and twigs on the three areas to act like rocks and plants.
Step 8
Gently press each area with the spoon to compact the surfaces.
Step 9
Draw or write one short prediction on your paper about which area will erode most.
Step 10
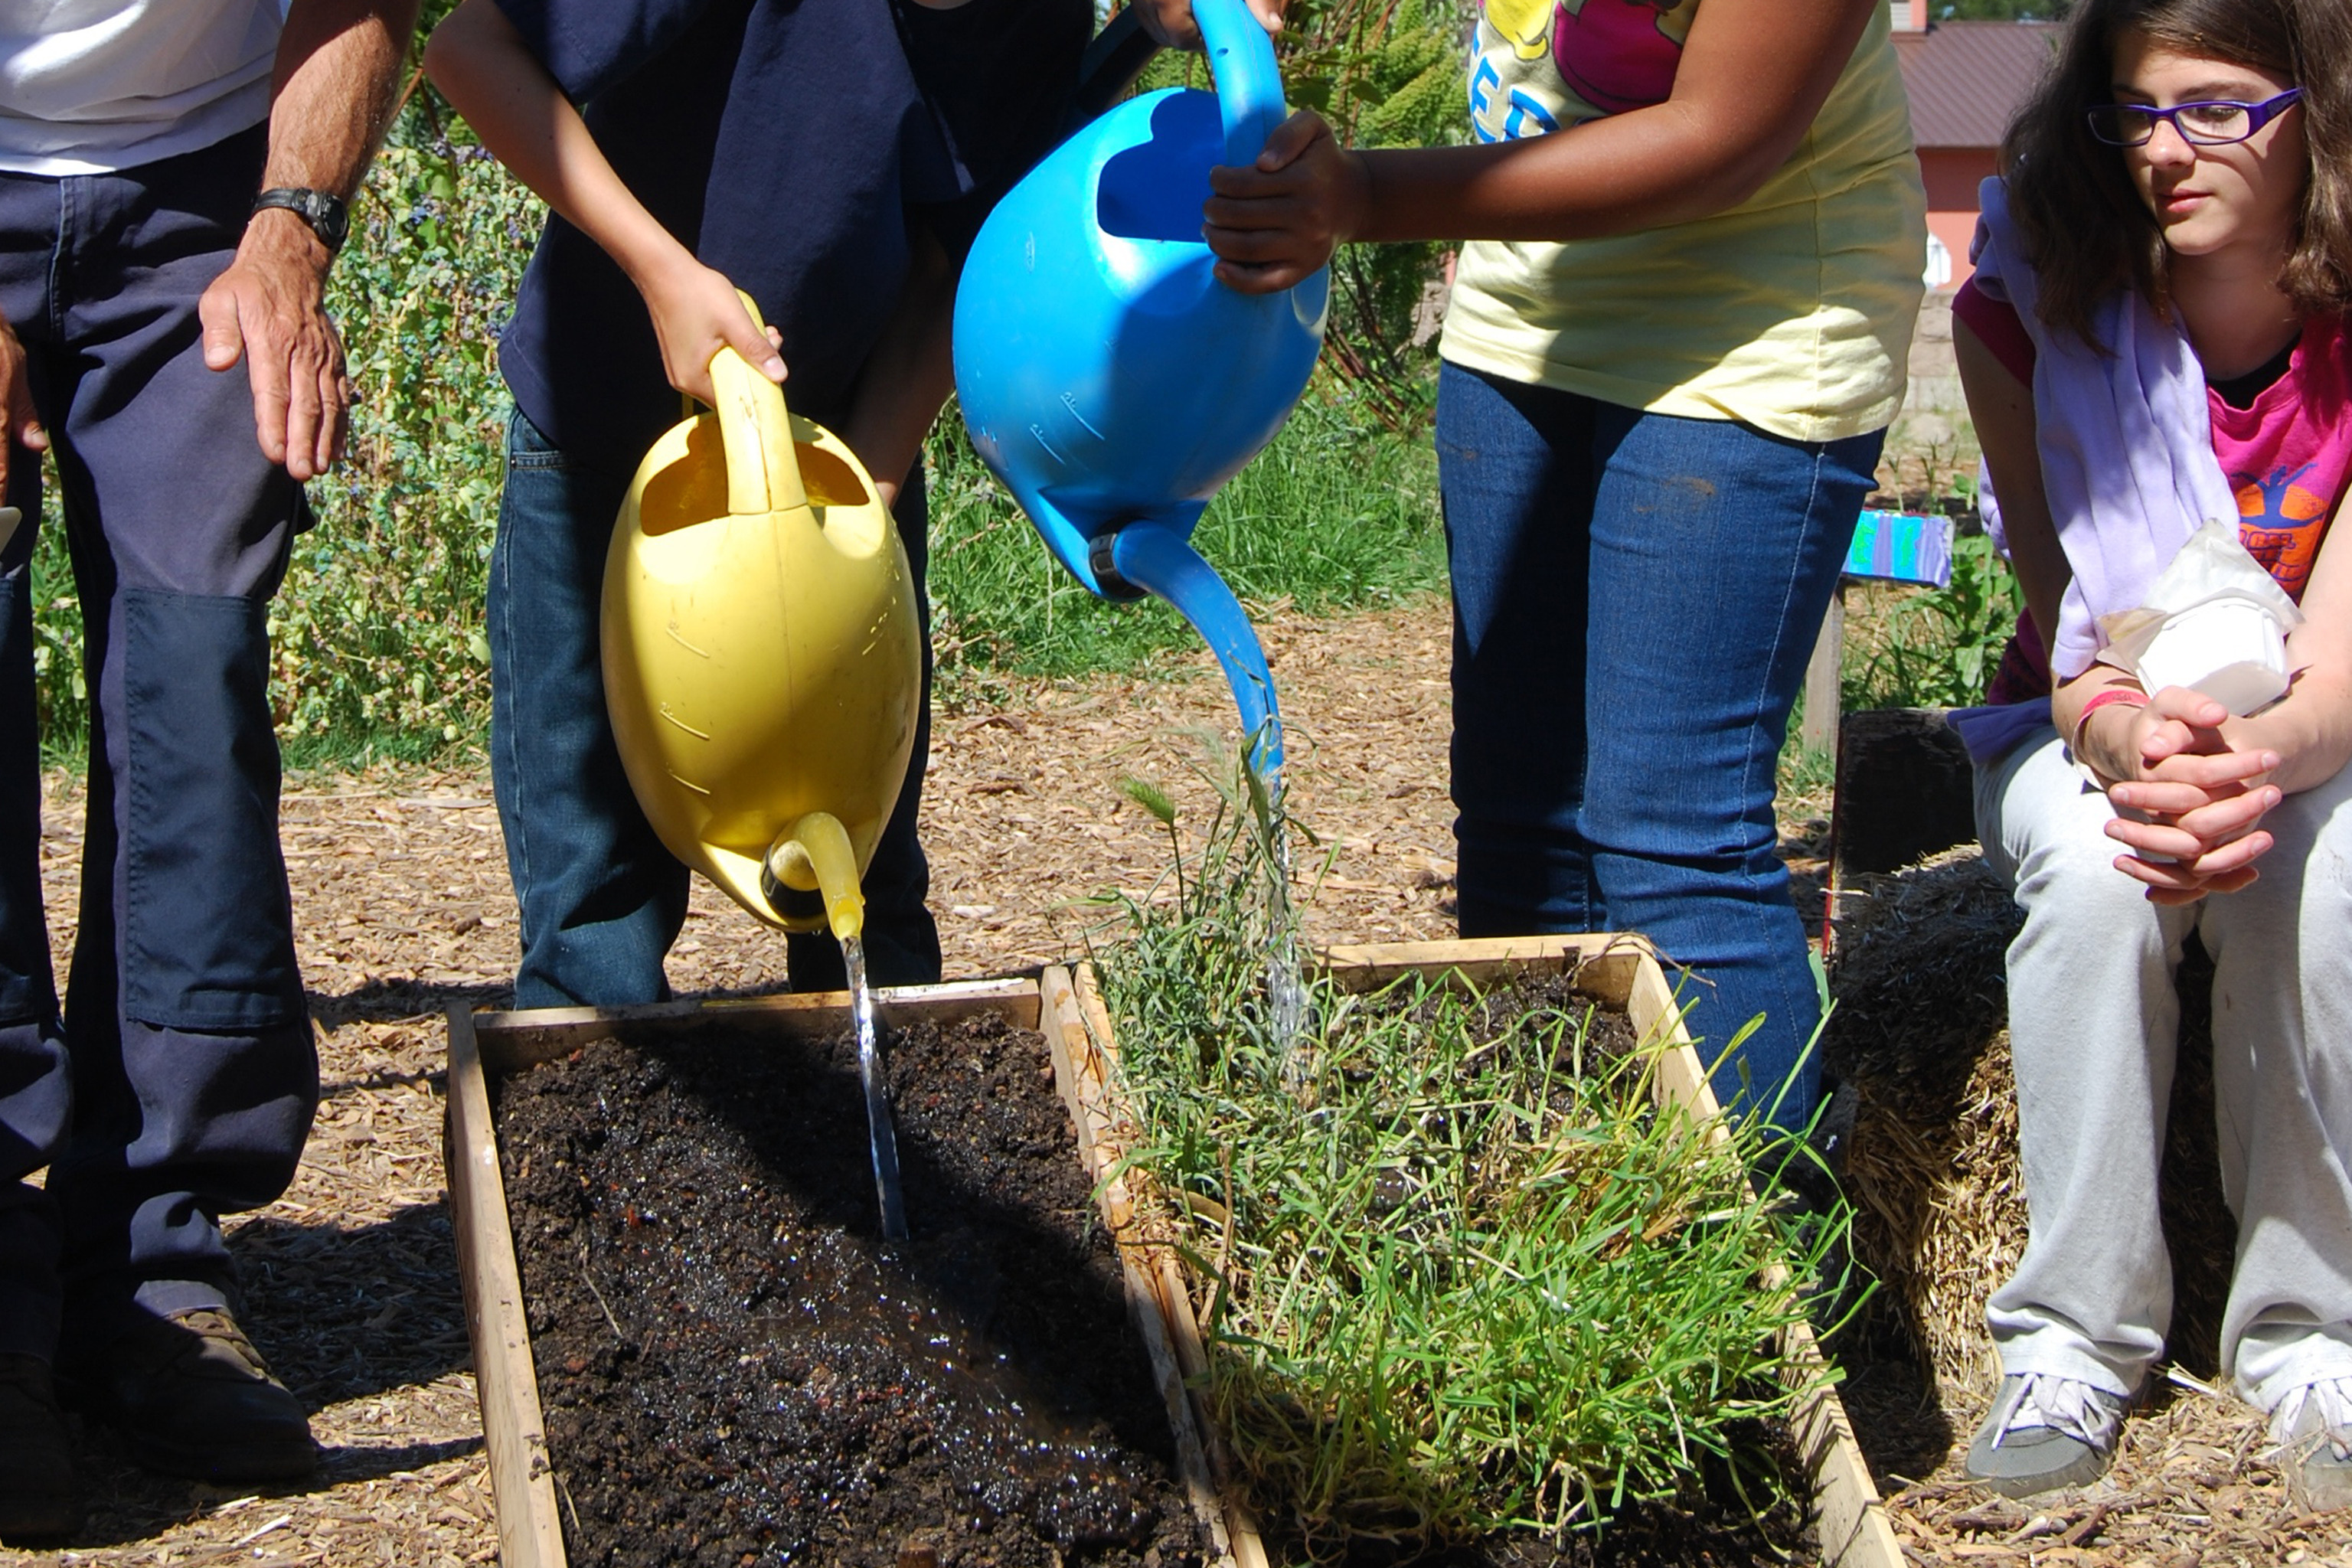
Simulate rain by spraying or gently pouring water from about 20 centimeters above the model in short bursts until you see runoff start.
Step 11
Simulate wind by blowing across the model with a straw in steady puffs for 20 seconds or by running a small fan on low for 20 seconds from the same side.
Step 12
Look closely at your landscape to see where soil or sand moved and where the clay stayed put.
Step 13
Record what changed by drawing the new landscape or writing notes on your paper.
Step 14
Share your finished creation and observations on DIY.org.
Help!?
What can we use instead of modeling clay, play sand, pebbles, or a spray bottle if we don't have them?
Use homemade playdough or rolled foil for the modeling clay base, garden or potting soil for the hill, sandbox or beach sand for the sandy slope, aquarium gravel or cleaned small stones and craft sticks for pebbles and twigs, and a cup or recycled misting bottle to pour water for the rain step.
My sand and soil didn't show runoff or the clay fell apart—what should I try?
Make sure the tray is on a stable table, compact each area with the spoon as the instructions say, pour or spray water from about 20 centimeters in short bursts to get runoff instead of splashing, and slightly dampen very dry sand so it keeps its shape.
How can we adapt the activity for different ages?
For preschoolers, build only two zones and have an adult pour water while describing what moves, for elementary kids follow all steps and record predictions and drawings on paper, and for older kids add rulers and a stopwatch to measure and compare erosion over repeated trials.
What are simple ways to extend or personalize the erosion model?
Add food coloring to the water to trace runoff paths, place sponges or small plant cuttings as roots, use cups at the tray edge to collect and measure displaced sand or soil, and photograph your stages to upload to DIY.org as the final step.
Watch videos on how to model erosion
Easy Experiment to See How Erosion Changes the Earth's Surface
4 Videos
Easy Experiment to See How Erosion Changes the Earth's Surface
Science Lessons: Erosion and Deposition Experiments!
Make Your Own Erosion! - #sciencegoals
Erosion and Soil
Facts about erosion and landforms
🌍 Soil forms very slowly — it can take hundreds to thousands of years to build just a centimeter of topsoil.
🌊 Rivers move everything from microscopic clay to large boulders during floods, and they sculpt valleys and deltas over time.
🌪 Wind can carry sand grains and create dunes that migrate several meters a year in some deserts and along coasts.
🧪 Clay particles stick together and hold water, making clay-rich soil more cohesive but prone to becoming slippery when saturated.
⛈ A single big storm or flash flood can reshape a beach or carve new gullies in just hours, so erosion can be sudden as well as slow.
How do you set up a model erosion experiment at home?
What materials do I need for a small landscape erosion model?
What ages is a model erosion activity suitable for?
What are the benefits of doing a model erosion activity?
