Plant a native species
Plant a native species in a small garden pot or yard patch, learn planting steps, observe growth, and care for local wildlife.

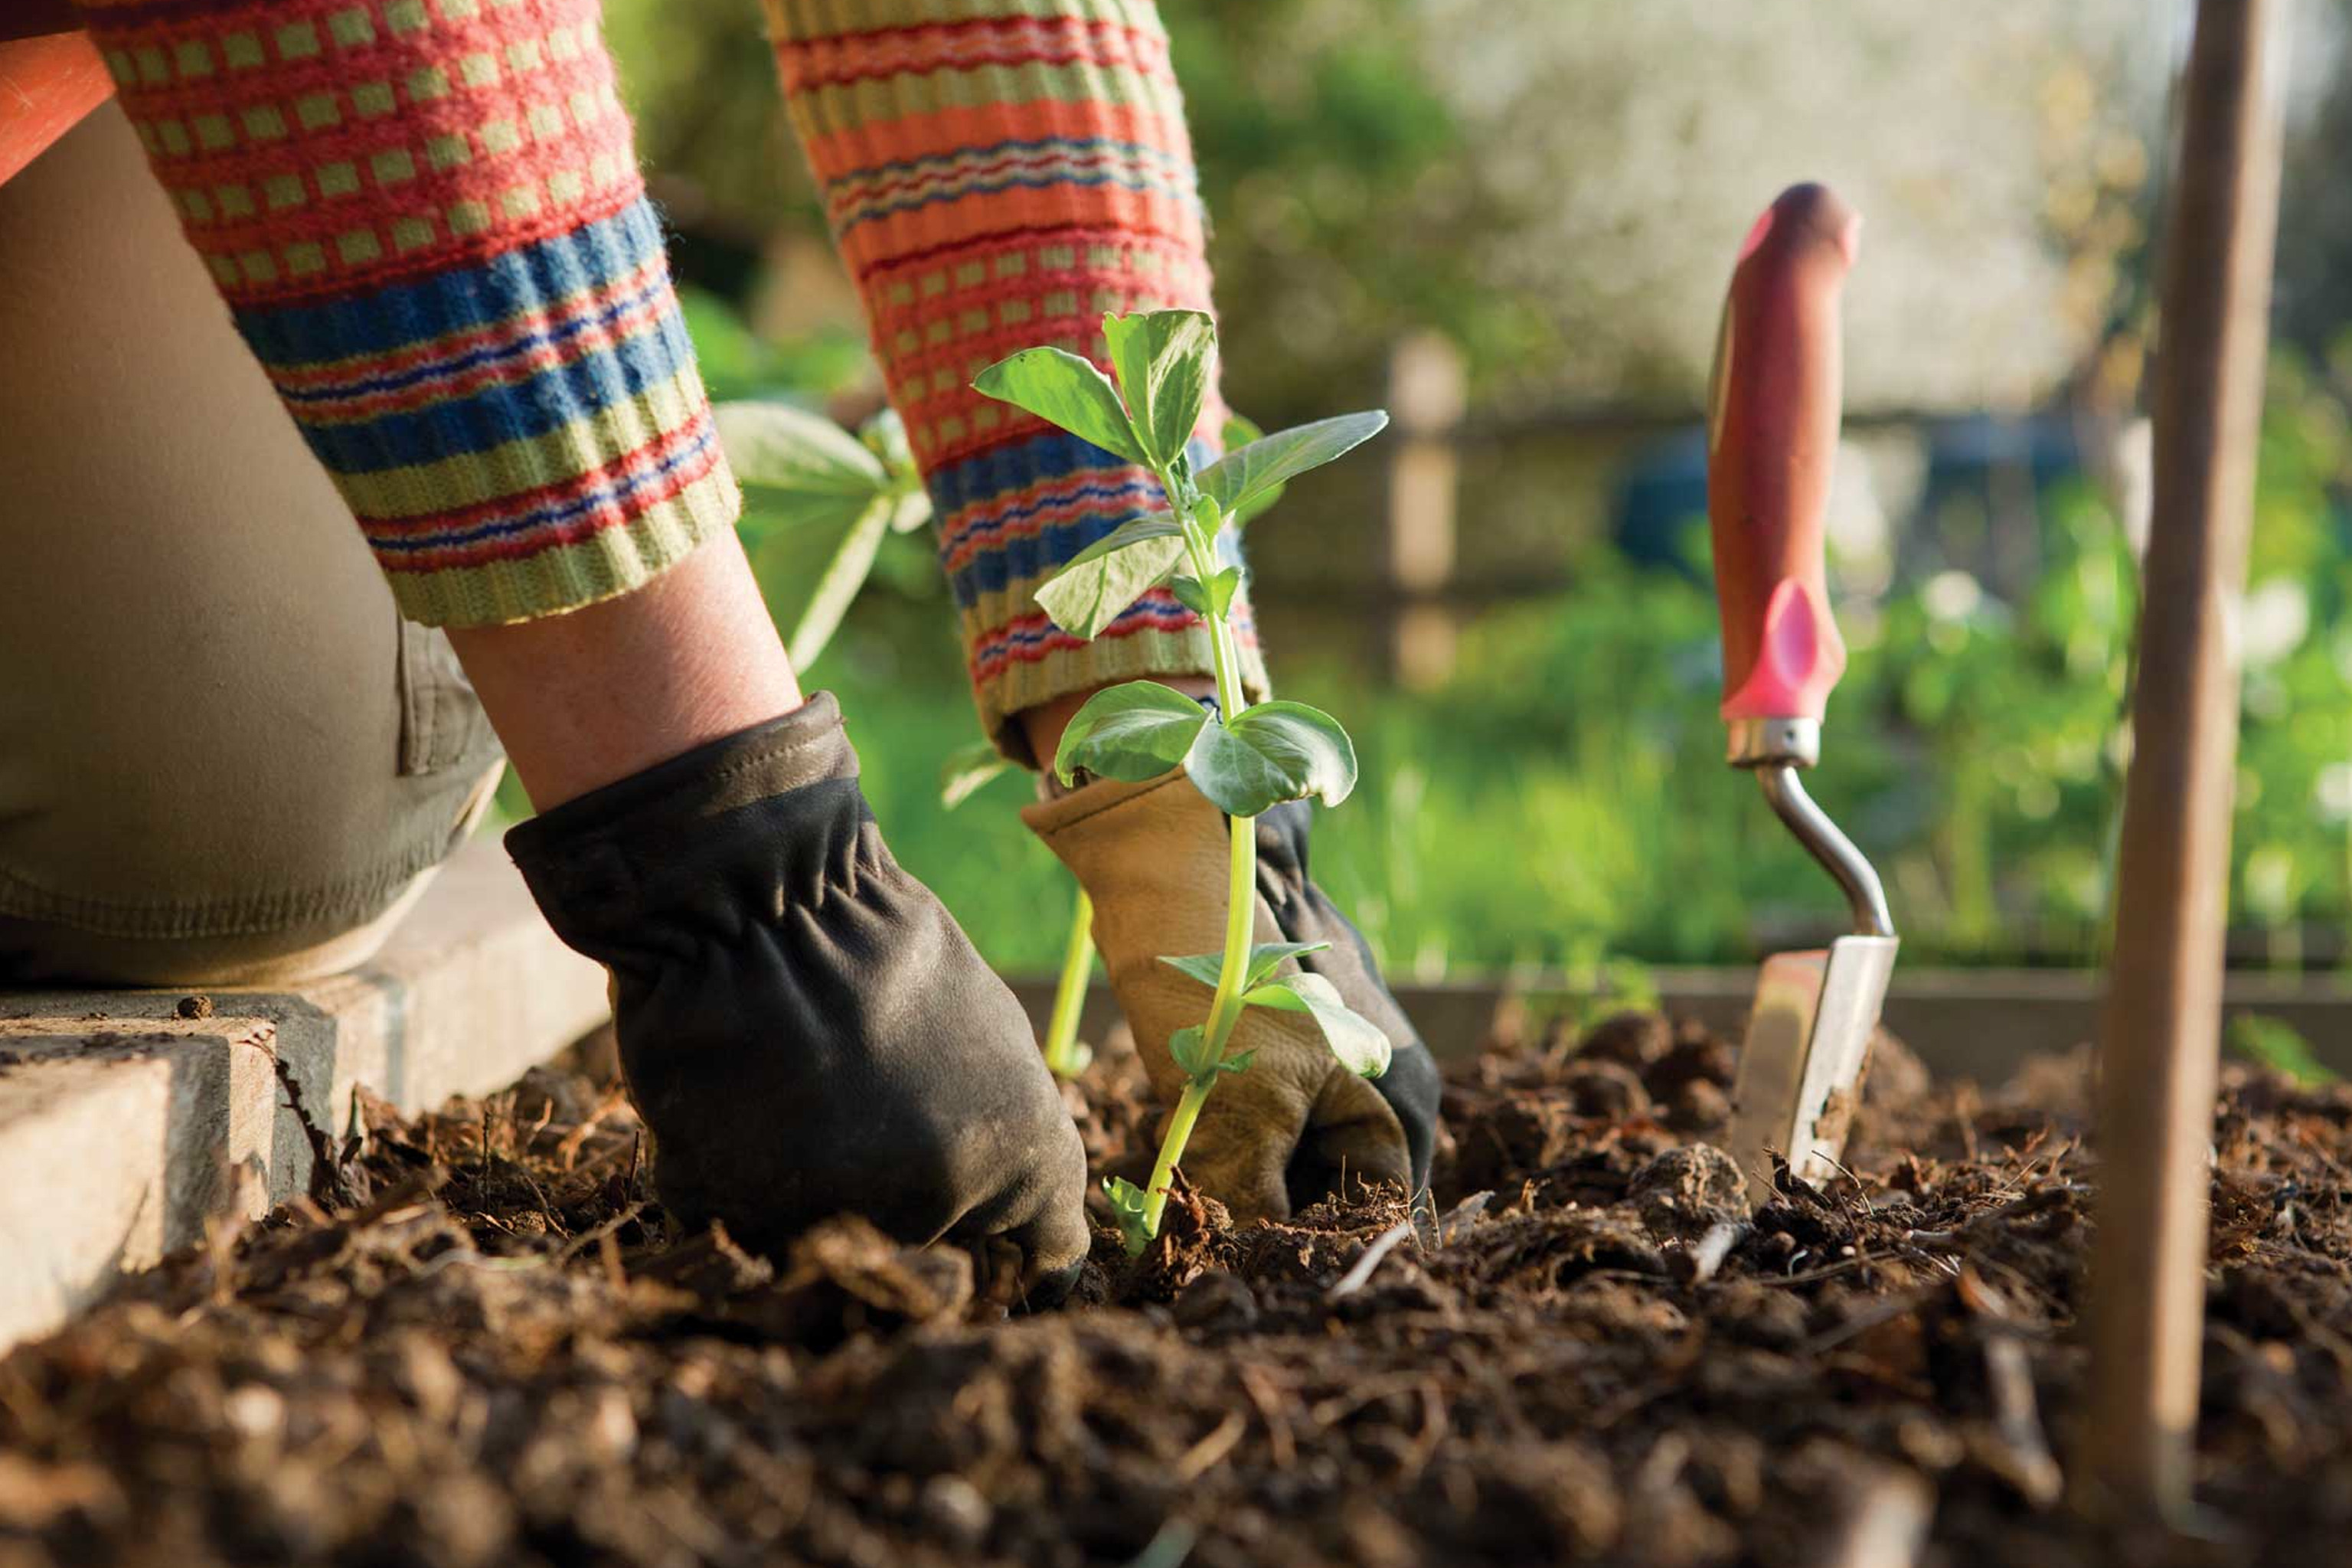
Step-by-step guide to plant a native species
Inspiring and transforming yards with native plant species
Step 1
Choose a native plant species that grows well in your local area.
Step 2
Decide whether you will use a small garden pot or a yard patch for your plant.
Step 3
Pick the exact planting spot that gives the light your plant needs.
Step 4
Remove weeds and loosen the topsoil in your chosen pot or patch.
Step 5
Fill the pot or patch with potting soil leaving about one inch of space at the top.
Step 6
Make a planting hole the right size for your seedling root ball or for the seeds.
Step 7
Put the seedling into the hole or drop the seeds into the hole as the packet says.
Step 8
Cover the hole with soil and press gently to remove air pockets.
Step 9
Water the newly planted seedling or seeds until the soil is evenly moist.
Step 10
Add a thin layer of mulch or small stones around the plant to keep the soil damp and protect roots.
Step 11
Label your plant with its name and the planting date using the popsicle stick and marker.
Step 12
Check your plant every few days and write or draw one observation in your notebook.
Step 13
Place a shallow dish of water nearby to help birds and insects visit safely.
Step 14
Gently remove any damaged leaves to help the plant stay healthy.
Step 15
Share your finished creation on DIY.org
Help!?
What can we use instead of potting soil, popsicle sticks, or commercial mulch if those are hard to find?
If potting soil is unavailable mix equal parts local garden soil, compost and sand and still leave about one inch at the top, use a strip of cardboard or a recycled plastic label in place of the popsicle stick, and use shredded leaves or small stones instead of commercial mulch.
My seedling is drooping or seeds aren't sprouting—what step might have gone wrong and how do I fix it?
If seedlings droop or seeds fail to sprout, check that you loosened the topsoil and made the right-sized planting hole, press the soil gently to remove air pockets, and keep the soil evenly moist (not waterlogged) as the instructions direct while adjusting light for the chosen spot.
How can I adapt this activity for different ages so it's safe and engaging for everyone?
For preschoolers let them choose the native species, help fill the pot with potting soil, water, and stick the popsicle label, while older kids can remove weeds, make the correct-sized hole, plant seedlings/seeds, record observations in the notebook, and post the finished creation on DIY.org.
What are some ways to extend or personalize the planting project once the plant is in the ground or pot?
To enhance the project decorate the pot or label, add a companion native plant in the yard patch, place a shallow dish as a wildlife water station, keep a photo-and-drawing growth log in the notebook, and share progress and tips on DIY.org.
Watch videos on how to plant a native species
A beginner's guide to plant identification | Planting Curiosity | CBC Creator Network
4 Videos
A beginner's guide to plant identification | Planting Curiosity | CBC Creator Network

How Plants Grow for Kids | Learn about photosynthesis and what plants need to grow strong
🌱 Starting Native Plants from Seed Indoors: A Beginner's Guide 🌱

Life Cycle of a Plant for Kids! | Learn Parts of a Plant 🌱 | Twinkl USA
Facts about native gardening and caring for local wildlife
🌱 Native plants are adapted to your local soil and weather, so they usually need less water and fuss than non-native plants.
🐝 A small patch of native flowers can attract lots of pollinators—bees, butterflies, and hummingbirds love them!
💧 Using native plants in pots or yard patches helps conserve water and keeps gardens thriving in dry spells.
♻️ Many local insects and caterpillars rely only on native plants for food—some species won’t eat exotic plants at all.
🌼 Even one tiny pot of native wildflowers can act as a mini-habitat, giving food and shelter to local wildlife.
How do we plant a native species in a pot or yard patch?
What materials are needed to plant a native species with kids?
What ages is planting a native species suitable for?
What are the benefits of planting native species with children?
