Build a magnetic levitator
Build a simple magnetic levitator using safe magnets, a support frame, and guides to make a small object float while exploring magnetic repulsion and balance.


Step-by-step guide to build a magnetic levitator
How to Make the Classic Magnetic Levitator
Step 1
Gather all the materials from the list and put them on a clean workspace.
Step 2
Make a sturdy base by laying three popsicle sticks side by side and taping them together along one edge.
Step 3
Tape the cardboard square onto the center of the popsicle base to create a flat place for the magnet.
Step 4
Find which faces of your magnets push away from each other and mark those faces with the marker.
Step 5
Tape one magnet to the center of the cardboard with the marked "repel" face pointing up.
Step 6
Stand the drinking straw vertically over the center magnet and tape the straw to the base so it is held straight as a guide.
Step 7
Press the second magnet into the bottle cap and tape it so the marked "repel" face is pointing down toward the base magnet.
Step 8
With adult help, trim the straw using scissors so the bottle cap can slide over it and sit above the bottom magnet with some room to float.
Step 9
Slide the capped magnet slowly down the straw until you feel the magnets push and the cap hovers a little above the base magnet.
Step 10
If the cap touches or sticks, add a thin paper or cardboard scrap under the base magnet to increase the gap and try again.
Step 11
Decorate the floating cap with marker or stickers so your levitating object looks like a tiny flying saucer.
Step 12
Take a photo or video and share your finished magnetic levitator on DIY.org
Help!?
What can we use if we don't have popsicle sticks, a drinking straw, or a bottle cap?
Replace the three popsicle sticks with a sturdy folded cardboard rectangle taped along one edge, use a straight wooden skewer or a short piece of rigid plastic tubing instead of the drinking straw, and press the second magnet into a small plastic cup or a trimmed jar lid if you don't have a bottle cap.
The capped magnet won't hover or it sticks to the base — what should we check or try?
Make sure you marked and taped each magnet with the 'repel' faces pointing toward each other, ensure the straw guide is perfectly vertical and taped firmly to the popsicle/cardboard base, trim the straw a little at a time with scissors so the capped magnet can find the floating spot, and add a thin paper scrap under the base magnet if the cap still touches.
How can we adapt the activity for younger kids or make it more challenging for older kids?
For preschoolers, have an adult prepare the taped popsicle/cardboard base and press the magnets into the cap so they can decorate and watch the hover, for elementary kids let them mark the repel faces and assemble with supervision, and for older kids encourage experimenting with different magnet sizes and measuring the gap after trimming the straw.
How can we extend or personalize our magnetic levitator once it works?
Decorate the floating cap as a tiny flying saucer with markers and stickers, add a tiny LED and coin cell inside the cap for a glowing effect, or stack thin paper shims under the base magnet to create an adjustable levitation height and record a video to share on DIY.org.
Watch videos on how to build a magnetic levitator
How to Make Magnetic Levitation Device | DIY Magnetic Levitator V2.0
4 Videos
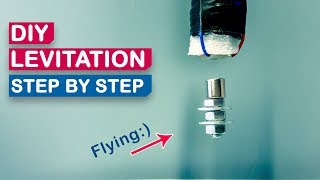
How to Make Magnetic Levitation Device | DIY Magnetic Levitator V2.0
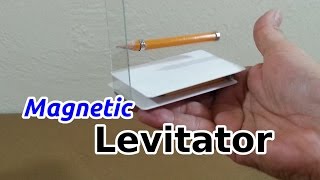
Make a Mini Magnetic Levitator
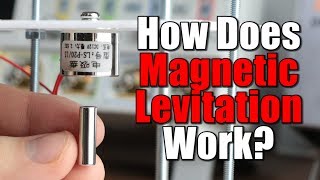
How does Magnetic Levitation work? || Crude Levitator circuit
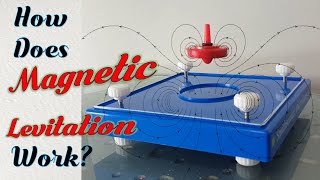
Magnetic Levitation and how it works
Facts about magnetism and basic physics for kids
🧲 Neodymium magnets are tiny but super strong — common in DIY demos because a small piece can hold surprisingly large weights.
🐸 In 1997 scientists used a very strong magnetic field to levitate a live frog, demonstrating diamagnetism in living tissue.
🚄 Magnetic levitation trains have been tested at over 600 km/h; the Shanghai maglev runs at about 430 km/h in regular service.
⚖️ Earnshaw's theorem says you can't get a stable static levitation with only fixed magnets or charges — you need tricks like diamagnetism, guides, rotation, or feedback.
📏 Kid-friendly magnetic levitators often use a support frame or guide rod plus repelling magnets (or a diamagnetic sheet) to make a small object float and stay balanced.
How do you build a simple magnetic levitator?
What materials are needed for a child-friendly magnetic levitator?
What ages is a magnetic levitator suitable for?
What safety precautions should parents follow?
