Draw an Awesome Character
Design and draw an original awesome character, plan features, costume, and colors, then add a short backstory to bring your creation to life.
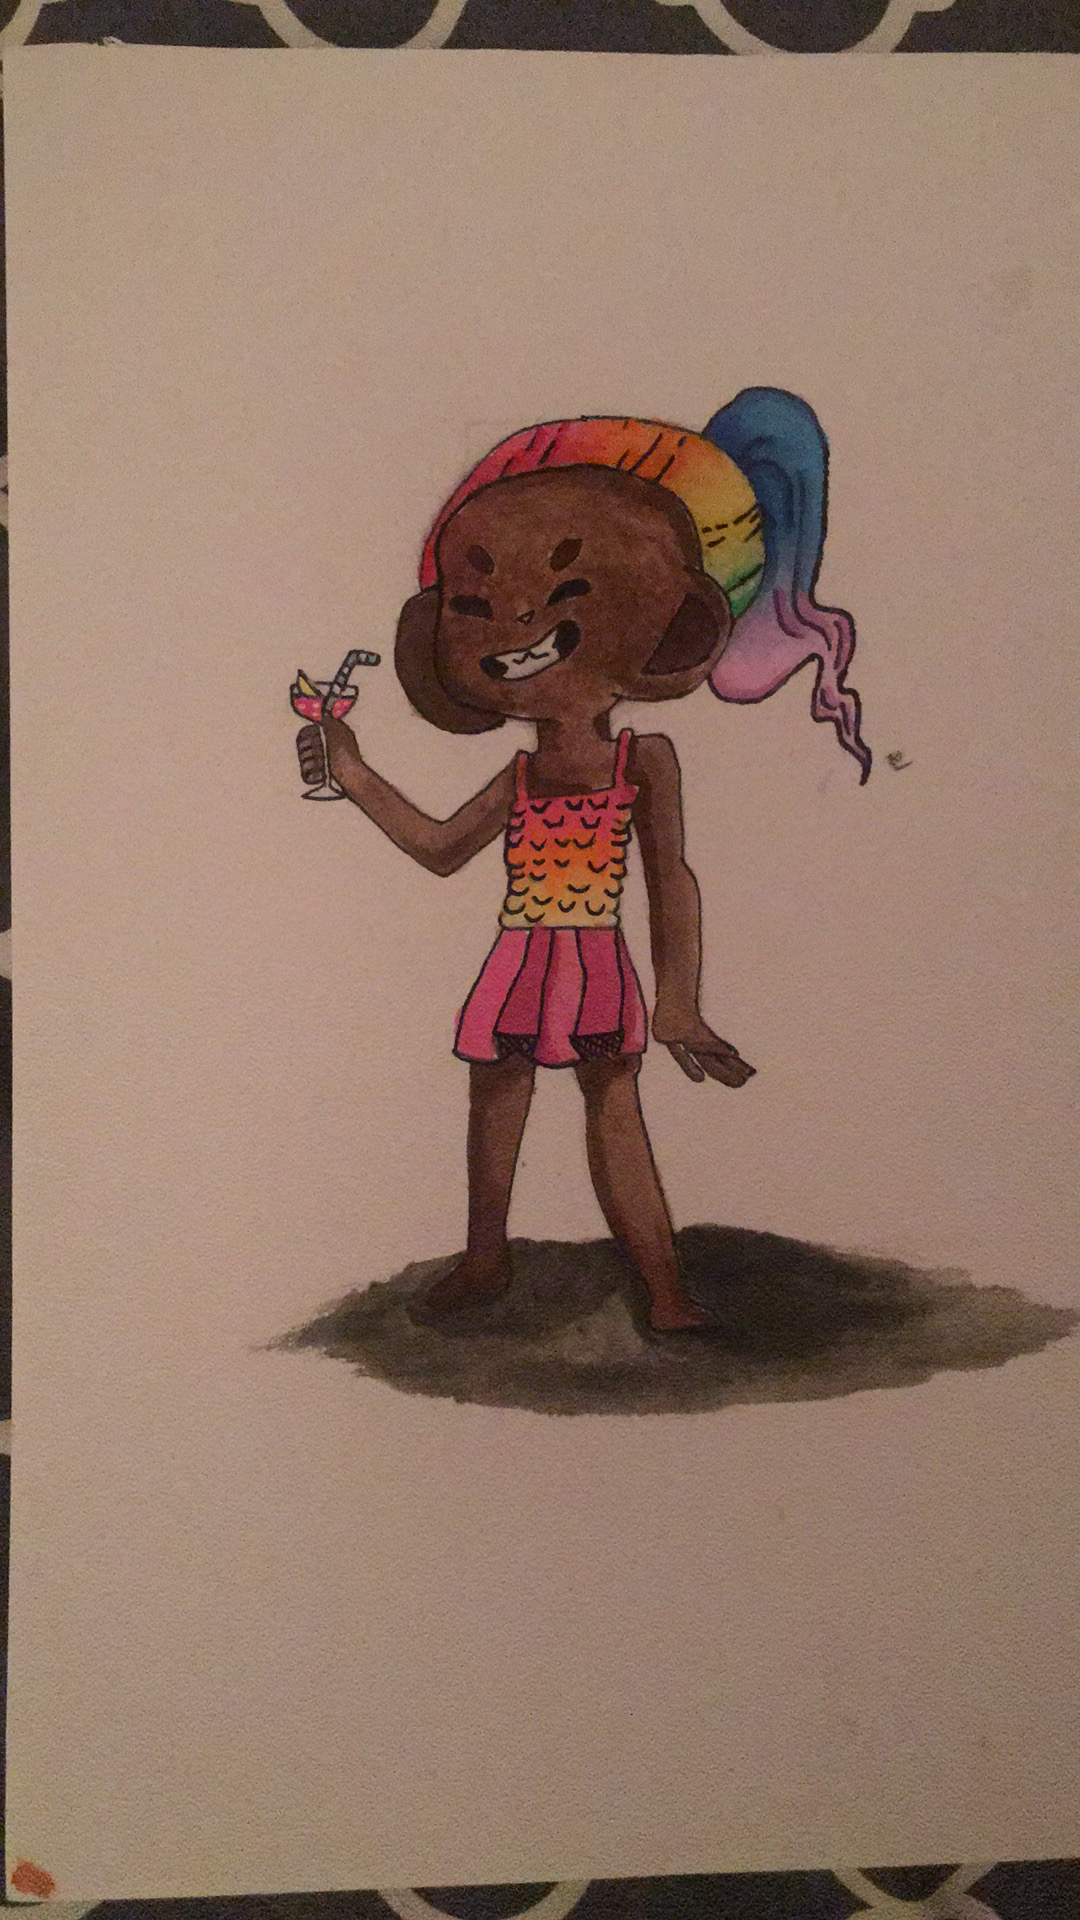
About this tutorial
Design and draw an original awesome character, plan features, costume, and colors, then add a short backstory to bring your creation to life.
What you need
Instructions
- 1
Step 1
Decide what kind of character you want to create such as a hero alien animal or robot.
- 2
Step 2
Write down three to five special features for your character like personality powers favorite item or a fun quirk.
- 3
Step 3
Pick a costume idea and note one or two signature pieces like a cape helmet or cool shoes.
- 4
Step 4
Choose a simple color palette of three to five colors that match your character idea.
- 5
Step 5
Draw three small thumbnail sketches showing different poses or body shapes to explore looks.
- 6
Step 6
Pick your favorite thumbnail sketch to turn into the final drawing.
- 7
Step 7
Lightly sketch the chosen pose and basic body shapes on clean paper using simple shapes like circles and ovals.
- 8
Step 8
Add costume details facial features hair and any accessories over your basic shapes.
- 9
Step 9
Trace the final lines with a black pen or fineliner to make the drawing bold and clear.
- 10
Step 10
Erase the pencil sketch lines gently so only the clean inked drawing remains.
- 11
Step 11
Colour your character using your chosen palette and add simple shading or patterns for extra flair.
- 12
Step 12
Write a short backstory of two to four sentences that gives your character a name a goal and one interesting fact.
- 13
Step 13
Add small finishing touches like highlights textures and your signature.
- 14
Step 14
Share your finished creation on DIY.org.
Fun facts
How do I design and draw an original awesome character with a backstory?
Start by brainstorming your character’s personality, powers, likes, and dislikes. Sketch simple silhouettes to find a unique shape, then add facial features, body type, and costume details. Use light pencil lines to refine the design, ink over the final lines if you like, and add color to set mood. Finish by writing a short backstory (one or two paragraphs) about origin, goals, and a memorable quirk to bring your creation to life.
What materials do I need to design and draw an original character?
You’ll need drawing paper or a sketchbook, pencils, eraser, sharpener, and colored pencils or markers. Optional extras include fine liners for outlines, watercolor or crayons for texture, reference images or a tablet for inspiration, stickers for decoration, and a ruler for costume details. For digital drawing use a tablet and stylus. Keep a scrap sheet for warm-up doodles and a folder to store finished characters.
What ages are suitable for this character design activity?
This activity suits a wide range: preschoolers (ages 4–6) enjoy simple shapes and color choices with adult help, elementary kids (7–10) can design features and short backstories independently, and tweens/teens (11+) can add complex costumes, themes, or digital art. Adjust prompts, templates, and time to match skill level. Supervision helps younger children with scissors, paints, or glue.
What are fun variations and benefits of designing characters?
Try variations like a comic strip starring your character, a character mash-up with a friend, sculpting the design from clay, or designing a wearable costume. Benefits include stronger storytelling, improved fine motor skills, boosted imagination, and emotional expression. Encourage adding a mission or flaw to build empathy and problem-solving. Use safe materials and take breaks; always supervise cutting or hot glue use.
Watch & Learn
Need help?
What can I use if I don't have a black pen or fineliner?
If you don't have a black pen or fineliner, use a fine-tipped permanent marker or a dark ballpoint pen to trace the final lines in step 9 and let the ink dry before erasing pencil lines in step 10.
My final drawing looks messy—how do I avoid smudges or lost lines?
Keep your initial sketch very light in step 7, let the ink from step 9 dry completely, and then erase gently in step 10 so the clean inked drawing from step 9 stays sharp and smudge-free.
How can I adapt this activity for younger or older kids?
For younger kids simplify to one big thumbnail, bold shapes and crayons during step 11 with a one-sentence backstory in step 12, while older kids can add extra costume details in step 8, more complex shading in step 11, and a 2–4 sentence backstory in step 12.
How can we make the character more unique or advanced once it's finished?
To enhance your character, add background scenes or comic panels, experiment with textures and patterns when colouring in step 11, design a signature item from your listed features in step 2, and then share the polished piece on DIY.org as the final step.