Use a letterpress
Make a printed card using a tabletop letterpress, arrange wooden or plastic type, ink with adult help, and press to learn printing and design basics.


Step-by-step guide to make a printed card with a tabletop letterpress
Learning how to Print Letterpress (Kelsey Press, Vandercook, & Showcard)
Step 1
Clear a table and cover it with scrap paper to protect the surface.
Step 2
Gather your letterpress materials from the list and place them on the covered table.
Step 3
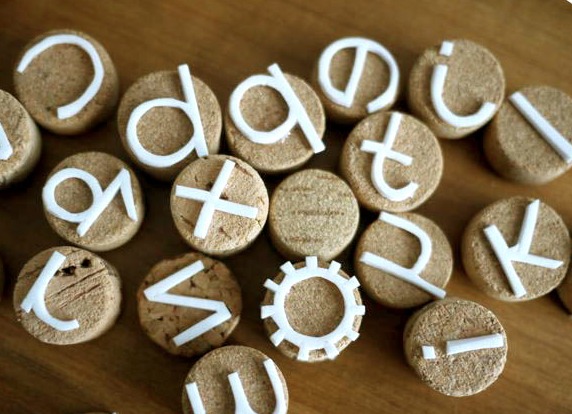
Pick a short word or simple design for your card and choose the letter pieces you will need.
Step 4
Wipe each type piece with a cloth so they are clean and dry.
Step 5
Arrange the letters into the composing stick in reverse order so the printed word will read correctly.
Step 6
Transfer the arranged letters into the press bed and ask an adult to lock them in place securely.
Step 7
Ask an adult to put a small amount of ink on a scrap surface and roll it onto the brayer until it is evenly coated.
Step 8
With an adult, roll the inked brayer gently over the type to coat the raised letters evenly.
Step 9
Place a blank card on the press bed where you want the print to appear.
Step 10
Ask an adult to operate the press to make the printed impression.
Step 11
Carefully lift the card off the press and set it flat on scrap paper to dry.
Step 12
Use coloring materials to decorate the card edges or add a hand-drawn picture if you like.
Step 13
Sign and date the back of your card with your name.
Step 14
Share your finished printed card on DIY.org
Help!?
What can I use instead of a letterpress, composing stick, or brayer if I don't have them?
Use rubber or foam alphabet stamps with an ink pad and press them onto the blank card on the covered table instead of arranging metal type in the composing stick and rolling ink with a brayer.
My letters print faint or patchy — what should I check and fix?
Make sure you wiped each type piece so they are clean and dry (step 4), roll the inked brayer more on scrap paper until the ink is evenly coated (step 7), and ask an adult to lock the arranged letters securely in the press bed (step 6) before printing.
How can I adapt the activity for different ages?
For ages 3–5 use foam stamps or stickers to press onto the blank card with adult help, ages 6–10 can arrange letters in the composing stick and watch an adult lock them in the press bed, and teens can ink the brayer and operate the press with supervision to try multi-color prints.
How can we enhance or personalize the printed card after printing?
After lifting the card to dry on scrap paper (step 10), decorate the edges with watercolor or markers, add a hand-drawn picture (step 11), or create layered two-color designs by re-inking the brayer in different colors and carefully aligning the card on the press bed for each layer.
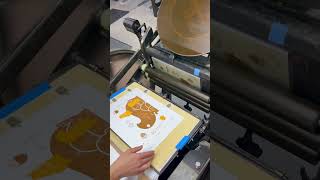
Watch videos on how to use a tabletop letterpress to make a printed card
How to Letterpress for beginners
4 Videos
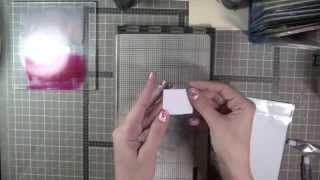
How to Letterpress for beginners
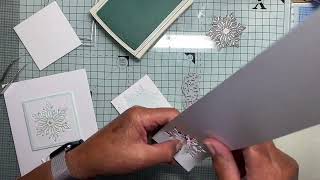
Easy Letterpress technique using dies
Constructanote Printing | Letterpress PLAY
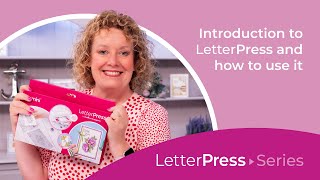
How to Use LetterPress | Made with LetterPress
Facts about letterpress printing for kids
🖨️ Letterpress prints from raised type, so you can often feel a slight impression (deboss) on the paper—it's truly tactile!
🔤 Movable type lets printers rearrange single letters to print lots of different pages without carving new blocks each time.
🪵 Wood type became a printing favorite for big, bold posters in the 1800s because it was lighter and cheaper than metal.
🎨 Letterpress usually prints one color per pass, so multicolor cards are made by running the same piece through the press multiple times.
🕰️ After commercial decline with offset printing, letterpress was revived as a popular artisanal craft for special cards and invitations.
How do I make a printed card using a tabletop letterpress?
What materials do I need to make a letterpress printed card?
What ages are suitable for using a tabletop letterpress?
What are the benefits, safety tips, and variations for this printing activity?
