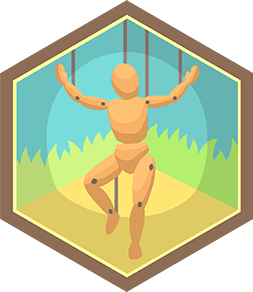
Make a stop motion puppet
Make a simple stop-motion puppet from paper, clay, or cardboard with movable joints; design, pose, and photograph it to create a short animated film.

Step-by-step guide to make a stop-motion puppet
Holly's One Day Build: How to create a stop motion puppet!
Step 1
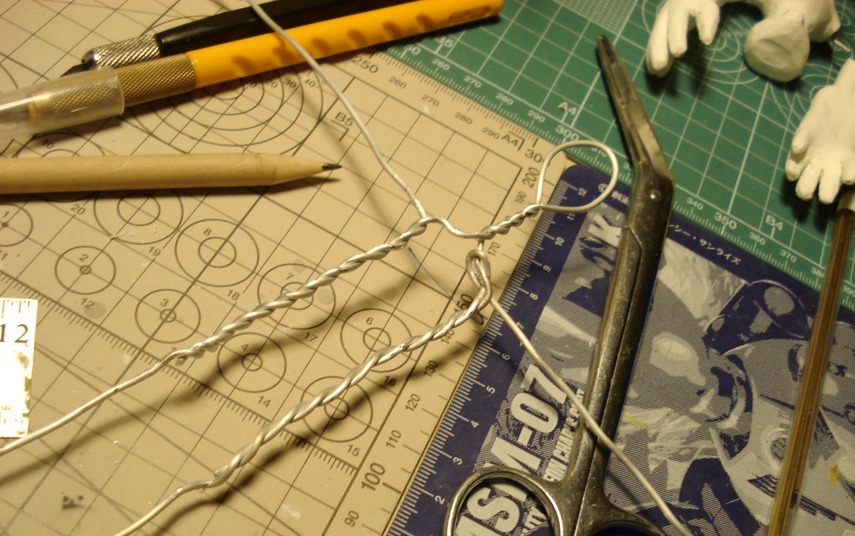
Gather all the Materials Needed and bring them to a clear workspace.
Step 2
Choose whether you will use paper clay or cardboard and draw a simple puppet design on scrap paper.
Step 3
Cut or shape separate body pieces for the head torso arms and legs from your chosen material.
Step 4
Make movable joints by attaching overlapping pieces with a paper fastener or by taping a small paper hinge.
Step 5
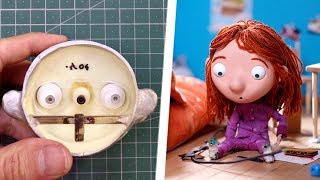
Decorate your puppet by colouring and adding facial features clothing or textures.
Step 6
Create a stable base by gluing or securing the puppet to the small piece of cardboard or jar lid so it stands upright.
Step 7
Set up a plain background and steady light so your puppet is easy to see in photos.
Step 8
Place your device on a steady surface so the puppet stays in the same spot in every photo.
Step 9
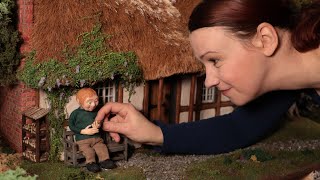
Take a series of photos moving the puppet a tiny amount between each shot until you have about 20 to 40 frames.
Step 10
Import the photos into a stop-motion app or computer program then set a frame rate and export a short animated film.
Step 11
Share your finished stop-motion puppet film on DIY.org.
Help!?
What can we use instead of paper clay or cardboard if those materials are hard to find?
Use air-dry clay, craft foam sheets, or recycled cereal boxes as substitutes when cutting or shaping the separate body pieces for head, torso, arms, and legs.
My puppet keeps tipping over or the joints get stuck—how can I fix that during filming?
Glue the puppet to a heavier base like a metal jar lid or layer multiple pieces of cardboard and loosen or replace paper fasteners or use small tape hinges so the movable joints bend smoothly while the puppet stands upright during photos.
How can I change the steps to suit different ages or skill levels?
For younger children, pre-cut head, torso, arms, and legs and use tape hinges and simple colouring, while older kids can add wire armatures, sculpt with paper clay, create detailed textures, and shoot 20–40 frames in a stop-motion app themselves.
What are fun ways to extend or personalize our stop-motion puppet film?
Personalize by adding clothing, textured materials, or removable props in the 'decorate your puppet' step, build multiple characters or layered backgrounds, increase frame count and frame rate for smoother motion, and add sound or titles after importing into your stop-motion app.
Watch videos on how to make a stop-motion puppet
How to make a StopMotion Puppet, Matilda's secrets
4 Videos
How to make a StopMotion Puppet, Matilda's secrets
How to make a puppet for stop motion animation, complete tutorial
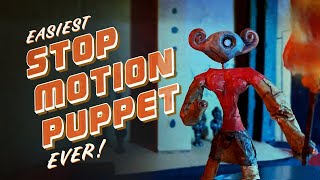
HOW TO Build the EASIEST Stop Motion Puppet EVER!
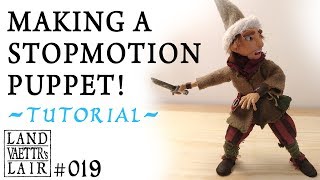
Making a Stopmotion Puppet! (Experimentative Tutorial)
Facts about stop-motion animation
🎬 Many stop-motion films are shot at 24 frames per second, but kid-friendly projects often use 12 fps so you need fewer photos.
🏆 Nick Park, creator of Wallace & Gromit, helped make clay puppets famous and won multiple Academy Awards for his shorts.
✂️ Paper cutout puppets can be joined with brads or tape to create movable limbs — a simple way to start stop-motion.
🎨 Clay (claymation) puppets are reusable and can be reshaped between scenes, making them great for experimenting.
📷 Smooth animation happens with tiny moves — shifting a joint just a few millimeters between photos makes motion look natural.
How do you make a stop-motion puppet and animate it?
What materials do I need to make a simple stop-motion puppet?
What ages is making stop-motion puppets suitable for?
What are the benefits of making stop-motion puppets for kids?
