Create a marionette
Build a simple marionette puppet using cardboard, string, dowels, and craft supplies; learn basic joints, control movements, and create a short puppet performance.


Step-by-step guide to create a marionette puppet
how to make a simple marionette! (tutorial)
Step 1
Gather all the materials and clear a flat workspace so you have room to build.
Step 2
Use your pencil and ruler to draw a simple puppet shape on the cardboard: head torso two arms and two legs.
Step 3
Cut out each cardboard piece carefully with scissors.
Step 4
Decide where the joints should be and mark small dots at the shoulder hip neck and knee spots on each piece.
Step 5
Make small holes at each marked dot using a pencil tip or hole punch.
Step 6
Join the pieces at matching holes by pushing a brad through and spreading its feet to create movable joints.
Step 7
Decorate the puppet parts with your colouring and craft supplies to give it a face outfit and character.
Step 8
Cut separate lengths of string—one for each arm one for each leg and one for the head—leaving extra length for tying.
Step 9
Tie one end of each string securely to the brad or a reinforced spot near each joint and add a bit of tape if you want extra strength.
Step 10
Make the control cross by crossing two wooden dowels and tying them together tightly in the middle with string or tape.
Step 11
Tie the free ends of the puppet strings to the control cross so each string controls one limb or the head.
Step 12
Hold the control cross and gently move the strings to see how the puppet moves.
Step 13
Shorten or lengthen and retie any strings that need adjusting so the puppet moves smoothly.
Step 14
Practice a short puppet routine and then share your finished marionette and a short performance on DIY.org
Help!?
What can we use instead of wooden dowels or metal brads if we can't find them?
Use two pencils or chopsticks crossed for the control cross and paper fasteners (split pins), small bolts with washers, or tightly knotted string through reinforced punched holes instead of metal brads to make movable joints.
My puppet's joints are too loose or the limbs flop — what should I do?
If holes are too big or brads feel loose, re‑punch a smaller hole, add a small washer or bead on the brad, or reinforce the joint area with a bit of tape behind the cardboard so the brad holds snugly but still allows movement.
How can we change the activity for younger or older kids?
For younger children have an adult pre‑cut the cardboard pieces, pre‑punch holes, and use thick yarn and tape for strings, while older kids can add extra elbow/knee joints, thinner string for finer control, and more complex control‑cross designs.
How can we make the marionette more unique or perform better in our DIY.org video?
During the decorate step add painted costumes, fabric scraps, googly eyes or glued details, build a small cardboard stage or backdrop, and practice shortening or lengthening strings so the puppet's movements look smooth on camera.
Watch videos on how to create a marionette puppet
Marionette Bird Puppet Tutorial by Di Ford
4 Videos
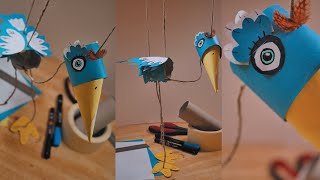
Marionette Bird Puppet Tutorial by Di Ford
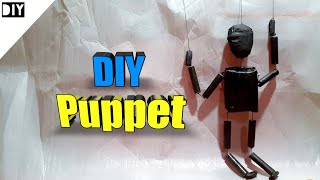
How to make puppet (DIY Marionette puppet) from paper
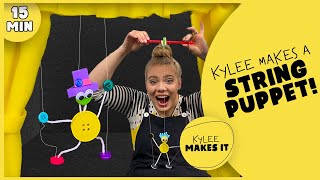
Kylee Makes a String Puppet | DIY Marionette Button Puppet | Crafts for Kids Video
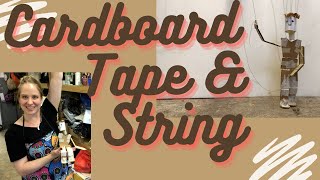
CARDBOARD, TAPE & STRING: How to build and string entire Marionette puppet
Facts about puppetry
🎭 Marionettes are puppets controlled from above using strings or wires attached to a wooden control bar called a marionette cross.
🪢 Some professional marionettes use more than a dozen strings so each limb and gesture can be moved independently.
🐸 Jim Henson started making puppets as a teenager and later created the Muppets, revolutionizing puppetry on TV.
📦 Cardboard is lightweight, easy to cut and decorate, and is a favorite material for quick puppet bodies and stages.
🪵 Wooden dowels are perfect for puppet control rods because they're strong, smooth, and easy to tie or glue strings to.
How do you build a simple marionette puppet?
What materials do I need to make a marionette?
What ages is making a marionette suitable for?
What are the benefits, safety tips, and variations for marionette-making?
