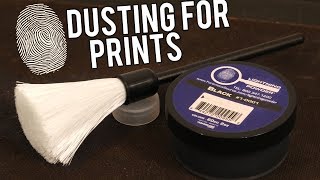
Dust for fingerprints
Dust for fingerprints using safe household powders, a soft brush, and tape to lift, examine, and compare prints like a junior detective.


Step-by-step guide to dust for fingerprints
How to dust for fingerprints
Step 1
Wash and dry your hands so they are clean before you start.
Step 2
Choose one object to test for fingerprints like a glass spoon or doorknob.
Step 3
Pour a tiny pinch of powder into the small dish to use for dusting.
Step 4
Gently dip the tip of the soft brush into the powder so the brush picks up some dust.
Step 5
Tap the brush lightly on the dish rim to remove any extra powder.
Step 6
Brush very gently over the chosen object in light strokes until a fingerprint pattern appears.
Step 7
Press a piece of clear tape firmly over the revealed fingerprint so the powder sticks to the tape.
Step 8
Lift the tape straight up to pick up the powdered fingerprint without smearing it.
Step 9
Stick the tape onto a white paper card to preserve the lifted print.
Step 10
Smooth the tape edges down with your finger so the print stays flat on the paper.
Step 11
Lightly dip the tip of a clean fingertip into a tiny bit of powder to make a reference mark.
Step 12
Press that powdered fingertip once onto a clean piece of paper to create a reference fingerprint.
Step 13
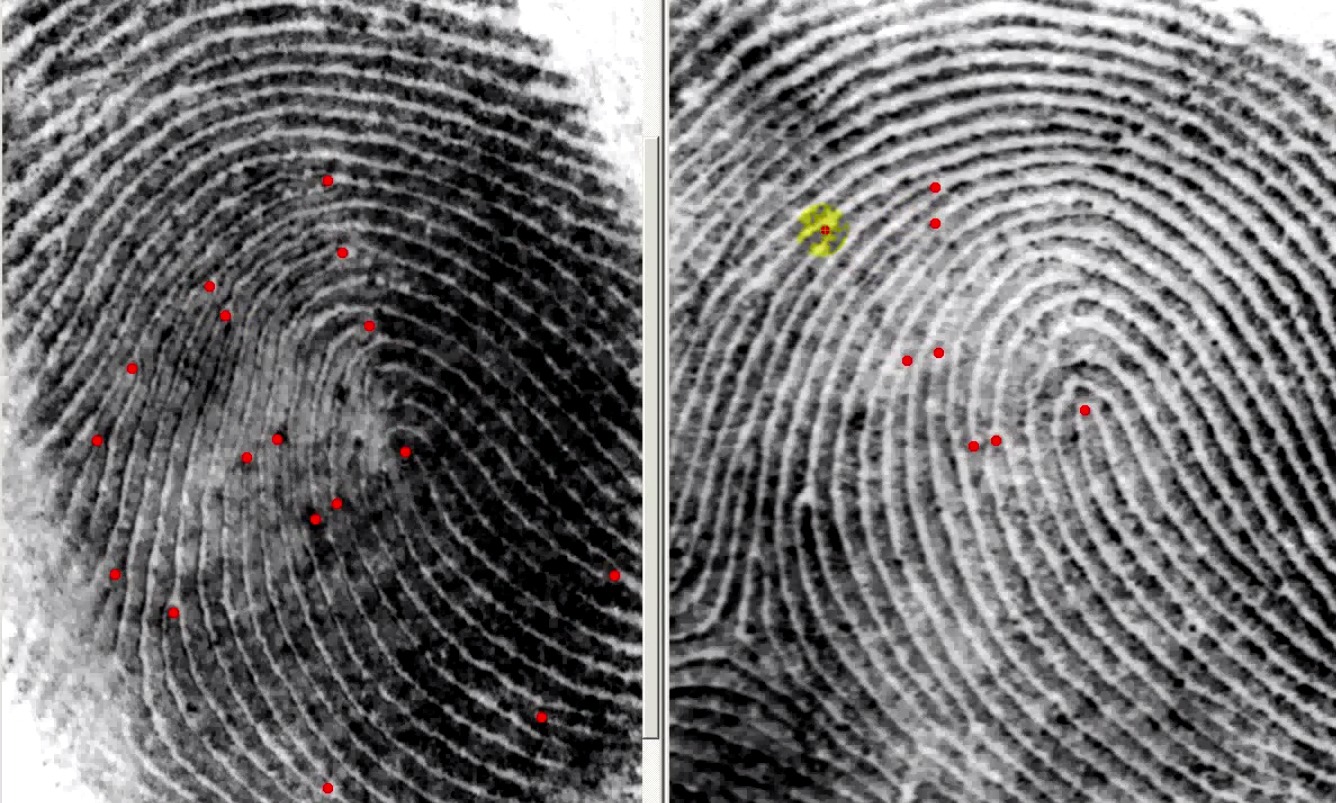
Use the magnifying glass to compare the lifted print and your reference print for matching ridges loops or whorls.
Step 14
Wash your hands with soap and water to clean off any leftover powder.
Step 15
Share your finished creation on DIY.org.
Help!?
What can I use instead of fingerprint powder, a soft brush, or a small dish if those are hard to find?
Use a tiny pinch of cocoa powder or cornstarch as the dusting powder, a soft paintbrush or clean makeup brush instead of the soft brush, and a bottle cap or clean yogurt lid as the small dish, then follow steps 3–5 when picking up and tapping the powder.
Why won’t a fingerprint appear or why does it smear when I lift the tape, and how can I fix it?
If no print appears, choose a smoother non-porous object like the glass spoon from step 2, brush much more gently in light strokes per step 5 and tap excess powder on the dish rim per step 4, then lift the tape straight up in step 7 to avoid smearing.
How can this activity be changed for younger children or made more challenging for older kids?
For younger children, have an adult handle the powder and the tape and let them press the powdered fingertip onto paper per steps 11–12, while older kids can use finer graphite or specialty fingerprint powder, photograph the lifted print, and analyze loops and whorls with the magnifying glass in step 13 before sharing on DIY.org.
What are some fun ways to extend or personalize the fingerprint activity after making the lifts?
Create a personalized fingerprint ID card by sticking the lifted tape to a labeled white paper card from step 8, compare and label ridge patterns with the magnifying glass in step 13, add colored backgrounds or laminate the card, and then photograph it to share on DIY.org per step 14.
Watch videos on how to dust for fingerprints
How to dust and lift a fingerprint
4 Videos
How to dust and lift a fingerprint
How to Lift Fingerprints: Dusting For Prints
Try this! Dusting for Fingerprints

Fauxrensics | Case #8 | Dusting for Prints
Facts about forensic science for kids
🕵️♀️ Fingerprints are unique — even identical twins have different ridge patterns.
🔬 Latent fingerprints are made from tiny oils and sweat your skin leaves behind, often invisible until revealed.
🧴 Some gentle household powders (like baby powder or cocoa) can make prints show up, but always test a small spot first.
📜 Clear tape can lift a dusted print so you can stick it to paper and compare ridges side-by-side.
🧭 Most fingerprint patterns fall into three groups: loops (about 60–70%), whorls (25–35%), and arches (around 5%).
How do you dust for fingerprints with kids at home?
What materials do I need to dust for fingerprints safely?
What ages is dusting for fingerprints suitable for?
Are there safety tips and benefits for kids dusting fingerprints?
