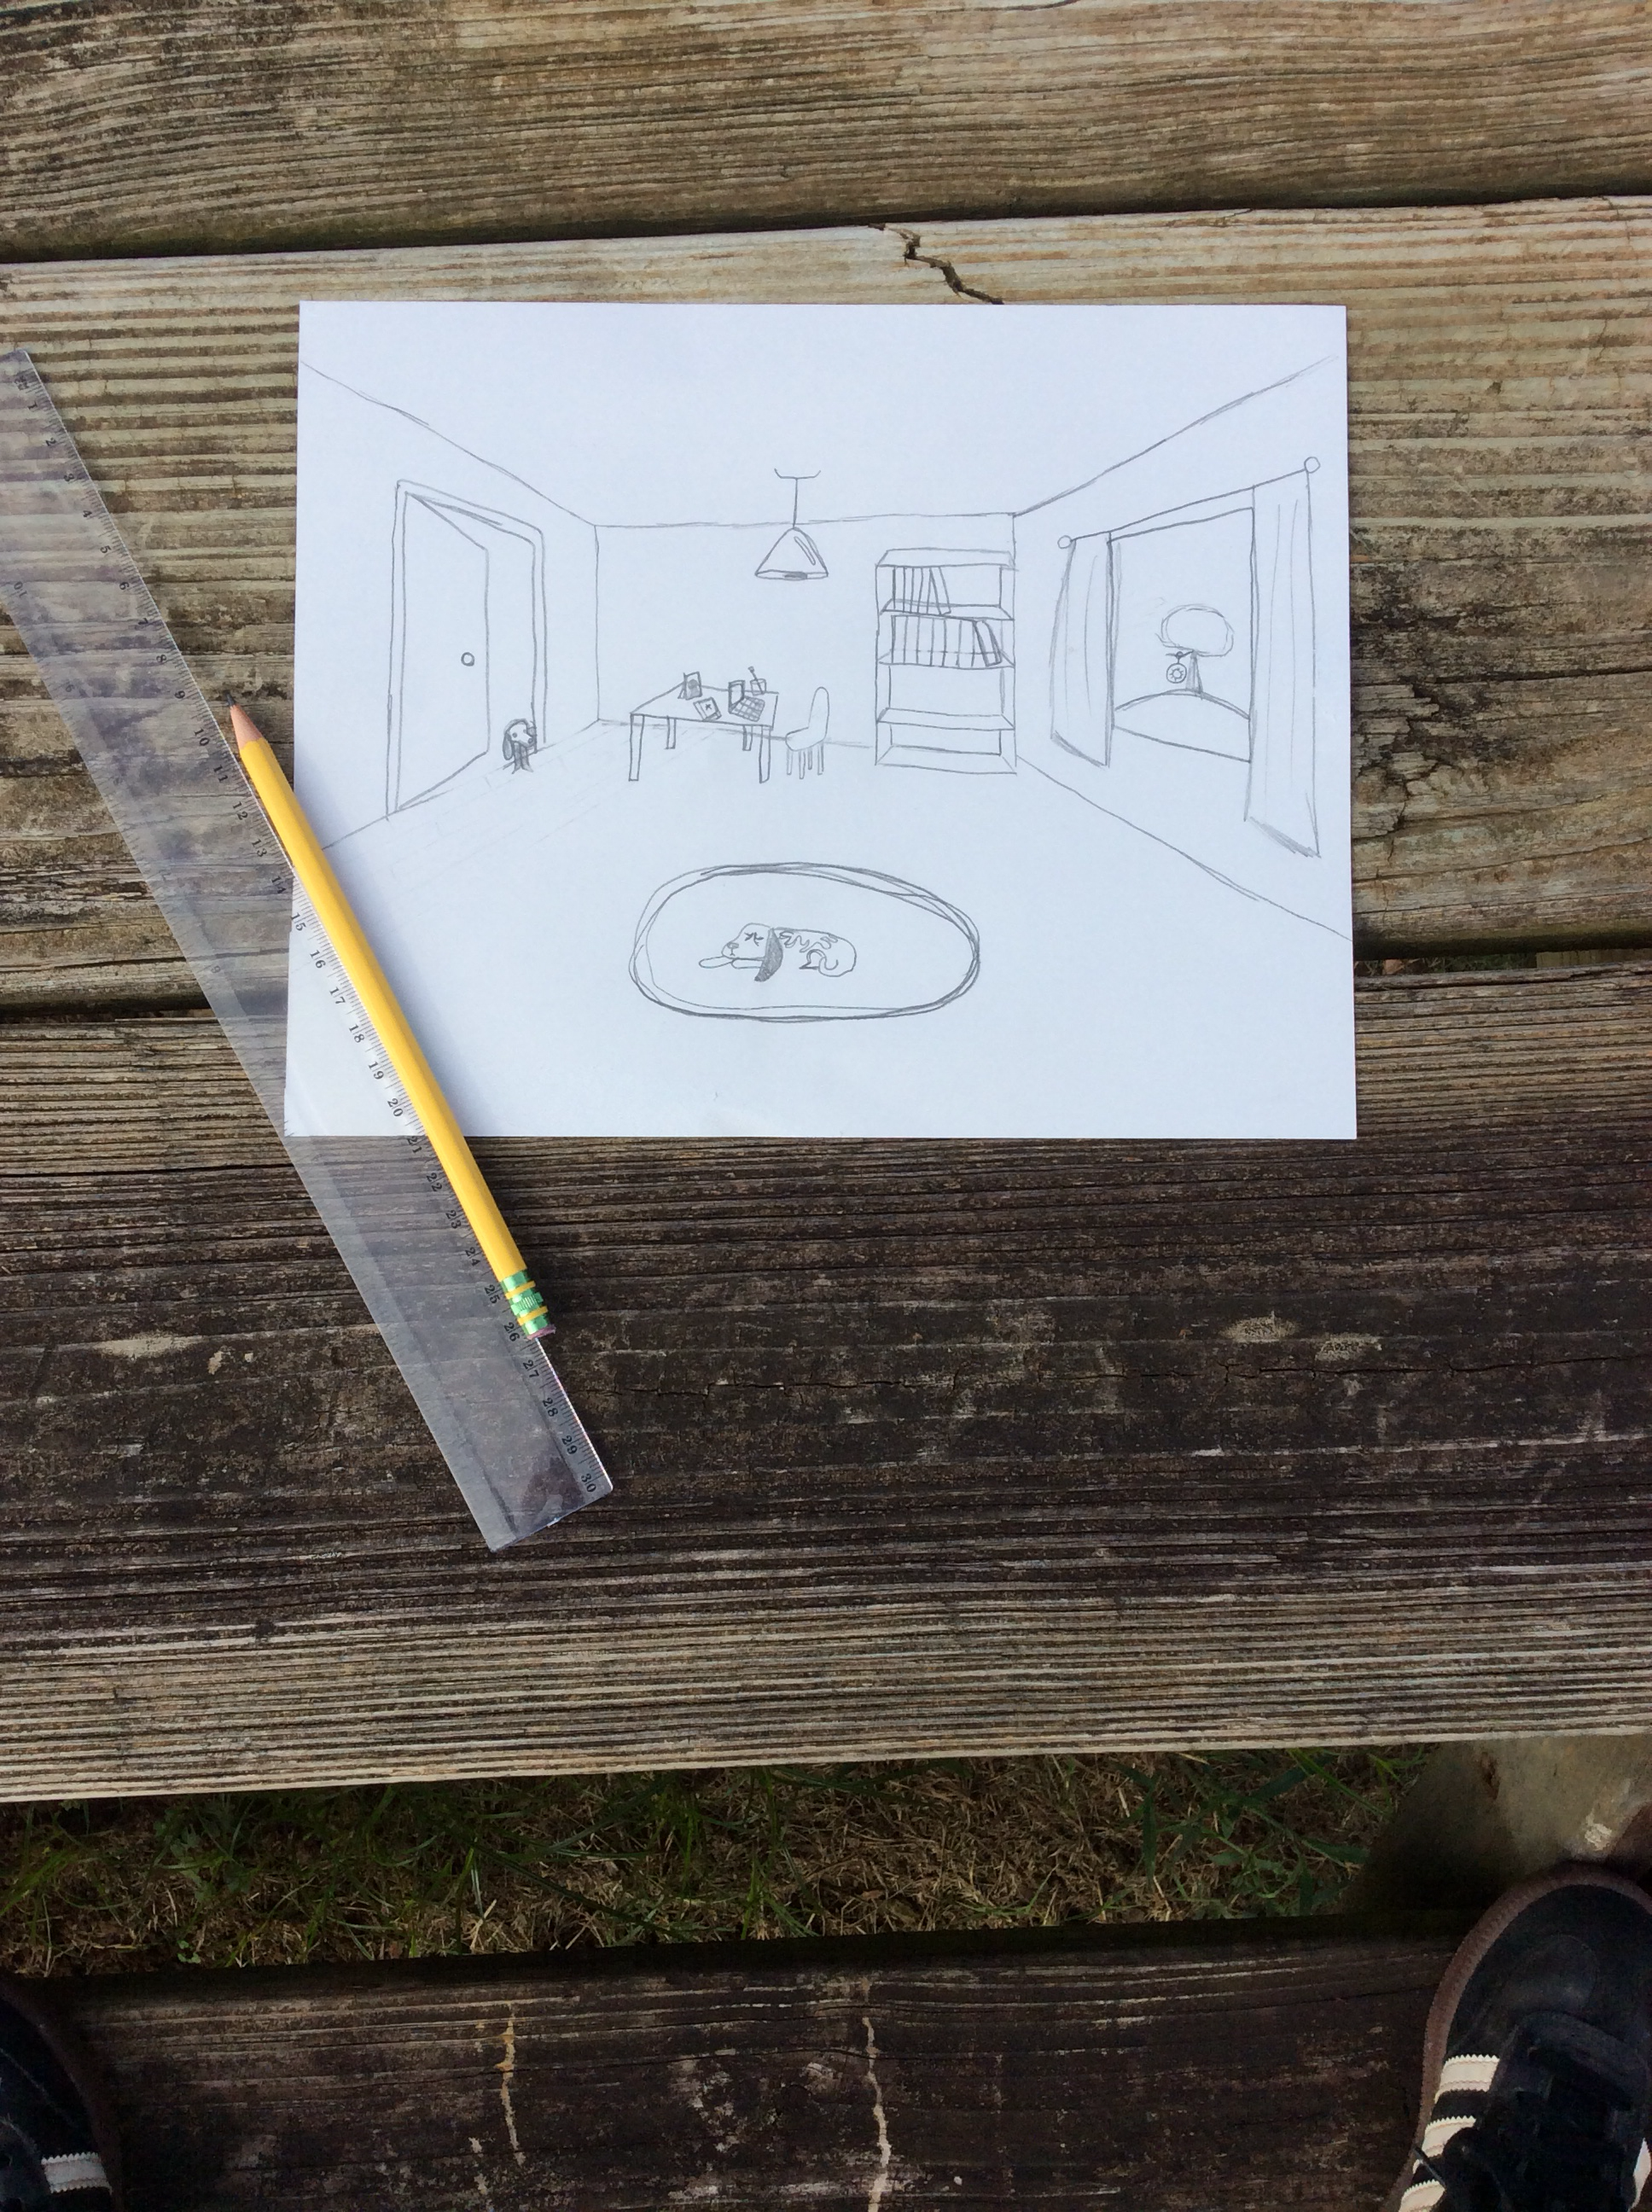
Draw things near and far away in a scene
Draw a scene that shows near and far objects to practice perspective and depth, using size, overlap, and color to create distance.

Drawing Apps
Step-by-step guide to draw a scene showing near and far objects
Step 1
Gather your materials and find a flat surface to work on.
Step 2
Decide if your picture will be landscape (wide) or portrait (tall).
Step 3
Lightly draw a straight horizon line across the page with your pencil and ruler.
Step 4
Choose two or three things to be "near" and two or three things to be "far" and picture where they will go.
Step 5
Lightly sketch the big near objects at the bottom of the page so they look large.
Step 6
Lightly sketch the small far objects close to the horizon line so they look distant.
Step 7
Add overlap by drawing parts of nearer objects so they sit in front of farther ones.
Step 8
Check sizes and make near objects noticeably bigger and far objects noticeably smaller as needed.
Step 9
Color near objects with stronger darker colors to make them feel close.
Step 10
Color far objects with paler lighter colors and use less detail so they look farther away.
Step 11
Add simple shadows or ground texture under objects to make them sit on the scene and sign your name.
Step 12
Share a photo of your finished near-and-far scene on DIY.org so others can see your perspective powers.
Help!?
What can we use instead of a ruler or colored pencils?
If you don't have a ruler, use the straight edge of a book to lightly draw the horizon line, and swap colored pencils for crayons, markers, or small torn pieces of colored paper to color near and far objects.
My near and far objects don't look different — how do I fix that?
Check sizes and make near objects noticeably bigger, add overlap by drawing parts of nearer objects in front of farther ones, and color near objects with stronger darker colors while keeping far objects paler with less detail as the instructions say.
How can I change the activity for younger or older kids?
For younger children, simplify the steps by choosing one big near shape and one small far shape to trace and color with crayons or stickers, while older kids can use a ruler to plan horizon and vanishing-point lines, add detailed textures, and stronger shadows under objects.
How can we make the scene more personal or advanced?
Personalize or extend your scene by adding mixed media (glued fabric or tissue for near objects), painting a pale watercolor wash for distant areas to reinforce depth, writing a short caption, then sign your name and share a photo on DIY.org as suggested.
Watch videos on how to draw a scene showing near and far objects
How to Draw Shapes Step By Step | Easy Drawing for Kids | Chiki Art
4 Videos
How to Draw Shapes Step By Step | Easy Drawing for Kids | Chiki Art
Basic drawing lessons for beginners How to draw object drawing easy for beginners with BASIC SHAPES
How to Draw One-Point Perspective - Easy Art Lesson for Kids
How to Draw Two-Point Perspective - Easy Art Lesson for Kids
Facts about perspective and depth in drawing
🖼️ Linear perspective was popularized in the Renaissance — artists like Brunelleschi used it to make flat paintings look 3D.
🎯 One-point perspective uses a single vanishing point on the horizon — perfect for drawing roads, train tracks, or hallways.
🧭 Two-point perspective gives realistic corners and buildings by using two vanishing points at the horizon line.
🌫️ Atmospheric perspective means distant objects look bluer, lighter, and fuzzier — nature’s way of showing depth.
📏 Size and overlap are superpowers: bigger and overlapping objects read as closer, smaller and unobstructed ones feel far away.
How do I teach my child to draw a scene showing near and far objects to practice perspective and depth?
What materials do I need to draw a near-and-far scene for depth practice?
What ages is drawing near and far scenes suitable for?
What are the benefits of drawing scenes with near and far objects, and are there safe variations?
