Fingerskate
Build and customize a finger skateboard from cardboard, craft sticks, and bottle cap wheels, then practice balance, pushing, and simple tricks to explore motion.

Step-by-step guide to build and customize a finger skateboard
EASIEST Fingerboard Tricks For Beginners And Pros! (and how to)
Step 1
Gather all materials and set them on a clean table so you can reach everything easily.
Step 2
Use your pencil and ruler to draw a skateboard deck shape on the cardboard about 8 to 12 cm long.
Step 3
Carefully cut out the deck shape from the cardboard with scissors.
Step 4
Glue two craft sticks side by side to the underside of the deck to make it strong.
Step 5
Measure and mark four wheel spots on the underside about 1 cm from each short end and near each side.
Step 6
Glue a bottle cap onto each marked spot so you have four bottle cap wheels attached under the deck.
Step 7
Let the glue dry completely before you touch the skateboard.
Step 8
Decorate the top of your deck with colouring materials to give your finger skate a cool look.
Step 9
Put your index and middle finger on the deck with one finger near the front and one near the back to find its balance point.
Step 10
Push the board gently with one finger to practice smooth pushes and stopping.
Step 11
Try a simple trick like a small tail flick or a tiny spin to explore how motion changes with pushes and balance.
Step 12
Share a photo or video of your finished finger skateboard and tell what tricks you tried on DIY.org.
Help!?
What can I use if I don't have bottle caps, craft sticks, or cardboard?
Use small coins or tightly rolled cardboard circles instead of bottle caps, stack extra cardboard or folded cereal box strips as a substitute for gluing two craft sticks side by side on the underside, and use a cereal box panel or thick paper to draw and cut the 8–12 cm skateboard deck shape.
My wheels keep falling off or the deck is floppy — what should I do?
Follow the step to glue two craft sticks side by side under the deck for strength, press each bottle cap onto the marked wheel spots about 1 cm from the short ends and let the glue dry completely (or use hot glue) before testing so wheels stay attached and the board isn't floppy.
How can I adapt this activity for younger or older kids?
For younger children have an adult draw and cut the deck and glue the bottle caps while the child decorates and practices gentle pushes, and for older kids have them measure the 1 cm wheel spots, cut the deck themselves, experiment with balance using index and middle fingers, and try small tail flicks and tiny spins.
How can we make the finger skateboard fancier or more fun?
Improve rolling and personalize it by adding short toothpicks or bead spacers as simple axles through the bottle cap wheels, decorate the top with paint or colourful tape, and build a small cardboard ramp to practise tricks and record a video to share on DIY.org.
Watch videos on how to build and customize a finger skateboard
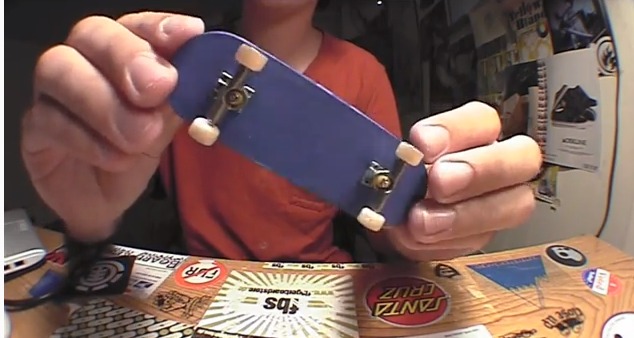
YOUR FIRST DAY FINGERBOARDING
4 Videos
YOUR FIRST DAY FINGERBOARDING
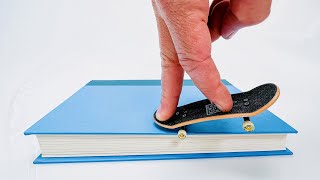
HOW TO FINGERBOARD (For Beginners)
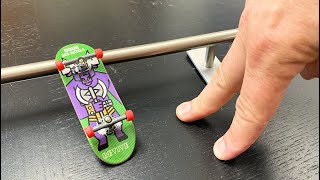
5 EASY FINGERBOARD TRICKS YOU CAN LEARN RIGHT NOW!
Must-Learn Skills for Beginner Figure Skaters
Facts about simple physics and toy building
🛹 Skateboarding became an Olympic sport at Tokyo 2020 — even tiny fingerboards copy real skateboard moves!
♻️ Bottle caps, cardboard, and craft sticks are perfect for upcycling into wheels, decks, and ramps for fingerskating.
⚖️ Balance and tricks work the same in miniature: moving your finger shifts the center of mass and changes how the deck tilts or pops.
🔧 Popsicle (craft) sticks are surprisingly strong and easy to cut or layer, so builders often use them for sturdy mini decks.
🌟 Fingerboarding has a global community with contests and trick videos — people practice tiny tricks just like full-size skaters!
How do you build and use a finger skateboard?
What materials do I need for a finger skateboard?
What ages is this finger skateboard activity suitable for?
What are the benefits and safety tips for finger skateboarding?
