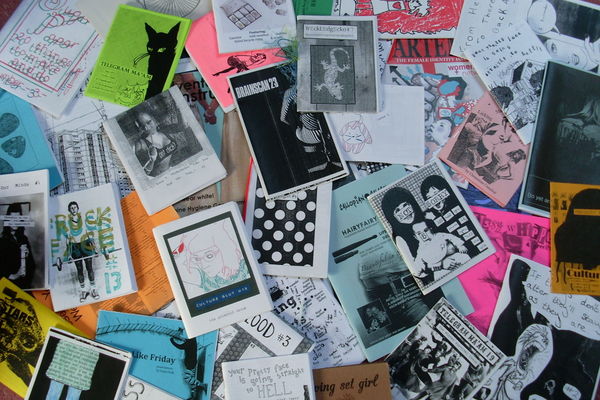
Make a zine
Make a small handmade zine by folding and illustrating paper, writing short stories or poems, and learning layout, cutting, and stapling skills.


Step-by-step guide to make a zine
How To Make A Zine! | Tate Kids
Step 1
Gather all your materials and find a clean flat workspace to make your zine.
Step 2
Choose 2 to 4 sheets of paper to use for your zine.
Step 3
Fold each sheet in half with the short sides meeting and crease the fold firmly with your finger or ruler.
Step 4
Nest the folded sheets inside each other so one booklet sits inside another to form the pages.
Step 5
Align the folded edges so all pages match and press them flat with your hand or the ruler.
Step 6
With an adult’s help staple twice along the center fold about 1 cm from the top and bottom to bind the zine.
Step 7
Make tiny thumbnail sketches or short notes showing what you want on each page.
Step 8
Write a short story or poem on the first inside page with your pencil.
Step 9
Write a short sentence or poem on each remaining page to fill your zine.
Step 10
Draw pictures on the pages and add color using your colouring materials.
Step 11
Carefully trim any uneven outer edges with scissors so the pages look neat.
Step 12
Create a title and decorate the cover with a big bold picture or design.
Step 13
Take a photo of your finished zine and share it on DIY.org.
Help!?
I don't have a stapler for the step that says 'With an adult’s help staple twice along the center fold about 1 cm from the top and bottom to bind the zine' — what can I use instead?
If you don't have a stapler, substitute by stitching two small holes through the center fold with a blunt needle and strong thread or by placing a strip of clear tape along the center fold to hold the nested sheets together.
What should I do if the pages won't stay aligned after I 'Nest the folded sheets inside each other' and the outer edges are uneven?
If pages won't align, reopen each sheet and firmly re-crease every fold with a ruler or the side of a crayon, refold and nest them carefully so the folded edges match, press flat, then trim any uneven outer edges with scissors as the last step.
How can I adapt this zine activity for different ages, like preschoolers versus older kids?
For preschoolers, use only 2 sheets prefolded and pre-nested, let them make big drawings and stickers for the cover and have an adult do the stapling, while older kids can use 4 sheets, create thumbnail sketches for each page, write a longer story on the first inside page, and trim edges themselves.
How can we extend or personalize the zine beyond the basic steps like 'Create a title and decorate the cover' and 'Draw pictures on the pages and add color'?
To enhance your zine, add a small glued-in collage or pocket inside the back cover for extra notes, use colored paper for alternate pages before nesting, decorate the cover with washi tape or stamps, and take the final photo to share on DIY.org as the instructions suggest.
Watch videos on how to make a zine
EASY ONE-PAGE COMICS | Making My FIRST Zine
4 Videos
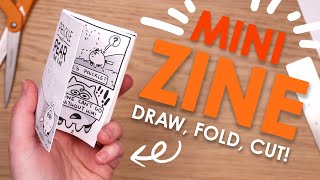
EASY ONE-PAGE COMICS | Making My FIRST Zine

The History of Zines with Kate Bingaman-Burt
Zine Tutorial: How to Make a Colorful and Inspirational Zine, Easy DIY Booklet | Mixed Media Collage
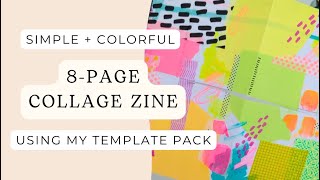
How to Make an 8-Page Collage Zine | Simple DIY Zine Template Tutorial
Facts about zine-making and paper crafts
📰 Zines grew out of 1930s science-fiction fanzines—small homemade magazines fans traded long before the internet.
✂️ One sheet of paper can be folded and cut into an 8-page mini-zine—perfect for tiny stories, poems, and comics.
📠 The rise of affordable photocopiers in the 1970s and 80s helped zine culture explode by making copies cheap and easy.
🎨 Many zines are handmade with original drawings, collages, stickers, and creative layouts, so each copy can be unique.
✊ The 1990s Riot grrrl movement used zines to share feminist ideas, promote bands, and build community across cities.
How do you make a small handmade zine?
What materials do I need to make a small handmade zine?
What ages is this zine activity suitable for?
What are the benefits and safety tips for kids making zines?
