Create a tunnel book
Create a layered tunnel book using paper, cardstock, child-safe scissors, and glue; design and cut scenes, stack frames to build depth and a three-dimensional story.


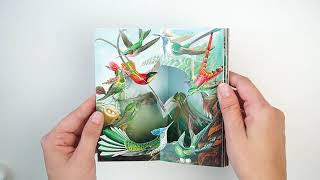
Step-by-step guide to make a tunnel book
How to Make a Tunnel Book
Step 1
Pick a short scene idea for your tunnel book like a forest space or underwater world.
Step 2
Write down four layers you want to show such as foreground middle ground background and sky.
Step 3
Decide how big your tunnel book will be and use the ruler and pencil to mark that size on cardstock.
Step 4
Cut four identical outer rectangles from the cardstock using child-safe scissors.
Step 5
Draw a smaller inner rectangle about 1 inch from the edges on each cardstock rectangle to make frame windows.
Step 6
Cut out the inner rectangles from each cardstock piece to create four window frames.
Step 7
Cut four sheets of paper to match the outer size of the frames for your scene layers.
Step 8
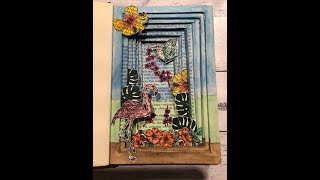
Draw one part of your scene on each paper sheet so each sheet becomes one layer of the story.
Step 9
Color and decorate each scene layer with your coloring materials.
Step 10
Trim any extra edges so each scene layer fits neatly behind a frame.
Step 11
Cut two long strips of cardstock about 1 inch wide to use as the side spacers.
Step 12
Fold each strip into even accordion pleats the same height as your frames.
Step 13
Glue one folded strip along the left edges of all frames and glue the other folded strip along the right edges to join the frames into a tunnel stack.
Step 14
Share your finished tunnel book on DIY.org
Help!?
Can I substitute any hard-to-find materials (like cardstock, child-safe scissors, or glue) and what should I use instead?
If you don't have cardstock use cereal-box cardboard trimmed to the outer rectangle size, replace child-safe scissors by having an adult cut the frames with a craft knife, and use a glue stick or double-sided tape to attach the accordion side spacers and scene layers.
My inner rectangles or accordion sides came out uneven or the layers don't line up—how do I fix this?
Make a single paper template from one correctly measured outer rectangle and 1-inch inner margin, trace it onto the other three frames, mark identical pleat heights on the two side spacer strips before folding, and clamp glued seams with clothespins until dry so the tunnel stack stays straight.
How can I adapt this tunnel book activity for different ages?
For preschoolers have an adult pre-cut the four frames and fold the side spacer pleats while kids color large simple shapes on the scene sheets, for elementary kids let them cut inner rectangles and trim edges themselves, and for teens encourage precise trimming, detailed drawing on each layer, and more intricate accordion folds.
What are easy ways to extend or personalize the tunnel book after assembly?
Personalize the layers by gluing translucent vellum for a glowing sky layer, adding sequins or small 3D bits to the foreground, threading a battery tea-light into the back, or attaching movable elements with small brads before sharing your finished tunnel book on DIY.org.
Watch videos on how to make a tunnel book
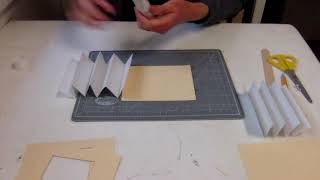
Tunnel Book Tutorial - Part One
4 Videos
Tunnel Book Tutorial - Part One
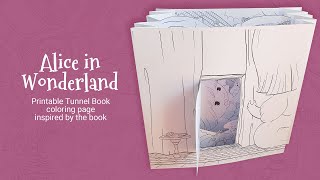
How to make a tunnel book - project inspired by the book Alice in Wonderland
K-12 Tunnel Book Instructions
How to Make a Tunnel/Carousel Book - Easy Papercraft with Vintage Haeckel Art!
Facts about paper engineering and paper crafts
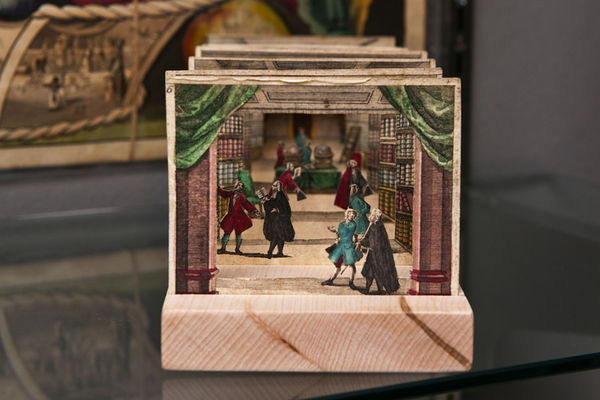
🕰️ Tunnel books (also called "peepshows") were popular in 18th–19th century Europe as tiny layered theatre scenes you could peek into.
✂️ Kirigami, the Japanese art of cutting paper, uses folds and cuts to turn flat sheets into three-dimensional shapes.
📚 Pop-up books evolved from medieval volvelles—rotating paper devices used in astronomy and calendars.
🎯 Stacking just 4–6 frames in a tunnel book usually creates a strong sense of depth and parallax.
🌟 Using sturdy cardstock and small spacers makes each layer stand firm so light creates dramatic silhouettes and shadows.
How do you make a layered tunnel book?
What materials do I need to make a tunnel book?
What ages is making a tunnel book suitable for?
What are the benefits and safety tips for making tunnel books?
