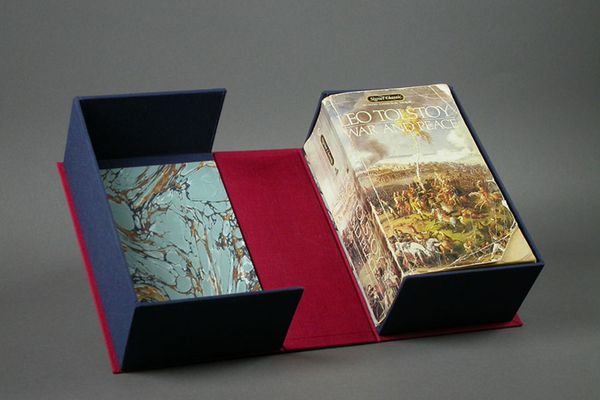
Make a clamshell box
Make a clamshell box from cardstock by measuring, safely cutting, folding, and gluing; then decorate and test the lid for proper fit.


Step-by-step guide to make a clamshell box
Clamshell Box Part 1
Step 1
Gather all materials on a clear table so everything is ready to use.
Step 2
Draw a rectangle 10 cm by 12 cm on the cardstock using the ruler and pencil for the box base.
Step 3
On that rectangle draw fold lines: vertical lines at 1 cm 3 cm and 8 cm from the left edge and horizontal lines at 2 cm and 10 cm.
Step 4
Cut out the 10 cm by 12 cm rectangle along its outside edge with the scissors.
Step 5
Cut small corner slits where the vertical and horizontal fold lines meet so the flaps can fold up.
Step 6
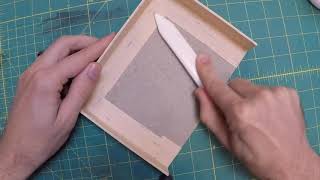
Fold each marked line inward and crease them sharply with the ruler edge or your fingernail.
Step 7
Put glue on the 1 cm tab and press it to the inside of the opposite edge to form the box base; hold until the glue sets.
Step 8
Cut a second rectangle 10.4 cm by 12.4 cm from cardstock for the lid.
Step 9
On the lid rectangle draw fold lines: vertical lines at 1 cm 3 cm and 8.4 cm from the left edge and horizontal lines at 2 cm and 10.4 cm.
Step 10
Cut out the lid rectangle and make small corner slits where the lid fold lines meet.
Step 11
Fold the lid along all lines and glue the 1 cm tab to form the lid; hold until the glue sets.
Step 12
Decorate the box and lid using your colouring and decorating materials to make it look awesome.
Step 13
Place the lid over the base and slide it down gently to test the fit.
Step 14
If the lid is too tight trim 1–2 mm from the inside top edges of the lid with scissors and test the fit again.
Step 15
Share your finished clamshell box on DIY.org.
Help!?
Can I substitute any materials if I don't have cardstock or glue?
Use flattened cereal-box cardboard or poster board instead of cardstock and a glue stick or double-sided tape instead of liquid glue, but score the fold lines more deeply with the ruler so the base and lid keep their shape.
What should I do if my folds aren't sharp or the box won't form square corners?
Re-crease each marked line inward using the ruler edge or your fingernail as the instructions say, make the small corner slits slightly larger so the flaps fold up cleanly, and hold the glued 1 cm tab firmly until the glue sets.
How can I adapt the activity for different age groups?
For ages 4–6 have an adult pre-measure and cut the 10×12 cm and 10.4×12.4 cm rectangles and let them fold and decorate, for 7–10 let children measure, cut slits, and glue with supervision, and for 11+ challenge them to take precise measurements and perform the 1–2 mm lid trimming themselves for a perfect fit.
How can we enhance or personalize the clamshell box after making it?
Line the inside with patterned paper, add a ribbon or small magnet for closure, use your colouring and decorating materials as instructed to make designs, and share a photo of the finished clamshell box on DIY.org.
Watch videos on how to make a clamshell box
Clamshell Box
4 Videos
Clamshell Box
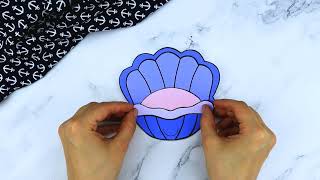
Fun Clam Shell Craft for Kids with Free Clam Template
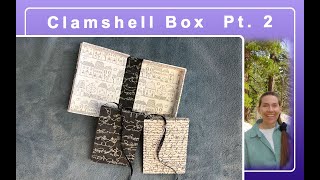
Clamshell Box Part 2
BURGER BOX | PAPERBOARD CLAMSHELL BOX | SINGLE PACKAGING BURGER BOX
Facts about paper crafting for kids
🐚 Clamshell boxes get their name because the lid and base remain attached and open like a clam—great for easy access and display!
📏 Professional box makers work with tiny tolerances (often just a few millimetres) so lids fit snugly without being too tight.
✂️ Cardstock is thicker and sturdier than regular paper—cutting it cleanly usually needs a sharp craft knife or strong scissors.
📐 Scoring a fold line with a bone folder or the back of a butter knife gives crisp folds and stops the cardstock from cracking.
♻️ You can decorate boxes with recycled magazines, fabric scraps, or stickers—an easy way to upcycle and personalize your project.
How do I make a clamshell box from cardstock?
What materials do I need to make a clamshell box?
What ages is making a clamshell box suitable for?
What are the benefits, safety tips, and variations for clamshell box making?
