Visualize a concept
Make a colorful diorama or poster that explains an abstract idea like gravity, food chains, or fractions, using drawings, labels, and models.


Step-by-step guide to make a diorama or poster that explains an abstract concept
How Is A Rainbow Formed | The Dr. Binocs Show | Learn Videos For Kids
Step 1
Pick one abstract idea to explain like gravity food chains or fractions.
Step 2
Choose whether you want to make a flat poster or a 3D diorama inside a shoebox.
Step 3
Gather all the materials from the list and bring them to your workspace.
Step 4
Use a pencil and scrap paper to sketch a simple plan showing where the background main pieces and labels will go.
Step 5
Pick a color scheme for your project and choose which colors to use for the background the main items and labels.
Step 6
Create the background by coloring or covering the poster board or shoebox interior with construction paper and glue.
Step 7
Build the main models that show your idea using clay pipe cleaners or small craft items one model for each important part of your concept.
Step 8
Attach each model to the background using glue or tape placing them where they match your sketch.
Step 9
Write short clear labels on sticky notes or small paper and stick them next to each model or drawing.
Step 10
Draw arrows or simple diagrams to show relationships or steps between items for example direction of force predator to prey or fraction parts.
Step 11
Add decorations and a title so your diorama or poster looks bright and easy to understand.
Step 12
Share your finished diorama or poster on DIY.org
Help!?
What can we use instead of a shoebox, clay, or sticky notes if those are hard to find?
Swap a cereal box or large cereal-box lid for the shoebox, use playdough, crumpled paper, or modeling foam in place of clay, and write labels on small scraps of construction paper or masking tape instead of sticky notes while following the 'Create the background' and 'Build the main models' steps.
My models keep falling off the poster/diorama—how can we fix that?
When you 'Attach each model to the background using glue or tape,' use hot glue or double-sided tape, press pieces firmly and let them dry fully, and add toothpicks or paper brad supports under models for extra stability.
How can we adapt this activity for younger kids or make it more challenging for older kids?
For younger children, simplify the 'Use a pencil and scrap paper to sketch' step with pre-drawn templates, chunky clay and large labels, while older kids can add detailed models, precise labels, measured arrows showing relationships, and a more complex color scheme and sketch plan.
What are fun ways to extend or personalize the diorama/poster after finishing?
After you 'Add decorations and a title,' personalize it by adding movable flaps or paper-brad joints, tiny LED lights or textured materials for realism, and a QR code linking to a short video explanation before you share on DIY.org.
Watch videos on how to make a diorama or poster that explains an abstract concept
5 Ways to make a Rainbow. Science Experiments You Can Do At Home
4 Videos

5 Ways to make a Rainbow. Science Experiments You Can Do At Home
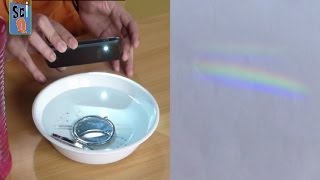
Learn How to Make a Rainbow at Home - Kids Science Experiments
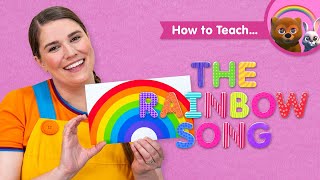
How To Teach The Rainbow Song | Colors Song For Kids
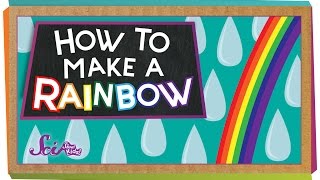
How to Make a Rainbow
Facts about educational crafts for teaching science and math
🎨 Dioramas can recreate tiny worlds — natural history museums have lifelike dioramas that helped explain ecosystems for over a century.
🌕 Gravity changes how you move: on the Moon you'd weigh about 1/6 of your Earth weight, so astronauts can jump much higher.
🕸️ Most ecosystems are food webs, not single chains — one plant species can support dozens or even hundreds of other organisms.
➗ Fractions are ancient: people used fractional parts for cooking, building and trade thousands of years ago to split things like bread or land.
🖍️ Color, labels and simple models make abstract ideas easier to understand — visuals often help kids learn concepts faster than text alone.
How do you make a colorful diorama or poster that explains an abstract idea like gravity, food chains, or fractions?
What materials do I need to make a diorama or poster that explains a concept?
What ages is this diorama/poster activity suitable for?
What are the benefits of making a diorama or poster to explain abstract ideas?
