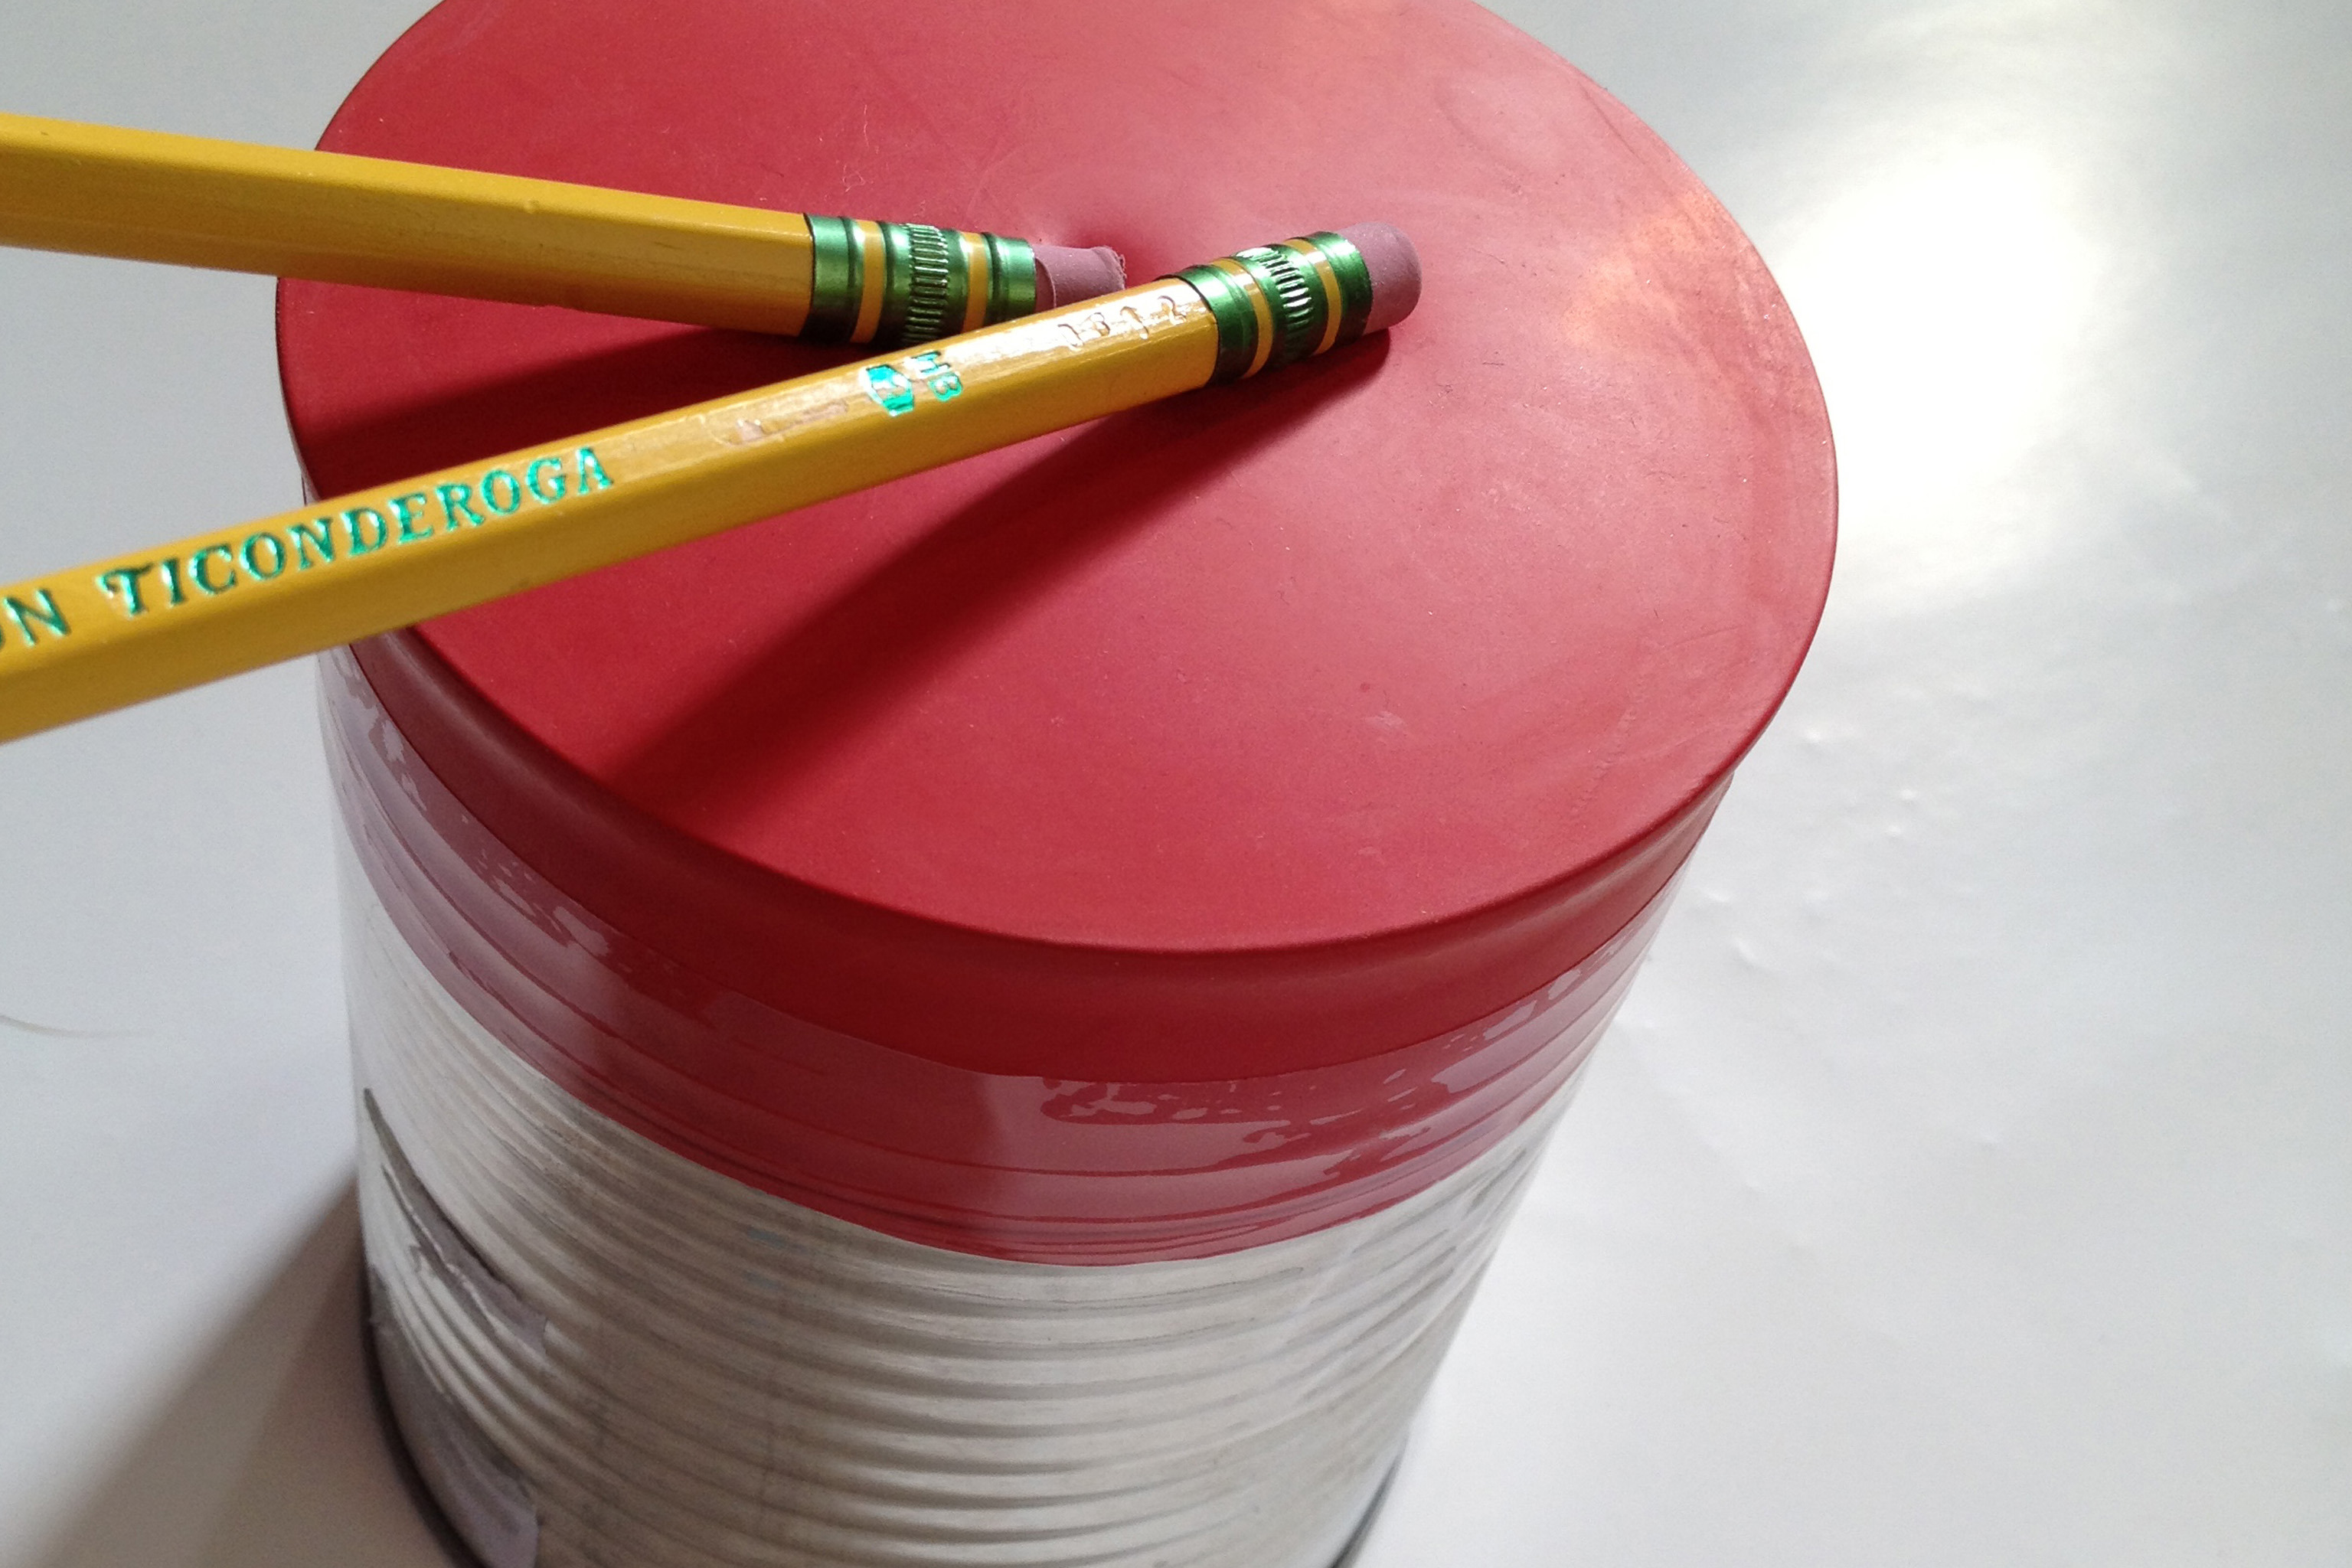
Stretch a drum
Stretch a balloon or fabric over an empty tin or jar to make a drum. Test tones using different tensions and drumsticks safely.


Step-by-step guide to stretch a drum
Drums Lesson 1 - Absolute Beginner? Start Here! [Free 10 Day Starter Course]
Step 1
Gather all the materials and bring them to a clean work surface.
Step 2
Wash and dry the empty tin or jar so it is clean and safe to use.
Step 3
Wrap the rim completely with tape to cover any sharp edges.
Step 4
Decide whether you will use a balloon or a piece of fabric for your drumhead.
Step 5
If you chose a balloon cut off the narrow neck with scissors so the round part can stretch over the jar.
Step 6
If you chose fabric cut a circle at least 2 inches larger than the jar opening.
Step 7
Stretch the balloon round end or the fabric evenly over the top so the center is smooth.
Step 8
Secure the membrane by wrapping tape around the rim or by fastening a rubber band so it won’t slip.
Step 9
Tap the center gently with your pencil or wooden spoon to listen to the drum’s tone.
Step 10
Tighten the drumhead by pulling the membrane edges outward and re-securing with tape or the rubber band.
Step 11
Tap the center gently again to hear the higher pitch from the tighter head.
Step 12
Loosen the drumhead by easing the tape or moving the rubber band to add a little slack.
Step 13
Tap the center gently again to hear the lower pitch from the looser head.
Step 14
Take a photo or video of your drum and share your finished creation on DIY.org.
Help!?
What can we use if we don’t have a balloon, tape, or rubber bands?
If you don't have a balloon use a thin rubber glove or a piece of fabric cut to size as in the 'choose balloon or fabric' step, and if you lack tape secure the membrane by wrapping several rubber bands or hair elastics around the jar rim as in the 'secure the membrane' step.
My drumhead keeps slipping or the sound is very dull—what should I try?
If the membrane slips or sounds dull, re-wrap the rim completely with fresh tape, pull the balloon or fabric edges outward to tighten per the 'tighten the drumhead' step, and add an extra rubber band before tapping the center with your pencil or wooden spoon to check the pitch.
How can I adapt this activity for younger kids or older kids?
For younger children have an adult wash and dry the tin, pre-cut the fabric or snip the balloon neck and do the sharp-edge taping, then let them stretch and tap the membrane gently, while older kids can try different balloon sizes, experiment with tightening/loosening as described to change pitch, or make a multi-jar drum set and record it for DIY.org.
How can we make the drum more fun or unique after we build it?
Personalize and extend the project by decorating the cleaned tin with paint or stickers after the 'wash and dry' step, creating several jars with different-sized balloon or fabric heads tightened to varied pitches using the 'tighten' and 'loosen' steps to form a tuned set, and taking a photo or video to share on DIY.org.
Watch videos on how to stretch a drum
40 Easy Drum Fills for Beginners — Play-Along Exercises 🥁
4 Videos
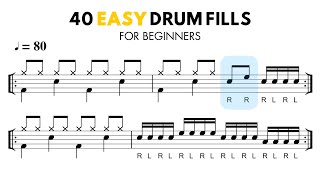
40 Easy Drum Fills for Beginners — Play-Along Exercises 🥁
Beginner Drum Beats - 10 Basic Kick Drum Patterns 🥁 (Easy Practice-Along Exercises)
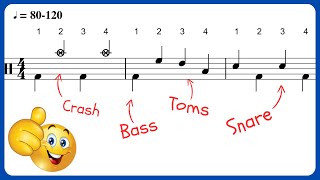
Learn The Drum Notes - 8 Easy Exercises For Beginners 🥁

How To Play The Drums: Lesson 1 For Beginners!😀
Facts about DIY percussion instruments
🥁 Drums are among the oldest instruments — drum-like devices have been used in cultures around the world for thousands of years.
🎈 Tightening a balloon or fabric membrane raises the pitch because a tighter membrane vibrates faster.
🔊 The empty tin or jar acts as a resonating chamber — larger cavities usually produce deeper, boomier sounds.
🪵 Softer drumsticks or mallets (like wooden spoons or felt-tipped sticks) make gentler, warmer tones; harder sticks make sharper, louder hits.
🛡️ Safe drumming matters: tap gently, keep fingers away from the edge, and wear ear protection if sounds get very loud.
How do I make a drum by stretching a balloon or fabric over an empty tin or jar?
What materials do I need to make a stretched-drum with a balloon or fabric?
What ages is this balloon-over-jar drum activity suitable for?
What safety tips, benefits, and variations should I know for this homemade drum activity?
