Make rope
Make a simple rope by twisting and braiding yarn, paper, or fabric strips; measure length, secure ends, and test its strength safely.


Step-by-step guide to make a simple rope
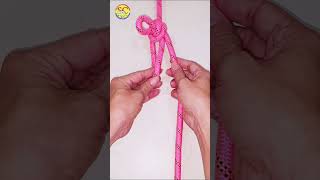
Easy Rope Knot 💡 Learn step by step
Step 1
Pick which material you will use from yarn fabric strips or paper strips.
Step 2
Decide how long you want your rope and use the ruler and marker to mark that length on one strip.
Step 3
Lay the first marked strip on the other two strips and use the marker to mark the same length on them.
Step 4
Cut all three strips on their marks using safety scissors.
Step 5
Align the three cut strips at one end and secure them together with tape or a rubber band.
Step 6
Twist each strip individually in the same direction until it starts to curl.
Step 7
Braid the three twisted strands together until you reach the other end.
Step 8
Secure the other end of the braid with tape or a rubber band.
Step 9
Trim any extra loose ends with safety scissors.
Step 10
Test the rope by holding both ends and gently pulling to see if it feels strong.
Step 11
Measure the finished rope length with the ruler.
Step 12
Write the measured length on the scrap paper with the marker.
Step 13
Share a photo or description of your finished rope on DIY.org
Help!?
What can we use if we don't have yarn, fabric strips, or paper strips?
If yarn, fabric, or paper strips are hard to find, cut old T-shirts into strips, use ribbon or twine, or tightly twist newspaper strips as substitutes and then mark, cut, twist, and braid them the same way.
My braid keeps coming apart or the strands won't curl—what should I do?
Make sure the three cut strips are aligned and tightly secured at one end with tape or a rubber band, twist each strip firmly in the same direction until it curls, braid tightly to the other end, and finish with extra tape, a double knot, or a drop of glue if it still unravels.
How can I change the activity for kids of different ages?
For younger children, pre-measure and pre-cut the strips and let them twist and braid with supervision using safety scissors and help with tape, while older kids can measure with the ruler and marker, design color patterns, and make longer or multiple ropes independently.
How can we make the rope more interesting or useful after it's finished?
Personalize the rope by using different colored yarn or fabric strips, add beads onto strands before braiding, finish with decorative knots, then measure the final length with the ruler, write it on scrap paper, and share a photo on DIY.org.
Watch videos on how to make a simple rope
DIY Rope Knot 💡 Simple step for learning
4 Videos

DIY Rope Knot 💡 Simple step for learning
Learn Rope Knot 💡 Easy DIY tutorial
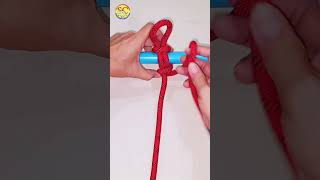
Easy Rope Knot 💡 DIY tutorial for beginners
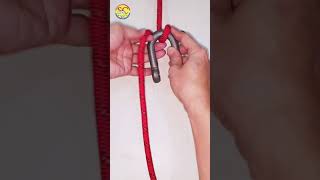
Rope Knot tutorial 💡 Easy way to learn
Facts about fiber arts for kids
🪢 Prehistoric people twisted plant fibers into cordage thousands of years ago—making rope one of humanity's oldest tools.
🧶 Twisting and then braiding multiple strands makes a rope much stronger than a single strand on its own.
✂️ You can make useful rope from yarn, fabric strips, or even rolled-up paper—it's a great way to recycle old materials.
📏 Even tension and even strand thickness while braiding help keep rope uniform so measurements are more reliable.
💪 Always test homemade rope gently before use—braided cord can be strong, but safety checks are important for any load.
How do you make a simple rope with yarn, paper, or fabric strips?
What materials do I need to make a simple rope with my child?
What ages is this rope-making activity suitable for?
What are the benefits, safety tips, and variations for making simple ropes?
