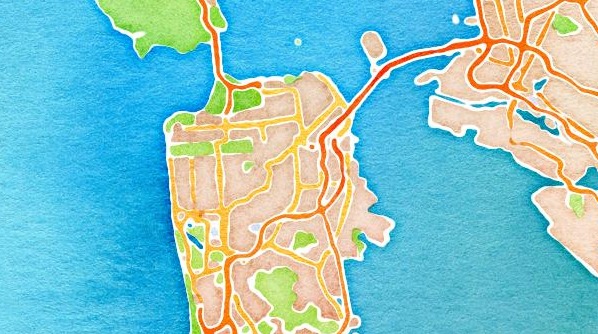
Map data
Collect and record map data by surveying your neighborhood, marking landmarks and distances, drawing a scaled map with symbols and a clear legend.


Step-by-step guide to map your neighborhood
Maps for Kids | Learn how to read a map and other skills in this fun introduction to maps
Step 1
Ask an adult to supervise your outdoor survey so you can safely map your neighborhood.
Step 2
Choose a compact route to map such as one block or the walk from your home to the nearest park.
Step 3
Draw a quick rough outline of that route on a page in your notebook so you know what to follow.
Step 4
Walk the chosen route with your adult and pause at each place you think is a landmark.
Step 5
Write each landmark’s name in your notebook when you stop at it so you don’t forget them.
Step 6
Place a sticky note next to each recorded landmark name to make them easy to find later.
Step 7
Measure the distance between each pair of landmarks using a measuring tape or by counting consistent steps and write the measurements in your notebook.
Step 8
Choose a clear map scale (for example 1 cm = 5 m) and write that scale at the top of a clean page for your map.
Step 9
Convert each measured distance into the scaled map distance using your chosen scale and list the scaled lengths near your rough outline.
Step 10
Use your ruler to draw the route to scale on the clean page and place each landmark at the correct scaled positions.
Step 11
Make simple symbols for each type of landmark and put the matching symbol on your map where each landmark sits.
Step 12
Create a clear legend that shows each symbol the chosen scale and a north arrow then add a title your name and the date to the map.
Step 13
Share your finished map on DIY.org
Help!?
What can we use instead of a measuring tape or sticky notes if we don't have them?
If you don't have a measuring tape, use a smartphone measuring app or count consistent steps during the 'Measure the distance between each pair of landmarks' step and replace sticky notes with small torn paper pieces or masking tape next to each recorded landmark name in your notebook.
What should we do if the scaled distances don't match the route when we try to draw it to scale?
If the scaled lengths don't fit when you 'Use your ruler to draw the route to scale,' recheck the original measured distances or step counts, reconvert them using the chosen scale written at the top of your clean page, and correct any single segment that was mismeasured before redrawing.
How can I adapt this mapping activity for younger children or older kids?
For younger children, focus on the steps to 'Draw a quick rough outline,' 'pause at each place,' write landmark names, and place sticky notes while an adult handles measurement, whereas older kids can add precise scaled conversions, use a compass for the north arrow, and record GPS coordinates for each landmark before making the clean map.
How can we make the finished map more interesting or personal before sharing it?
Enhance your final map by creating color-coded symbols for each landmark type, gluing or taping small photos or sketches next to the matching symbols, and decorating the title area with your name and the date prior to sharing on DIY.org.
Watch videos on how to map your neighborhood
What are Maps? - Learn & Grow Kids Geography Lesson | LeapFrog
4 Videos
What are Maps? - Learn & Grow Kids Geography Lesson | LeapFrog
Maps and Directions | Types of Maps | Cardinal Directions | Video for Kids
Facts About Maps (For Kids)
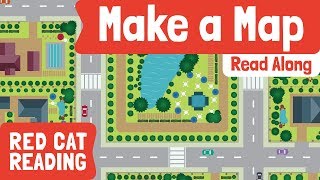
How to Make a Map | Geography for Kids | Made by Red Cat Reading
Facts about mapmaking and surveying for kids
🗺️ Cartography is both an art and a science — mapmakers balance beauty with accuracy.
📏 A map scale like 1:100 means 1 centimeter on the map = 100 centimeters (1 meter) in the real world.
🧭 Traditional surveying uses compasses and measuring tapes — today many surveyors also use GPS.
🏡 Neighborhood maps can reveal cool facts like where the quickest walking routes, playgrounds, and community gardens are.
🔍 A clear legend (key) turns map symbols into an easy-to-read story anyone can follow.
How do I guide my child to collect and record map data by surveying our neighborhood and drawing a scaled map?
What materials and tools are needed to survey the neighborhood and create a scaled map with a legend?
What ages is this neighborhood mapping activity suitable for, and how can I adapt it by age?
What are the benefits of surveying and mapping the neighborhood, and what safety tips or variations should I know?
