Build a hydraulic device
Build a simple hydraulic arm using plastic syringes, tubing, cardboard, and water, exploring fluid pressure and force to move joints safely and predictably.


Step-by-step guide to build a simple hydraulic arm
Young Engineers: Easy Hydraulic or Pneumatic Machine - Engineering Projects for Kids
Step 1
Gather all materials and set them on a clear flat workspace so everything is easy to reach.
Step 2
Cut two cardboard strips about 20 cm long and one base rectangle about 10 cm by 8 cm to use as the arm parts and mount.
Step 3
Use the ruler and marker to mark a joint hole near one end of each strip and mark a spot on one strip and on the base for mounting the syringes.
Step 4
Make small holes at each marked joint and mounting spot by poking carefully with the tip of the scissors or a pen under adult supervision.
Step 5
Push the paper brad through the two strip holes and spread the ends so the two cardboard strips join and can swing freely like an elbow.
Step 6
Tape one syringe (the actuator) along the inner side of the lower arm strip with its nozzle pointing toward the joint and the plunger free to move.
Step 7
Tape the second syringe (the pump) securely to the base so its plunger is easy to push and pull by hand.
Step 8
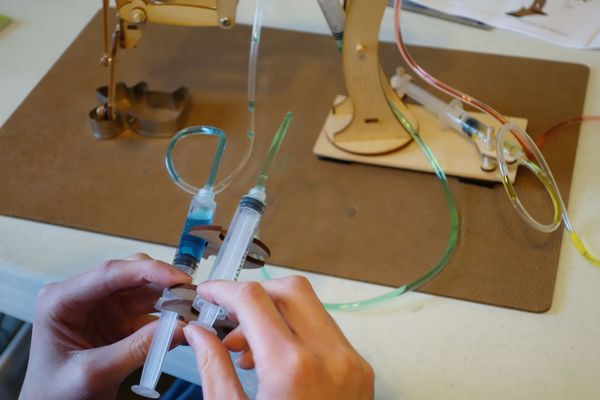
Push one end of the tubing firmly onto the pump syringe nozzle and the other end firmly onto the actuator syringe nozzle to make a snug connection.
Step 9
Put the pump syringe nozzle into the small cup of water and pull the pump plunger back to draw water into the pump and tubing until the actuator syringe fills and no air bubbles remain.
Step 10
Slowly push and pull the pump syringe plunger to move the arm and watch how small plunger movements make the joint bend and straighten.
Step 11
If you see water leaks or air bubbles return stop and press the tubing and tape connections tighter then repeat filling until the system is sealed.
Step 12
Take a photo or video of your working hydraulic arm and share your finished creation on DIY.org
Help!?
What can I use if I can't find paper brads, syringes, or clear tubing?
Use a small brass fastener or a short nail as the joint instead of a paper brad, swap the syringes for disposable medical syringes or a cut turkey-baster nozzle, and replace the clear tubing with aquarium tubing or a snug flexible drinking straw when connecting the two syringe nozzles.
If the arm doesn't move smoothly or water leaks, what should I check and fix?
Check the tubing-to-nozzle and tape connections described in the instructions, press the tubing firmly onto both syringe nozzles, tighten or re-tape the syringe mounts on the cardboard strips and base, then repeat the filling step until no air bubbles remain.
How can I adapt this hydraulic arm activity for younger or older kids?
For younger children have an adult pre-cut the two 20 cm cardboard strips, make the joint and mounting holes, and tape the syringes so the child only operates the pump syringe, while older kids can add extra joints, lengthen the arm, or attach a second actuator syringe to the lower strip to explore more complex motion.
How can we extend or personalize the finished hydraulic arm?
Decorate the 10 cm by 8 cm base and cardboard strips, attach a clay or paper claw to the arm tip, or add a second actuator syringe and a marked scale on the syringe barrel to measure plunger displacement during the push-pull step.
Watch videos on how to build a simple hydraulic arm
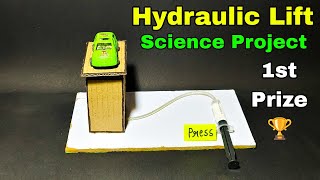
How to make hydraulic lift for science project | School science project hydraulic lift
4 Videos
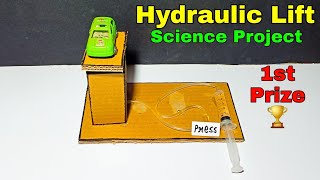
How to make hydraulic lift for science project | School science project hydraulic lift
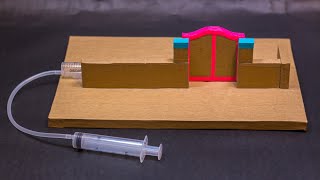
Science Projects | Hydraulic Gate Working Model
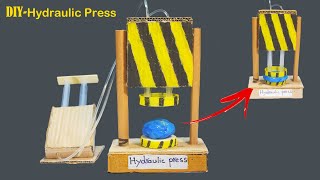
Make a Hydraulic Press model from cardboard - Science project working model
How to make hydraulic lift for science project | Hydraulic lift science project for school
Facts about hydraulics and fluid power for kids
🧪 Pascal's law: pressure applied to a confined fluid is transmitted equally in all directions — the reason one syringe can move another!
🦾 Force multiplication: hydraulic setups can make a small push lift a much heavier load by using different-sized syringes or cylinders.
💧 Water works great for kid-safe hydraulics, but industrial systems usually use oil because it lubricates and resists freezing and bubbles.
🔧 Hydraulics are ancient — water-powered machines and simple fluid devices date back to the Greeks and Romans.
📏 Syringe sizes matter: common hobby syringes (5 ml, 10 ml, 20 ml) change how far and how strongly your arm moves.
How do you build a simple hydraulic arm using syringes and cardboard?
What materials do I need to make a DIY hydraulic arm?
What ages is a homemade hydraulic arm suitable for?
What safety tips should parents follow when doing a syringe hydraulic arm?
