Build a catapult or trebuchet
Build a small popsicle stick catapult or simple trebuchet, test launching soft projectiles safely, and learn about levers, force, and angles.


Step-by-step guide to build a popsicle stick catapult or simple trebuchet
Young Engineers: Class 1 Catapult - Easy and Fun DIY STEM Project for Kids
Step 1
Gather all materials and clear a flat workspace so you have room to build.
Step 2
Stack six popsicle sticks neatly in a pile next to each other.
Step 3
Wrap a rubber band tightly around one end of the stacked sticks to hold them together.
Step 4
Wrap another rubber band tightly around the other end of the stacked sticks.
Step 5
Place one extra popsicle stick across the top of the stack so about one third hangs off the front.
Step 6
Loop a rubber band around the base stack and the arm stick near the stack to create a pivot that still lets the arm move.
Step 7
Tape the plastic spoon to the overhanging end of the arm so the spoon cup faces up to hold projectiles.
Step 8
Put a cotton ball or pom-pom into the spoon cup as your soft projectile.
Step 9
Hold the base down with one hand and pull the free end of the arm down with the other hand to create tension.
Step 10
Aim slightly upward and release the arm to safely launch the soft projectile.
Step 11
Measure the distance from the front of the catapult to where the projectile landed and write the number on your paper.
Step 12
Change only one thing like the arm angle or how far you pull the arm before launching again.
Step 13
Do another launch with the new setting and measure the new distance the same way.
Step 14
Share a photo and description of your finished catapult and what you learned about levers force and angles on DIY.org.
Help!?
What can I substitute for the plastic spoon, popsicle sticks, or rubber bands if I can't find them?
If you don't have a plastic spoon to tape to the overhanging arm (step: Tape the plastic spoon...), use a bottle cap or small paper cup taped or glued to the arm, replace popsicle sticks with cut cardboard strips or wooden paint stirrers for the base and arm, and swap rubber bands for elastic hair ties or a short length of strong string tied with a knot to hold the stack together.
The arm won't swing or the launch is weak—what should I check or fix?
If the arm doesn't pivot smoothly after you loop the rubber band around the base stack and the arm (step: Loop a rubber band...), make sure the rubber band isn't too tight around the arm, move the loop slightly away from the base so the arm has room to move, and add a short drinking-straw segment as a low-friction axle between the arm and stack.
How can I change the activity for younger kids or make it more challenging for older kids?
For younger children have an adult pre-stack the six popsicle sticks and pre-wrap the rubber bands and tape the spoon so the child only loads and releases the cotton ball, while older kids can add more popsicle sticks to the arm, attach a counterweight to convert it toward a trebuchet, and systematically record distances when they 'Change only one thing' to investigate levers and angles.
How can we extend or personalize the catapult/trebuchet experiment after the first launches?
To extend the project decorate the base and arm, use a ruler and protractor to record launch angles and distances for multiple trials (step: Measure the distance...), try different projectile types and arm lengths, and then share a photo and your data-driven conclusions about force and angles on DIY.org.
Watch videos on how to build a popsicle stick catapult or simple trebuchet
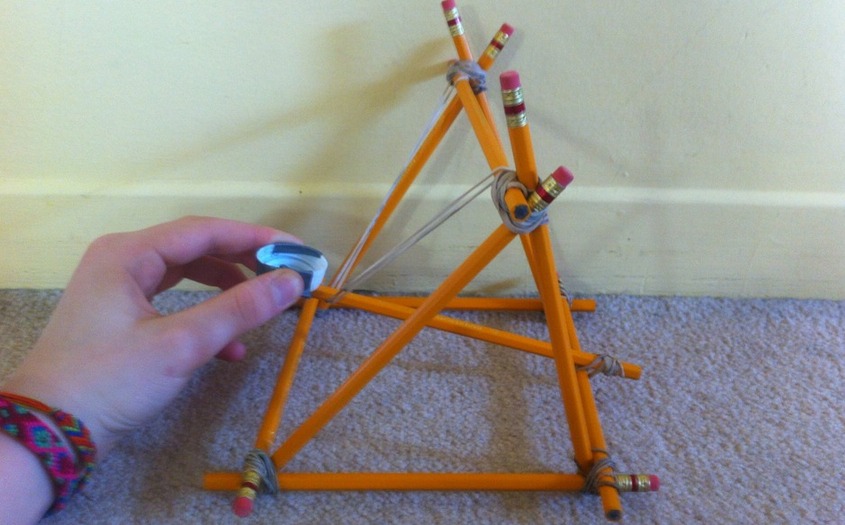
How To Build A Catapult For School Project
4 Videos

How To Build A Catapult For School Project
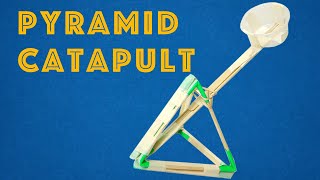
Young Engineers: Pyramid Catapult - Easy and Powerful DIY STEM Project for Kids
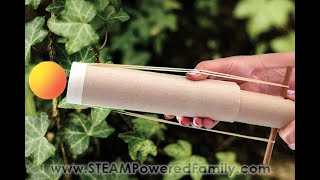
Catapult Cannon - A STEM Project for Kids, Perfect for Summer Camp or End of School Year
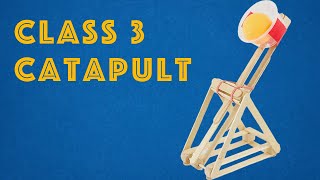
Young Engineers: Class 3 Catapult - Sturdy and Fun DIY Engineering Activity for Kids
Facts about simple machines and physics for kids
🏰 Trebuchets were used in medieval sieges — some could hurl stones over 90 kg for hundreds of meters!
🪵 A popsicle-stick catapult is a tiny lever system: change the arm length or pivot point and the launch changes a lot.
🎯 In ideal physics (no air), a 45° launch angle gives the farthest range for a projectile launched from ground level.
⚖️ Mechanical advantage comes from levers and counterweights — longer arms or heavier weights let you move bigger loads with less effort.
🧪 Tweaking rubber-band tension, arm length, and release angle is real experimental science — test, measure, and improve!
How do you build a small popsicle stick catapult or simple trebuchet with a child?
What materials do I need for a popsicle stick catapult or simple trebuchet?
What ages is building a popsicle stick catapult or trebuchet suitable for?
What safety precautions and learning benefits come from building and testing a catapult or trebuchet?
