Create a gear ratio
Build a simple gear train using toy gears or cardboard gears, count teeth, calculate the gear ratio, and observe changes in speed and force.


Step-by-step guide to create a gear ratio with toy or cardboard gears
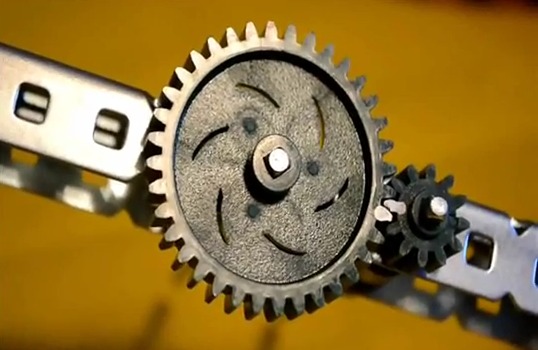
Simple Machines - Gears
Step 1
Gather all the materials and bring them to a clear work surface.
Step 2
Pick two gears to test and decide which one will be the driver (the gear you will turn).
Step 3
If you are making cardboard gears, draw two circles of different sizes on cardboard and cut them out now.
Step 4
If you made cardboard gears, add evenly spaced little teeth around each circle by drawing and cutting notches so they can mesh.
Step 5
Position the two gears next to each other so their teeth mesh and make sure they can spin without bumping.
Step 6
Count the teeth on the driver gear and write that number on your paper.
Step 7
Count the teeth on the driven gear and write that number on your paper.
Step 8
Calculate the gear ratio by writing it as driven teeth : driver teeth and also calculate driven ÷ driver to see how many driver turns equal one driven turn.
Step 9
Mount each gear on an axle (pushpin or skewer) so they can spin freely and stay meshed.
Step 10
Turn the driver gear 10 full times and count how many full turns the driven gear makes; write down the number you observed.
Step 11
Compare the observed driven turns to the number you expected from your calculation and note whether speed increased or decreased and whether force seemed stronger or weaker.
Step 12
Tape a small coin to the driven gear arm and slowly turn the driver to see if the gear train can lift or move the weight; write what happens.
Step 13
Try a different pair of gears and repeat the counts and test to see how changing teeth changes speed and force.
Step 14
Take a photo or write a short description of your gear train, your calculations, and what you learned, and share your finished creation on DIY.org
Help!?
What can we use if we don't have cardboard or the small coin listed in the materials?
If you don't have cardboard, cut gears from foam board, plastic bottle caps, or sturdy cereal boxes and substitute the coin with a small washer, LEGO brick, or a bit of modeling clay taped to the driven gear arm.
My gears are bumping or won't spin smoothly—what should I check or fix?
Re-cut or file the notches so teeth are evenly spaced, slightly increase the center-to-center spacing of the pushpin/skewer axles so the teeth mesh without binding, and make sure each gear can spin freely on its axle as described in the positioning and mounting steps.
How can I adapt this gear ratio activity for younger kids or older kids?
For younger children, use pre-cut bottle-cap or plastic gears, mark and count only 3–5 teeth and turn the driver fewer times, while older kids should draw precise cardboard gears, calculate driven ÷ driver, perform 10 or 20 driver turns, and try adding a third gear to explore compound ratios.
How can we extend or personalize the experiment after completing the basic tests?
Make the project more challenging by building a three-gear or compound gear train before mounting on axles, tape different-sized weights instead of a single coin to test lifting ability, decorate the gears, and photograph or write up your observed vs expected turns to share as instructed.
Watch videos on how to build a simple gear train and calculate gear ratios using toy or cardboard gears
Simple Machines - Gears
4 Videos

Simple Machines - Gears
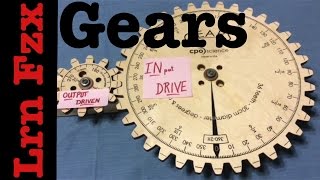
GEARS - the Basics

How do Gear Ratios Work?
Gear Ratio Basics | How To Calculate Gear Ratios | Lego Technic
Facts about gears and simple machines
⚙️ Gear ratio = teeth on the driven gear ÷ teeth on the driving gear — count teeth to predict speed and force changes.
🔁 If a 10-tooth gear drives a 20-tooth gear, the small driver spins twice for every full turn of the big driven gear (driven turns half as fast).
⚖️ Gears swap speed and force: a gear that reduces speed increases torque (force) by the same factor.
🧮 You can use teeth counts to track rotations: if a 12-tooth driver turns 6 times meshing with a 24-tooth driven, the driven will turn 3 times.
🏛️ Ancient engineers used gears too — the Antikythera mechanism (circa 100 BC) is one of the oldest known geared devices.
How do I build a simple gear train to calculate gear ratios and observe speed/force changes?
What materials do I need to build toy or cardboard gears for this activity?
What ages are suitable for a gear ratio activity where kids count teeth and calculate ratios?
What are the benefits, safety tips, and variations for a gear ratio activity?
