Grow your own mushrooms
Grow edible oyster mushrooms from a safe kit or recycled coffee grounds, observe growth stages, moisture needs, and harvest with adult supervision.


Step-by-step guide to grow your own mushrooms
Growing Mushrooms at Home: Step-by-Step Guide for Beginners 🍄
Step 1
Wash your hands with soap and put on disposable gloves to keep the mushrooms healthy.
Step 2
Choose which method you will use: a ready-made oyster mushroom kit or recycled coffee grounds with mushroom spawn.
Step 3
If you are using a kit follow the kit instructions to hydrate and get the mushroom block or bag ready to grow.
Step 4
If you are using coffee grounds spoon cooled pasteurized coffee grounds into a clean container.
Step 5
If you are using coffee grounds sprinkle the mushroom spawn over the grounds and gently mix with a clean spoon so the spawn spreads evenly.
Step 6
Place your prepared substrate into a clear plastic bag or into the container and label it with the date using your marker.
Step 7
Put the bag or container where it will get bright indirect light and check the temperature with your thermometer to keep it between 18 and 24°C.
Step 8
Make a humidity tent by loosely covering the bag or container with a clear plastic bag or lid and poke a few small holes for air.
Step 9
Check the substrate every day and mist lightly with the spray bottle when the top looks dry about once or twice a day.
Step 10
Watch closely and write one short note each day in your notebook about any white mycelium pinheads or mushrooms you see.
Step 11
Harvest the mushrooms with adult supervision by cutting the stems at the base with scissors when the caps are starting to open but before the edges curl up.
Step 12
Share your finished mushroom creation and what you observed on DIY.org.
Help!?
What can I use instead of hard-to-find mushroom spawn or recycled coffee grounds?
Use a ready-made oyster mushroom kit following the kit instructions, or substitute pasteurized straw or hardwood sawdust as the substrate and order mushroom spawn online or from a garden center.
My bag looks white but no mushrooms are forming or I see strange colors—what should I do?
If you see colored mold or a bad smell discard that bag, then restart using thoroughly pasteurized coffee grounds, clean gloves and spoons, keep the thermometer-monitored temperature at 18–24°C, and maintain the humidity tent with regular misting to prevent drying or overwatering.
How can I adapt this activity for younger kids versus older kids or teens?
For young children have an adult handle pasteurizing and mixing spawn and use scissors to harvest while the child washes hands, labels the bag with the marker, helps make the humidity tent, mists with the spray bottle, and writes the daily notebook note, whereas older kids can manage thermometer checks, spawn spreading, and photo documentation themselves.
What are simple ways to extend or personalize the mushroom-growing project?
Make a growth chart in your notebook with daily photos and temperature/humidity readings, try both the oyster kit and coffee-ground substrate to compare outcomes, and decorate or label the clear plastic bag before sharing observations on DIY.org.
Watch videos on how to grow your own mushrooms
🍄 Grow Edible Mushrooms at Home in Buckets | DIY How To Tutorial 🍄
4 Videos
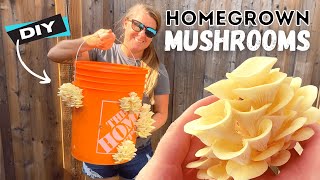
🍄 Grow Edible Mushrooms at Home in Buckets | DIY How To Tutorial 🍄
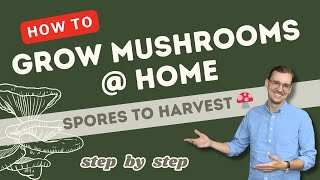
Learn How to Grow Mushrooms at Home 🍄 | Full Guide
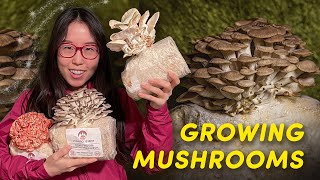
GROWING EDIBLE MUSHROOMS at Home! Episode 1
How to Grow Mushrooms from Scratch the Easy Way: A Step-by-Step Guide to Mushroom Cultivation
Facts about mushroom cultivation for kids
🍄 Oyster mushrooms are fast growers — with the right conditions they can produce harvestable clusters in just 1–3 weeks.
☕ Used coffee grounds make a popular mushroom substrate because they’re nutrient-rich and already heated during brewing.
💧 Mushrooms don’t drink like plants — they absorb moisture through their mycelium and caps, so high humidity (not soggy soil) matters most.
🔬 Growing mushrooms lets you watch a cool life cycle: tiny spores → spreading mycelium → little pins (primordia) → full mushrooms.
🧤 Always harvest edible mushrooms with an adult, clean hands or scissors, and never eat wild mushrooms without an expert’s ID.
How do you grow oyster mushrooms at home with kids?
What materials do I need to grow oyster mushrooms from a kit or coffee grounds?
What ages is growing oyster mushrooms suitable for?
What safety tips and benefits come with growing mushrooms with kids?
