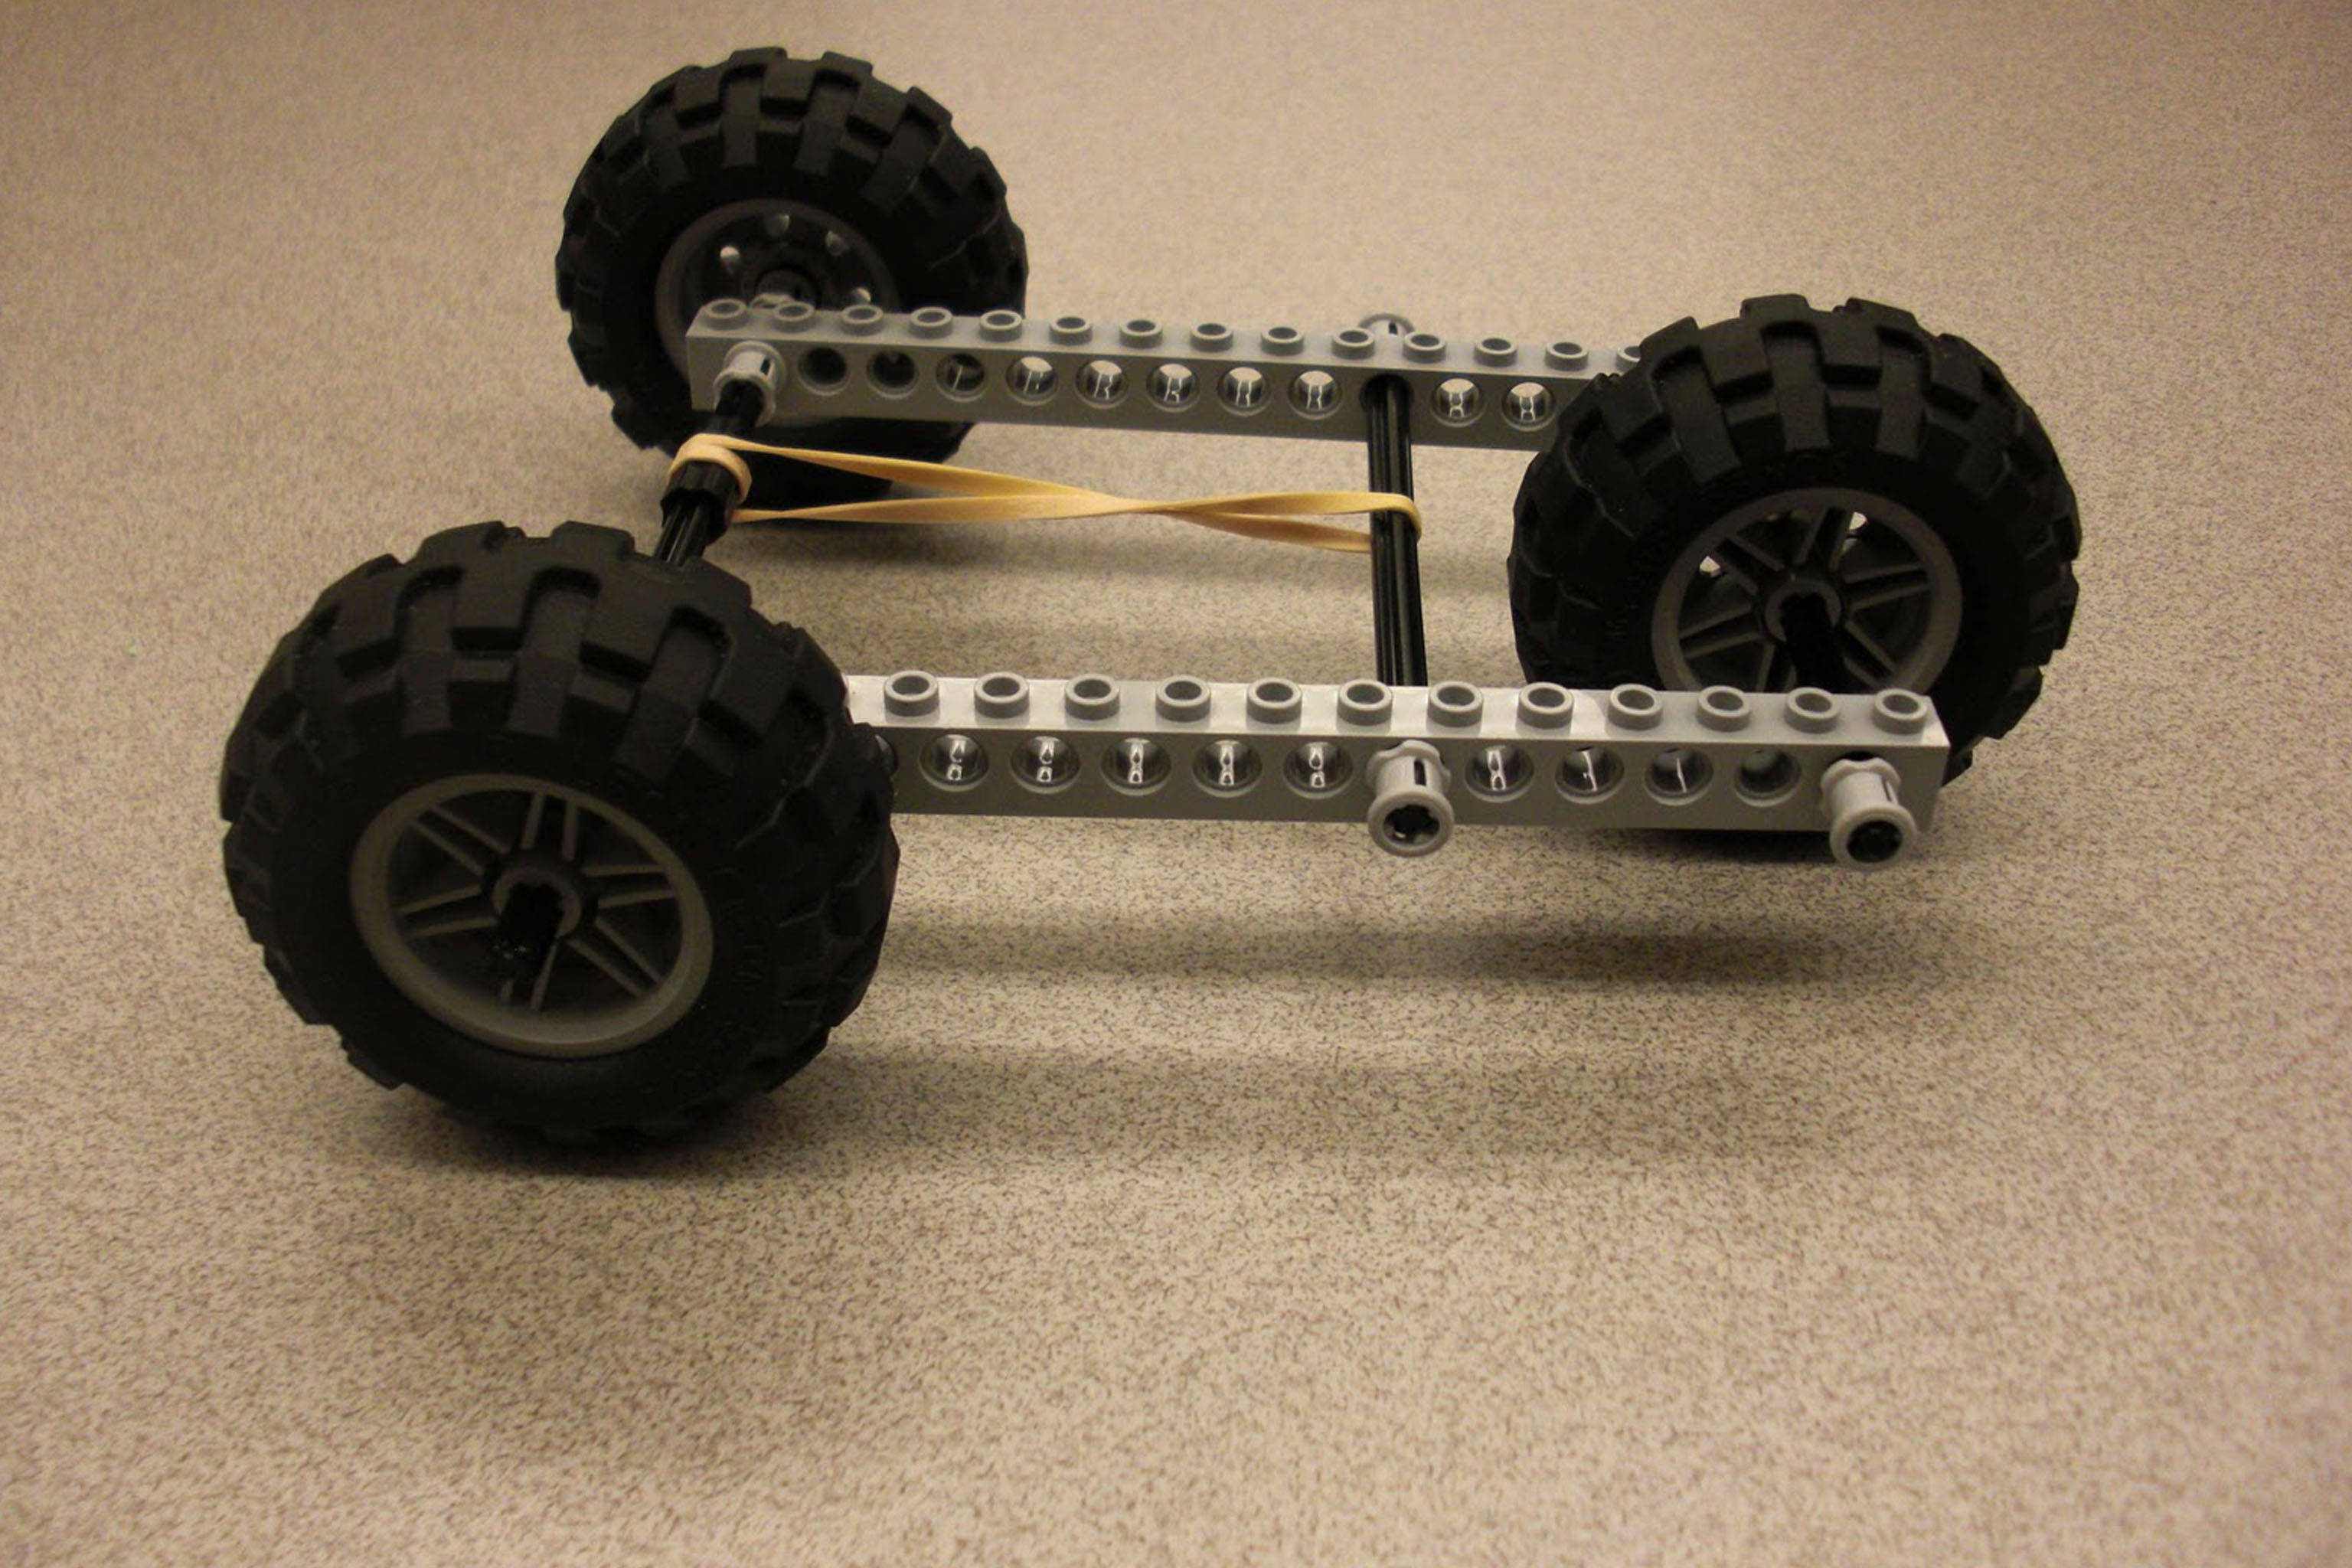
Build a potential energy vehicle
Build a small potential energy vehicle using ramps, springs or elastic bands, wheels, and lightweight materials to explore energy storage and transfer.


Step-by-step guide to build a potential energy vehicle
How do electric vehicle batteries work? Basic principle
Step 1
Gather all materials and clear a flat workspace so you have room to build.
Step 2
Cut a cardboard rectangle about 15 cm by 8 cm to make the car chassis.
Step 3
Mark two holes near the front corners and two holes near the back corners where the axles will go.
Step 4
Push wooden skewers or straws through the holes to create a front axle and a rear axle.
Step 5
Push a bottle cap or toy wheel onto each skewer end to make four wheels.
Step 6
Tape each wheel to the skewer end so the wheels stay on but can still spin freely.
Step 7
Tie one end of a rubber band to the front center of the cardboard chassis using a small tape loop.
Step 8
Loop the other end of the rubber band around the rear axle two times so it will twist when the axle turns.
Step 9
Wind the rear axle by turning one wheel backward to twist the rubber band and store potential energy.
Step 10
Make a gentle ramp by leaning a flat piece of cardboard against the stack of books or box.
Step 11
Place your wound car at the top of the ramp.
Step 12
Release the car and watch the rubber band unwind and the car move as stored energy changes into motion.
Step 13
Share a photo and a short description of your finished potential energy vehicle on DIY.org
Help!?
If I don't have wooden skewers, bottle caps, or a rubber band, what can I substitute so I can still build the car?
Use pencils, thin wooden dowels, or straightened metal paper clips as axles in place of skewers, plastic bottle lids, large buttons, or old toy wheels instead of bottle caps, and a hair tie, a strip cut from a balloon or an elastic from a scrunchie in place of the rubber band for winding the rear axle.
My car won't roll straight or the wheels stick—what common mistakes from the instructions should I check and how do I fix them?
Check that the axle holes are not too tight and consider inserting short straw pieces as low-friction bearings, retape each wheel so it can still spin freely on the skewer ends, and ensure the rubber band is looped around the rear axle exactly two times and wound evenly so it doesn't bind.
How can I adapt the steps for different age groups so younger kids can participate safely and older kids stay challenged?
For younger children, pre-cut the 15 cm × 8 cm cardboard chassis, pre-mark and pre-push in axles while they decorate and wind the rubber band only a few turns under supervision, and for older kids have them reposition axles, test different wheel sizes, or add pulleys and measure how winding turns affect distance.
What are easy ways to extend or personalize the potential energy vehicle after following the basic instructions?
Decorate the cardboard chassis, try adding weights near the front or back, experiment with different wheel sizes or a second rubber band on the rear axle for more power, attach a lightweight sail, and test how changing ramp height or surface affects how far the car travels.
Watch videos on how to build a potential energy vehicle
Electric Vehicle Battery Breakdown: Cells to Modules to Packs!
4 Videos

Electric Vehicle Battery Breakdown: Cells to Modules to Packs!
How Do Electric Vehicles Work? EV Charger, Battery, Motor All Explained.
![How an Electric Car Works? Its Parts & Functions [Explained]](https://img.youtube.com/vi/tJfERzrG-D8/mqdefault.jpg)
How an Electric Car Works? Its Parts & Functions [Explained]
![How does Electric Cars work? [ explained ] | Beginner's Guide on How EV works](https://img.youtube.com/vi/9vGPWA_7afo/mqdefault.jpg)
How does Electric Cars work? [ explained ] | Beginner's Guide on How EV works
Facts about energy storage and transfer
⚡ A stretched elastic band stores elastic potential energy that can launch a small toy car across a room!
🌀 Springs often follow Hooke's Law: within limits, double the stretch gives roughly double the force.
🎢 A ramp turns gravitational potential energy into kinetic energy — the same idea behind roller coasters.
🛞 Bigger wheels travel farther per rotation, so wheel size can change how far your vehicle goes.
🔬 Small changes in friction, weight, or launch angle can make big differences — engineers test those exactly!
How do I build a small potential energy vehicle using ramps, springs or elastic bands?
What materials do I need to build a potential energy vehicle?
What ages is this potential energy vehicle activity suitable for?
What safety precautions should I take when building and testing a potential energy vehicle?
