Make a zip line
Build a simple toy zip line using string, a straw or pulley, and a small toy; test slope and speed safely with adult supervision.


Step-by-step guide to make a toy zip line
How to install a 100 ft. zip line kit for kids.
Step 1
Find two sturdy anchor points at different heights where the zip line will go.
Step 2
Cut a piece of string a little longer than the distance between the two anchors.
Step 3
Thread the straw or small pulley onto the string so it can slide freely.
Step 4
Tie or tape one end of the string securely to the higher anchor point.
Step 5
Pull the string tight and tie or tape the other end to the lower anchor point so the string slopes downward.
Step 6
Attach the paperclip or small binder clip to the toy so it can hang safely.
Step 7
Clip the toy onto the straw or pulley so it hangs from the zip line.
Step 8
Ask an adult to inspect the zip line and approve that it is safe to test.
Step 9
Step back to a safe distance from the zip line.
Step 10
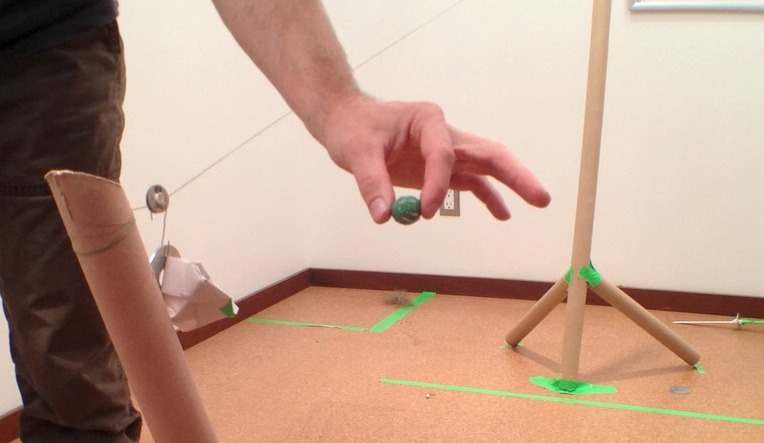
Place the toy at the top end of the zip line and get ready to watch.
Step 11
Release the toy and observe how fast it travels along the line.
Step 12
Move one anchor higher or lower to change the slope and run another test to compare speeds.
Step 13
Share a photo and a short description of your toy zip line and what you learned on DIY.org.
Help!?
What can we use if we don't have a small pulley or a straw for the zip line?
If you can't find a pulley or straw, thread a large plastic drinking straw, a bead with a big hole, or a smooth metal tube onto the string so it can slide freely as described in step 3.
The toy won't move or the straw gets stuck—what should we check or change?
If the toy sticks or won't move (step 11), make sure the string is pulled tight with a clear downward slope (step 5), retie and tape the knots at both anchors (steps 4–5), and swap the straw for a larger-diameter straw or add a bead to reduce friction.
How can we adapt the project for different ages?
For preschoolers, run a short, low line between two chairs and use a very lightweight soft toy clipped on (steps 1, 6) with an adult inspecting before tests (step 8), while older kids can increase the height difference, test different toy weights, and record speeds (steps 5, 11–12).
What are simple ways to extend or personalize the zip line activity?
Decorate and balance the toy and clip (step 6), try multiple sliding elements on the string or reduce friction with smoother straws/beads (step 3) and add a felt brake at the lower anchor to compare stopping distances before posting your photo and description on DIY.org (steps 5, 13).
Watch videos on how to make a toy zip line
✅ Zipline Kit for Kids! Unboxing, Step by Step Install and Review
4 Videos
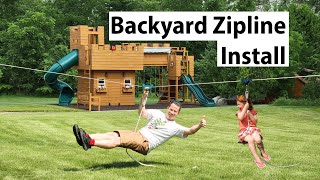
✅ Zipline Kit for Kids! Unboxing, Step by Step Install and Review

How to Adventure: Zipline Safety Tips
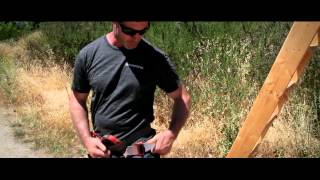
How to use a zip line harness

How To Install a 110' Zip-Line Setup Instructions
Facts about simple physics and engineering for kids
🚠 Some commercial zip lines are over 2 kilometers long — they’re used for both adventure tourism and tools for crossing valleys.
🧰 The pulley is one of six classic simple machines and can change the direction or effort needed to move a load.
↘️ A steeper slope makes a toy on a zip line go faster because gravity pulls it more strongly along the line.
🥤 Sliding a straw over the string (or using a small wheel) cuts friction and helps the toy glide smoother and straighter.
⚖️ Lighter toys usually travel faster but stop sooner; testing with small, soft toys keeps experiments safe.
How do you make a toy zip line at home?
What materials do I need to build a simple zip line?
What ages is a toy zip line suitable for?
What safety tips should I follow when testing a toy zip line?
