Draw and label a mushroom
Draw and label a mushroom showing cap, gills, stem, and ring; observe a real mushroom or photo, then color and explain each part.


Drawing Apps
Step-by-step guide to draw and label a mushroom
How to draw a mushroom @AlliesArtforKids
Step 1
Choose a clear mushroom to study by picking a safe real mushroom with an adult or choosing a printed photo.
Step 2
Look closely at the mushroom for one full minute and pay attention to the cap gills stem and ring.
Step 3
Put your paper on a flat surface where you can draw comfortably.
Step 4
Lightly sketch the mushroom cap and stem with your pencil.
Step 5
Draw thin lines under the cap to show the gills.
Step 6
Draw the ring around the stem if you can see it in your mushroom or photo.
Step 7
Use the eraser to remove any extra sketch lines and make your final outline clear.
Step 8
Label each part by writing cap gills stem and ring with a line pointing to each part.
Step 9
Pick a different color for each part of the mushroom.
Step 10
Color each part neatly using the colors you picked.
Step 11
Write one short sentence next to each label explaining what that part does or how it looks.
Step 12
Add a title to your page and write your name and the date.
Step 13
Share your finished mushroom drawing and explanations on DIY.org
Help!?
What can we use if we can't find a safe real mushroom or a printed photo?
Use a clear digital photo on a phone or tablet as your 'printed photo' while you follow the one-minute study step, or ask an adult to help find a safe specimen for direct observation.
My child keeps pressing too hard and the eraser can't remove lines—how can we avoid that?
Follow step 4 by sketching very lightly with your pencil, then clean up extra sketch lines gently with the eraser in step 6 before making the final outline.
How can I adapt the drawing and labeling for younger or older children?
For younger kids, have them trace a large printed mushroom and color each part with crayons while an adult writes the labels, and for older kids, have them write a sentence about function, add microscopic gill detail, or include the species name.
What are simple ways to enhance or personalize the finished mushroom drawing before sharing on DIY.org?
Add a habitat background, measure the real mushroom and note the measurements next to your labels, choose a different color for each part as step 9 says, or create a second view showing the underside to add detail before sharing on DIY.org.
Watch videos on how to draw and label a mushroom
How to draw mushrooms with markers for kids and beginners 🍄 🍄🟫
4 Videos
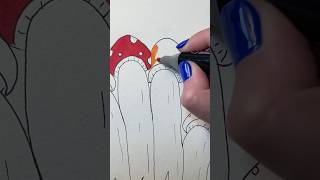
How to draw mushrooms with markers for kids and beginners 🍄 🍄🟫
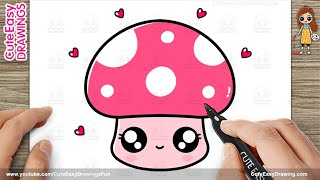
How to Draw a Cute Mushroom - Easy Step by Step for Kids & Beginners!
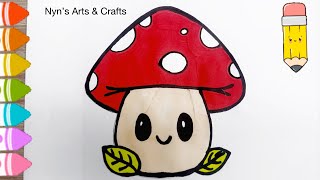
Cute Mushroom Drawing for Kids | Easy Art Step by Step | Nyn's Arts & Crafts
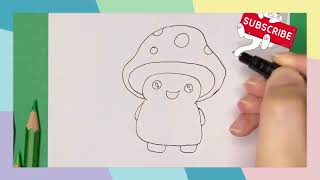
How to Draw a Cute Mushroom - Easy Art for Kids!
Facts about fungi and mushrooms
🍄 The mushroom's cap is called a pileus and it shields the gills where spores are made.
🔬 Gills (lamellae) can release millions to billions of tiny spores — one mushroom can be a spore factory!
🌱 The stem (stipe) lifts the cap so spores can drift away on the breeze; some mushrooms don’t have stems.
🎨 The ring (annulus) is a leftover part of the veil that once covered the gills — it's a helpful ID clue.
🌈 Mushrooms come in many colors and patterns; bright colors can be a warning, while others blend into nature.
How do I draw and label a mushroom showing cap, gills, stem, and ring?
What materials do I need to draw and label a mushroom?
What ages is drawing and labeling a mushroom suitable for?
Are there any safety tips for observing and drawing mushrooms?
