Build a shelf
Build a simple wooden shelf using safe tools, measuring, cutting with adult supervision, sanding, and assembling. Learn basic carpentry and tool safety.


Step-by-step guide to build a wooden shelf
Easy DIY Shelves for Kids Room
Step 1
Gather all the materials on a clear table so everything is ready to use.
Step 2
Decide how long you want your shelf to be and mark both ends on the board with your pencil.
Step 3
Use the ruler or square to draw a straight cutting line across the board at your marks.
Step 4
Clamp the board securely to the work surface so it will not move while you work.
Step 5
Ask an adult to cut the board along your line with the hand saw.
Step 6
Sand the cut edge and the top surface of the shelf with sandpaper until they are smooth to the touch.
Step 7
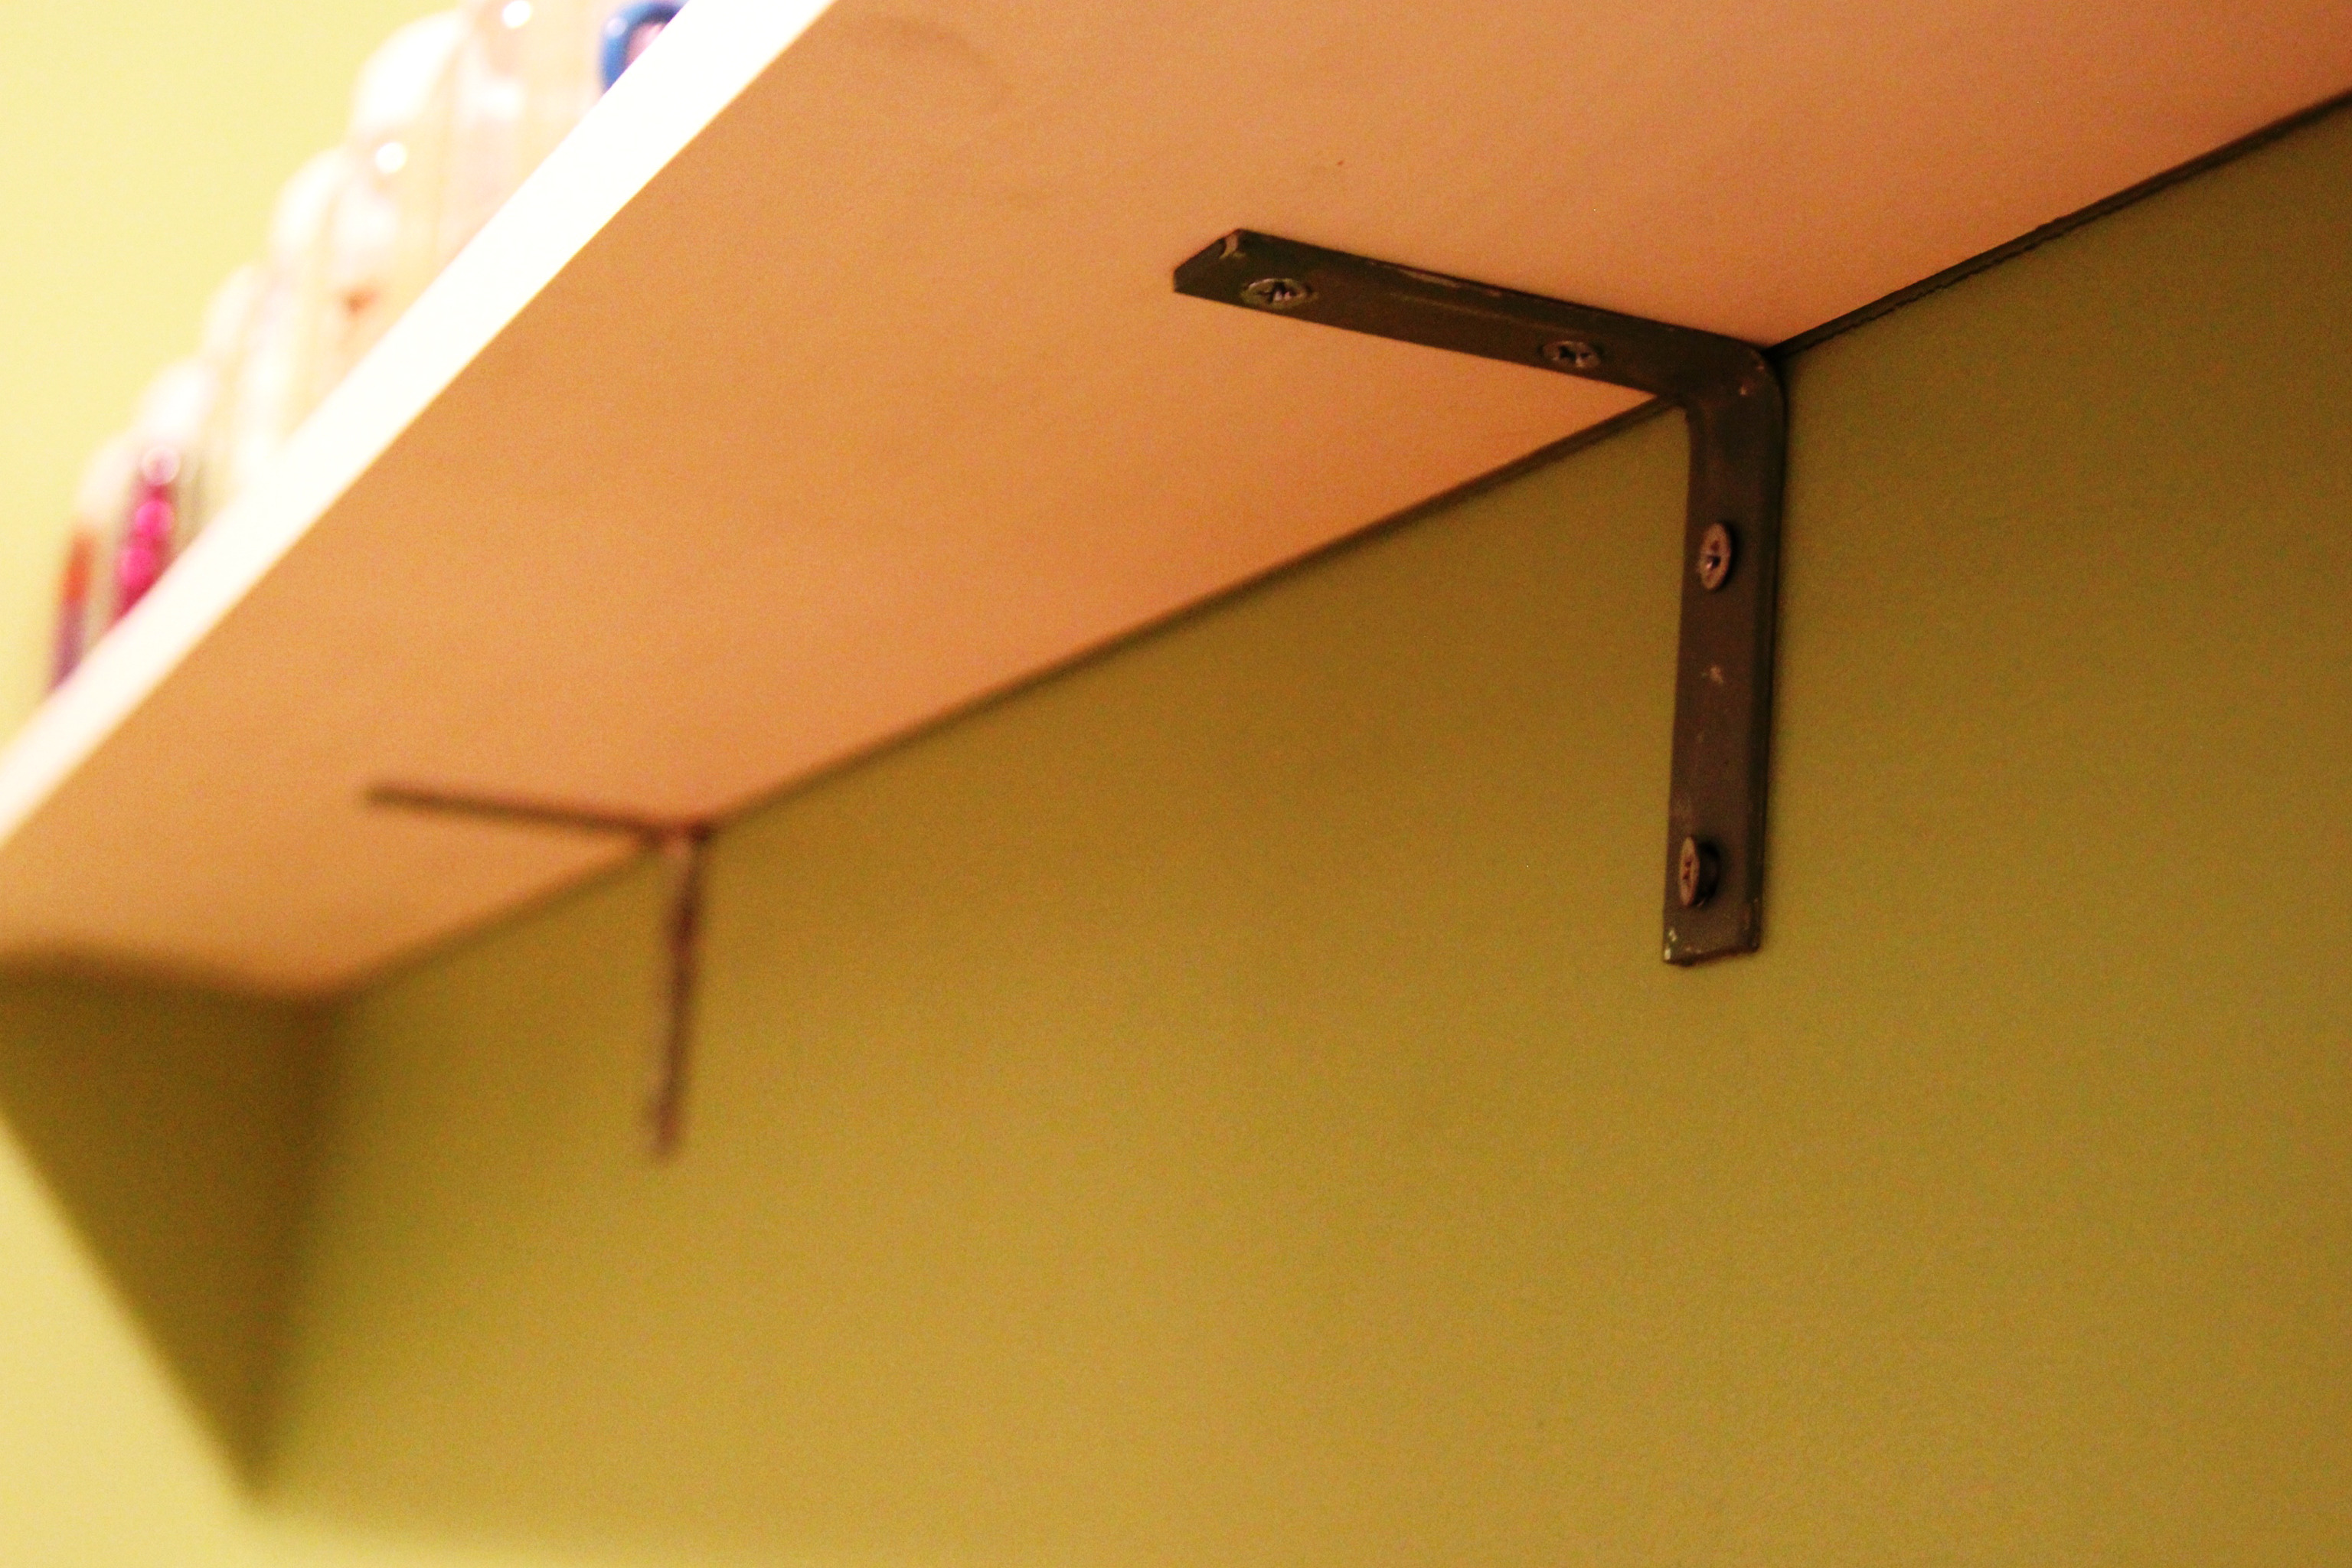
Position the L-brackets where the shelf will sit and mark each bracket screw hole with your pencil.
Step 8
Ask an adult to pre-drill small pilot holes where you marked for the screws.
Step 9
Attach the brackets to the shelf by driving screws through the bracket holes into the pilot holes.
Step 10
Hold the shelf against the wall where you want it and use the level to mark where the bracket holes will go on the wall.
Step 11
Ask an adult to install wall anchors at your marks and fasten the shelf to the wall using the brackets and screws.
Step 12
Share your finished shelf on DIY.org
Help!?
What can we use if we can't find L-brackets, wall anchors, or a hand saw?
If you can't find L-brackets, wall anchors, or a hand saw, ask an adult to pre-cut the board to your marked length at the hardware store and substitute corner braces for L-brackets and long wood screws into a stud instead of anchors while following the 'Position the L-brackets' and 'install wall anchors' steps.
The shelf feels wobbly or comes out uneven after installing—what should we check or fix?
If the shelf is wobbly or uneven after installing, loosen the bracket screws, hold the shelf against the wall with the level as in the 'Hold the shelf...' step, use thin shims behind brackets if needed, then retighten screws into the anchors.
How can we change the steps to make this activity safe and fun for younger kids or more challenging for older kids?
For younger kids have an adult pre-cut, clamp, and pre-drill the board while the child sands, marks bracket positions, and decorates the shelf, and for older kids let them measure, draw the cutting line, clamp the board, assist with the saw, and install brackets and anchors with adult supervision to practice the full steps.
What are simple ways to personalize or upgrade the finished shelf before sharing it on DIY.org?
To personalize the shelf, sand and paint the board after the 'Sand the cut edge' step, add a decorative trim or small front lip before attaching the brackets, and attach adhesive LED strip or hooks underneath after installation to showcase items.
Watch videos on how to build a wooden shelf
Make This Adorable DIY Kids Bookshelf | Perfect for Bedrooms & Storage!
4 Videos
Make This Adorable DIY Kids Bookshelf | Perfect for Bedrooms & Storage!
How to Organize a Kid's Bedroom - My 5 Best Ideas & Tips
The Easiest DIY Shelves You'll Ever Build
How to build a DIY Montessori toy shelf
Facts about woodworking for kids
🪚 Saws have been used for thousands of years—archaeologists have found Bronze Age saws over 3,000 years old.
🪵 Wood swells and shrinks with humidity, so lumber often changes size a few percent as it acclimates to a room.
📏 The small metal hook on a tape measure is designed to move so you get accurate inside and outside measurements.
🧽 Sandpaper grit numbers tell you how coarse or fine the abrasive is—higher numbers mean a smoother finish.
🛡️ Wearing safety goggles and using clamps are two simple habits that greatly reduce common workshop accidents.
How do you build a simple wooden shelf with a child?
What materials and tools do I need to build a simple wooden shelf safely?
What ages is this wooden shelf activity suitable for?
What safety tips and benefits should I know when building a shelf with a child?
