Build 3 quick prototypes
Build three quick prototypes: a paper airplane, a rubber-band car, and a paper cup telephone. Test, tweak, and compare how each prototype performs.


Step-by-step guide to build three quick prototypes: paper airplane, rubber-band car, and paper cup telephone
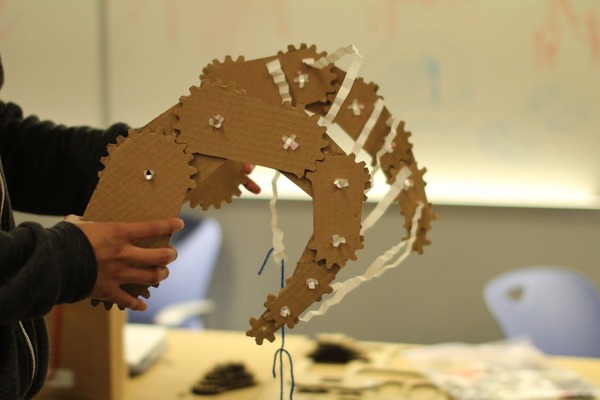
Young Engineers: Pyramid Catapult - Easy and Powerful DIY STEM Project for Kids
Step 1
Gather all the materials from the list and set them on a clear table so you can reach everything easily.
Step 2
Fold one sheet of paper into a simple dart paper airplane.
Step 3
Throw the airplane from the same spot and use the ruler to measure how far it flies.
Step 4
Make one tweak to the airplane like bending the wing tips up or adding a paperclip to the nose.
Step 5
Fold and tape a rectangular paper chassis for the rubber-band car (about as big as your hand).
Step 6
Tape two straws under the chassis parallel to each other to hold the axles.
Step 7
Push a skewer or pencil through each straw so it spins freely and poke a bottle cap or cardboard wheel onto each end.
Step 8
Hook a rubber band to the rear axle and wind it to make a simple motor.
Step 9
Let go to test the car from the same starting point and measure how far it rolls.
Step 10
Tweak the car by straightening the wheels or adding another rubber band for more power.
Step 11
Make a small hole in the bottom center of each paper cup using a pencil point (ask an adult to help).
Step 12
Thread the string through both cups and tie big knots so the string cannot pull back through the holes.
Step 13
Pull the string tight between the two cups and have one person speak into a cup while another listens to test the telephone.
Step 14
Compare the three prototypes by writing or saying which one went farthest which one was fastest or loudest and which one you liked best.
Step 15
Take a photo or write about your three prototypes and share your finished creations and results on DIY.org.
Help!?
What can I use if I don't have skewers, bottle caps, or straws from the materials list?
If you don't have wooden skewers you can use sharpened pencils or barbecue picks, bottle caps can be replaced with large buttons or cardboard circles glued to the axle, and the straws can be swapped for folded strips of cardstock taped under the paper chassis to hold the axles.
My rubber-band car doesn't roll straight or very far—what should I check?
If the car won't roll straight or the wheels don't spin freely, make sure the two straws are taped parallel under the chassis, the skewer or pencil axles spin freely inside the straws (widen the straw holes or trim the axle if needed), and the bottle-cap or cardboard wheels are pushed on evenly and aligned before winding the rubber band.
How can I adapt the three-prototype activity for different ages?
For preschoolers have an adult fold the paper airplane and poke the cup holes while the child decorates and tests throws, for elementary kids let them fold, measure distances with the ruler and make small tweaks like bending wing tips or adding a paperclip, and for older kids add controlled variables (extra rubber bands, different wheel types), record results, and write or upload findings to DIY.org.
What are simple ways to enhance or personalize the prototypes after finishing the basic tests?
To extend the activity try adding a paperclip to the airplane nose (step tweak) or extra rubber bands to the rear axle for more power, replace bottle-cap wheels with smoother wheels or cardboard discs, decorate the paper chassis and cups, and time or photograph each prototype to compare which went farthest, fastest, or loudest before sharing on DIY.org.
Watch videos on how to build three quick prototypes: paper airplane, rubber-band car, and paper cup telephone
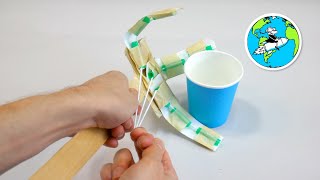
3 SIMPLE INVENTIONS That Can Be Made At Home
4 Videos

3 SIMPLE INVENTIONS That Can Be Made At Home
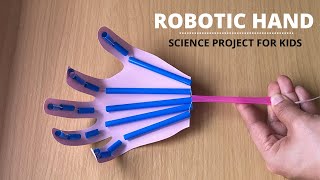
Robotic Hand Science Project | Simple Paper Robot Hand for Kids | STEM Activity
Build Your Own Bionic Hand - STEM Projects for Kids. Engineer A Simple Robot Hand
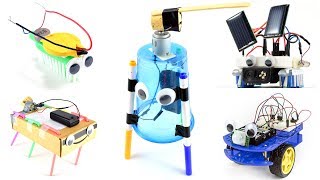
10 Robotics Projects Kids Can Really Make!
Facts about hands-on STEM and simple engineering for kids
✈️ The world record for a paper airplane flight is over 69 meters (about 226 feet) — that's one impressive paper glide!
🪢 A wound rubber band stores elastic potential energy that can power a tiny car several meters with just a few winds.
📞 A cup-and-string (tin-can) telephone carries your voice as vibrations along a tight line — it can work clearly across tens of meters.
🔁 Rapid prototyping (build → test → tweak) is how engineers quickly find better solutions — small changes often have big effects.
🌬️ Changing a paper airplane's nose weight or wing shape can turn a nose-dive into a long glide — tiny tweaks change flight behavior a lot.
How do you build and test three quick prototypes: a paper airplane, a rubber-band car, and a paper cup telephone?
What materials do I need to make a paper airplane, a rubber-band car, and a paper cup telephone?
What ages is building quick prototypes like these suitable for?
What are the benefits and safety tips when kids build and compare quick prototypes?
