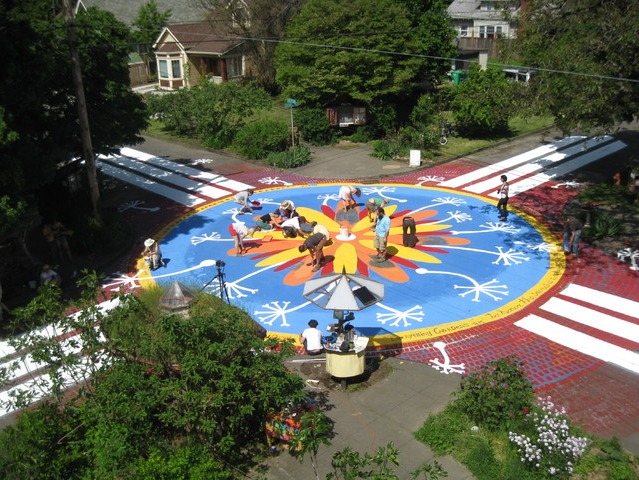
Re-design your neighborhood
Sketch and build a redesigned neighborhood model using paper, cardboard, markers, and toy figures, planning parks, bike lanes, sidewalks, and safer streets.

Step-by-step guide to re-design your neighborhood
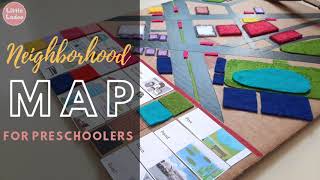
Fun for children: How to make a town map
Step 1
Observe your neighborhood for five minutes and write down three things you would like to change.
Step 2
Pick one area to redesign like one street block or a small park and draw its simple outline on a sheet of paper.
Step 3
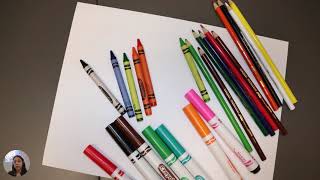
Use a ruler and pencil to make a scaled map on your paper showing roads buildings and empty spaces.
Step 4
Mark where you want parks bike lanes sidewalks and safer streets using symbols or colors.
Step 5
Choose a piece of cardboard to be your model base.
Step 6
Trace your paper map onto the cardboard with a pencil.
Step 7
Cut the cardboard base to size using scissors.
Step 8
Use markers to draw roads bike lanes sidewalks and park areas on the cardboard base following your map.
Step 9
Cut small cardboard pieces to make buildings benches trees and street signs.
Step 10
Fold and glue the cardboard pieces to make 3D buildings and park elements.
Step 11
Add crosswalks bike lane symbols and traffic calming markings on the model.
Step 12
Place toy figures and toy bikes on the model to show how people will move around.
Step 13
Move a toy figure and bike along each route to test safety.
Step 14
Make small changes or add markings to fix any problems you found.
Step 15
Share your finished neighborhood redesign on DIY.org.
Help!?
What can we use if we don't have cardboard, toy figures, or craft glue?
If you don't have a large cardboard base, use a flattened cereal box or poster board, and replace toy figures and toy bikes with small LEGO pieces or rolled-up clay while using clear tape instead of glue for the folded cardboard buildings.
What should we do if the scaled map doesn't match the cardboard model or the buildings fall apart?
If the ruler-made scale doesn't match the cardboard base or glued buildings fall apart, re-measure using the ruler, adjust your pencil-traced map before cutting, have an adult score and cut the cardboard with a craft knife, and reinforce folded pieces with clear tape or stronger craft glue before placing toy figures to test routes.
How can we change this activity for younger kids or older kids?
For younger kids (3–6), skip the ruler scaling and use pre-cut cardboard shapes, stickers, and toy blocks while an adult does the cutting, and for older kids (10+) add a measured scale with a legend, labeled streets, and try adding functional details like simple LED streetlights or hinged doors on buildings.
How can we make the neighborhood model more creative or realistic?
To enhance the model, personalize building facades with printed photos or drawn details, add recycled-material trees and fabric green spaces, create movable streetlights or traffic-calming features with brads, and invite neighbors to test routes before sharing the redesign on DIY.org.
Watch videos on how to re-design your neighborhood
How to introduce maps | Neighborhood map for kids
3 Videos
How to introduce maps | Neighborhood map for kids

Make Your Own Neighborhood Map
Activity Kit for Kids: Neighborhood Map
Facts about neighborhood design and urban planning for kids
🏙️ About 68% of the world’s people are expected to live in cities by 2050 — so planning safe neighborhoods really matters!
👩🔬 Jane Jacobs showed that busy, mixed-use streets with 'eyes on the street' can make neighborhoods safer and more fun.
⚠️ Traffic calming tools like speed bumps and curb extensions help slow cars and make streets friendlier for kids and walkers.
📏 Model makers often use common scales like 1:50 or 1:100 so tiny buildings and toy cars look in proportion.
🚲 Protected bike lanes can boost how many people ride bikes — in many cities ridership rose by more than 50% after adding them.
How do I guide my child to redesign our neighborhood and build a model?
What materials do I need to build a redesigned neighborhood model?
What ages is this neighborhood redesign activity suitable for?
What are the benefits of a neighborhood redesign project for kids?
