Build a compound eye
Build a model compound eye using beads, clear plastic hemispheres, cardboard, and glue to explore how many small lenses create mosaic vision and light sensing.


Step-by-step guide to build a compound eye
Step 1
Gather all the materials and find a flat table to work on.
Step 2
Use the pencil to draw a circle about 12 centimeters across on the cardboard.
Step 3
Cut out the cardboard circle with scissors.
Step 4
Mark a grid of evenly spaced dots about 1 centimeter apart across the circle to show where each lens will go.
Step 5
Put a small drop of glue on the first marked dot.
Step 6
Press a bead onto the glued dot and repeat this for every marked dot until the circle is covered with beads.
Step 7
Let the glue holding the beads dry until each bead is firmly stuck.
Step 8
Put a thin ring of glue around the rim of one clear plastic hemisphere.
Step 9
Press that hemisphere over a bead so the bead sits directly under the dome and repeat until all beads are covered with hemispheres.
Step 10
Let the glue holding the hemispheres dry completely.
Step 11
Hold your compound-eye model up to a colorful picture or a bright light and look through the domes to see how the view turns into a mosaic of tiny images.
Step 12
Share your finished compound eye on DIY.org.
Help!?
What can we use if we don't have clear plastic hemispheres or small beads?
If you can't find the clear plastic hemispheres or beads used in step 6, substitute small clear glass or plastic beads, flat-back rhinestones, or cut clear blister-pack plastic or plastic Easter-egg halves into domes and glue them over each bead as in step 7.
My beads keep falling off or the hemispheres won't stick—how can we fix that?
If beads fall off in step 5 or hemispheres lift in step 7, apply a slightly larger glue dot or use a stronger craft glue or low-temp hot glue, press each piece firmly until set, and allow full drying time on a flat surface as in steps 6 and 8.
How can we adapt this activity for different age groups?
For younger kids have an adult prep the cardboard circle and draw the 1 cm dot grid and use sticker gems or glue dots for step 5, while older kids can use finer beads, tighter spacing, measured grids, or add a backlight to study the mosaic effect in step 9.
How can we extend, improve, or personalize the compound eye?
To extend or personalize the project, paint or decorate the cardboard before step 2, arrange beads by color or pattern, combine several discs into a wearable mask, or try gluing the finished compound eye over a camera to create mosaic photos to share on DIY.org.
Watch videos on how to build a compound eye
Insect Vision: Compound Eyes and Simple Eyes: Entomology: Agriculture Entomology
4 Videos
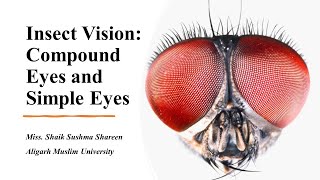
Insect Vision: Compound Eyes and Simple Eyes: Entomology: Agriculture Entomology
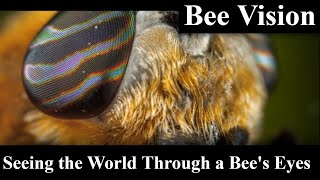
"Bee Vision: Seeing the World Through a Bee's Eyes
How Bugs See the World

How Do Insect Eyes Work? - The World of Agriculture
Facts about insect vision
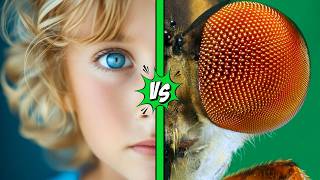
🐝 Bees have about 5,000 ommatidia per compound eye, giving them a wide-angle, mosaic view of flowers and movement.
🪰 Houseflies carry around 3,000–4,000 tiny facets per eye, which helps them detect fast motion and dodge swats.
🦟 Dragonflies can have up to 30,000 ommatidia in each eye—the highest facet counts let them track prey in flight.
🔬 Each facet (an ommatidium) is a tiny lens plus light detector, and together they create a pixelated or mosaic image.
🔦 Clear plastic hemispheres and glass beads behave like tiny convex lenses, so they're perfect for making DIY ommatidia.
How do you build a model compound eye?
What materials do I need to build a compound eye?
What ages is the compound eye model activity suitable for?
What are the benefits and safety tips for making a compound eye?
