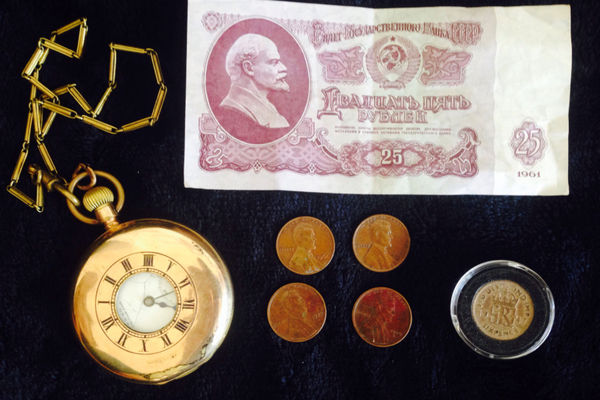
Find old artifacts
Conduct a supervised backyard or local history dig to find and document old artifacts, photograph and label finds, and research their origins.


Step-by-step guide to find old artifacts
Archaeology for Kids | Learn All About Fossils and Artefacts | PIEX Education
Step 1
Ask an adult for permission to dig at the backyard or local site you want to explore.
Step 2
Ask the adult to call the local utility locating service or check for buried lines before you start.
Step 3
Gather your materials on a clean table so everything is ready near your dig spot.
Step 4
Use the measuring tape to mark a small square area about one meter by one meter and write the square name in your notebook.
Step 5
Use the trowel to carefully remove the top layer of soil or grass from one corner and put that soil in the bucket.
Step 6
Dig the square in thin layers about 2 to 3 centimeters deep across the whole square before going deeper.
Step 7
Put each bucket load through the sieve over the bucket to catch small bits and rocks while you dig.
Step 8
When you spot something that looks like an object, stop digging and use the soft brush to gently clean soil away.
Step 9
Place each find into a ziplock bag and stick a label on it with the square name and the depth where you found it.
Step 10
Take clear photos of each find from two sides against a plain background while an adult holds a ruler next to it for scale.
Step 11
Measure each find with the ruler and write the measurements and the square name in your notebook.
Step 12
Look at each object with the magnifying glass and write any marks or interesting details you see in your notebook.
Step 13
Use books or kid-safe websites with an adult to research what each object might be and write a short note about its possible age and use.
Step 14
Make a simple display page or photo collage in your notebook with the picture label and your research notes for each find.
Step 15
Share your finished dig report and photos of your finds on DIY.org.
Final steps
You're almost there! Complete all the steps, bring your creation to life, post it, and conquer the challenge!

Help!?
What can we use if we don’t have a trowel, sieve, or soft brush?
If you don’t have a small trowel, use a sturdy kitchen spoon for digging, a clean mesh colander or window screen over the bucket for sifting each bucket load, and a soft paintbrush in place of the soft brush when gently cleaning a find.
What should we do if the soil is too hard or we hit something unexpected while digging?
If the soil is too hard while you remove the top layer or dig thin layers, wet the area lightly and loosen it with your trowel or spoon, and stop to have the adult check and call the local utility locating service if you hit a pipe or other solid object.
How can we adapt the activity for younger or older kids?
Let younger children help mark the one-meter-by-one-meter square, sift soil, and take photos with supervision, while older kids can take full responsibility for measuring finds with the ruler, using the magnifying glass for details, researching objects, and writing the dig report for DIY.org.
How can we extend or personalize our finds and dig report?
Turn your photos, labeled ziplock finds, measurements from the ruler, and research notes into a laminated mini-museum page or cardboard display in your notebook and add rubbings or sketches of markings seen with the magnifying glass before sharing on DIY.org.
Watch videos on how to find old artifacts
How Ancient Egyptians Made Papyrus | Step-by-Step for Kids!
4 Videos
How Ancient Egyptians Made Papyrus | Step-by-Step for Kids!
Top 3 Amazing Artifacts🏛️ | Archaeology Adventure🏺| Theme-Based Learning for Kids📚

All About Archaeology - Educational Video for Kids

Art History for Kids: Ancient Egypt
Facts about archaeology and local history for kids
⚖️ Many countries protect archaeological finds by law — landowner permission and local permits are often required before digging.
🏺 Archaeologists often find pottery shards more than anything else — shards can reveal what people ate, cooked in, or traded.
🔎 Public reporting programs (like the UK's Portable Antiquities Scheme) have helped record over a million small finds from metal-detectorists and hobbyists.
📸 Simple photos, labeled bags, and notes about where and how deep an item was found make even backyard discoveries valuable to historians.
🌱 Soil layers work like pages in a book: deeper layers usually hold older artifacts, a principle called stratigraphy.
How do I organize a supervised backyard or local history dig to find and document artifacts with my child?
What materials and tools do I need for a safe kid-friendly artifact dig?
What ages are suitable for a supervised backyard artifact dig and what tasks can kids do?
What safety precautions and learning benefits should parents know about doing an artifact dig with kids?


One subscription, many ways to play and learn.
Only $6.99 after trial. No credit card required