Make ancient tools
Make safe replicas of ancient tools like a stone axe, spear, and pottery using clay, cardboard, sticks, and string while learning archaeology and engineering.


Step-by-step guide to make ancient tools
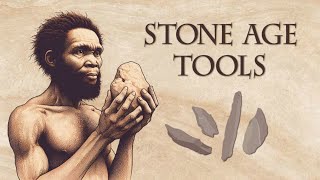
Ancient Tools: How They Shaped Early Human Life | Stone Tool Technology of Our Human Ancestors
Step 1
Gather all the materials from the list and bring them to a clear workspace.
Step 2
Decide which ancient tool you will make first: a stone axe a spear or a piece of pottery.
Step 3
Draw a simple plan of that tool on scrap paper showing the size and shape you want.
Step 4
Prepare a handle by choosing a sturdy stick or cutting a long strip of cardboard to the length in your plan.
Step 5
Take a lump of clay and shape it into the tool head or into the base shape for a pot.
Step 6
Put glue on the handle end and press the clay head gently onto the glued area to attach it.
Step 7
Wrap string tightly around the joint where clay meets the handle to secure the head in place.
Step 8
Use a stick or your fingernail to add flake marks or patterns to the clay for authentic tool or pottery details.
Step 9
Smooth the clay surface with your fingers to remove rough spots and fingerprints.
Step 10
Let your creation dry completely in a safe place for the drying time listed on the clay package.
Step 11
Paint or colour your dried tool or pottery with the colouring materials and let the paint dry.
Step 12
Share a photo and a short description of your finished creation on DIY.org
Help!?
What can we use instead of modeling clay or a sturdy stick if those materials are hard to find?
Use salt-dough or crumpled aluminium foil shaped and covered with masking tape for the tool head, and substitute a broom handle, wooden dowel, or a rolled cardboard tube for the sturdy stick called for in the handle preparation step.
My clay head keeps falling off the handle and the string doesn't seem to hold—how can I fix that?
Press the clay firmly onto glue applied to the handle end (step 5), wrap the string tightly and repeatedly around the joint (step 7), and allow the glue and clay to dry fully on a flat surface following the clay package drying time before handling.
How should I change the activity for different ages so it's safe and fun?
For toddlers, use pre-shaped air-dry clay pieces and pre-cut cardboard handles to skip cutting and detailed shaping, while older kids can follow step 2 to draw a full plan, carve flake marks with a craft tool (step 8) and experiment with more complex spear or axe designs under supervision.
What are ways to extend or personalize our ancient tool project after it's dried and painted?
After painting (step 10), personalise your piece by adding leather or fabric wrapping over the string, rubbing in natural pigments or ash for an aged look, and attach your original plan and a short description before sharing a photo on DIY.org (step 11).
Watch videos on how to make ancient tools
Stone Age Tools | Evolution of Stone Tools | Stone Tool Industries | Tools in the Paleolithic Age
4 Videos
Stone Age Tools | Evolution of Stone Tools | Stone Tool Industries | Tools in the Paleolithic Age
Early #humans Used Tools 2 Million Years Ago

The First Toolmakers — How Early Humans Changed the World 3M-500,000 BCE | Boring Sapien
Tools Used by Early Man 🪓 15 Stone-Age Inventions That Shaped Humanity"
Facts about archaeology and engineering for kids
🪨 Hand axes are some of the oldest human tools — versions were used by our ancestors over a million years ago!
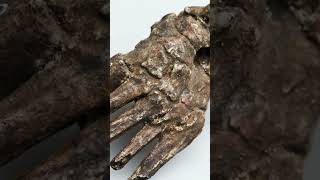
🔬 Archaeologists often use radiocarbon dating and careful layers of soil to figure out how old things are.
⚒️ Flintknapping means shaping stone by striking it — skilled makers can chip flakes into very sharp edges.
🍶 Pottery shards (sherds) are like time capsules: their shape and decoration can tell a lot about daily life and trade.
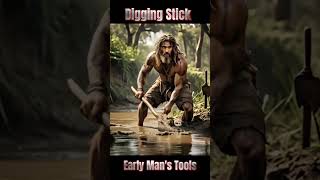
🪢 Early spear tips were often lashed to wooden shafts with plant fibers or animal sinew — simple materials, powerful results!
How do I guide my child to make safe replica ancient tools like a stone axe, spear, and pottery?
What materials and simple tools do we need to make replica stone age tools at home?
What ages is making replica ancient tools suitable for?
What are the benefits and safety tips for making ancient tool replicas with kids?
