Create a virtual flying tour
Create a virtual flying tour using maps, photos, and simple presentation tools; plan routes, add narration and images, then share your guided exploration.


Step-by-step guide to create a virtual flying tour
The Best FREE Virtual Tour Software
Step 1
Choose a fun theme and a short title for your flying tour.
Step 2
Pick 4 to 6 stops you want to visit on your tour.
Step 3
Open your map website or app.
Step 4
Pin each stop on the map in the order you want to fly.
Step 5
Take or find one photo for each stop.
Step 6
Open your presentation app and make one slide for each stop.
Step 7
Label each slide with the stop name and a short caption.
Step 8
Insert the matching photo onto its slide.
Step 9
Decide where you want a route overview and where you want close-up maps.
Step 10
Take a screenshot of the route on your map for the overview.
Step 11
Add the route screenshot to your presentation overview slide.
Step 12
Write a one-sentence narration for each slide.
Step 13
Record your narration for each slide using the presentation app or a microphone.
Step 14
Export your presentation as a video file or get a shareable link.
Step 15
Share your finished flying tour on DIY.org.
Help!?
What can we use if we don't have a microphone or a presentation app that records audio?
Use your smartphone's Voice Memos to record each one-sentence narration, save the files, then insert those audio files into your slides in a free presentation app like Google Slides (or play them while screen-recording the slideshow) before exporting the video.
What should I do if my slides export without the narration or the video export fails?
Confirm each slide actually has its recorded audio attached (step: Record your narration for each slide), then try 'Publish to web' or screen-record the slide show while you play the narration to create a working video file.
How can I adapt this flying tour activity for younger or older kids?
For ages 4–6 pick just 3 stops, have an adult pin the stops on the map and take the photos for the child to drag onto slides and say one short sentence, while older kids (10–14) can choose 5–6 stops, write a one-sentence narration with facts, use close-up route screenshots, and export a polished video.
How can we extend or personalize the flying tour to make it more impressive?
Add background music and short transition animations to the exported video, include an extra quiz slide about the 4–6 stops, swap the static overview with sequential route screenshots to simulate flight, and use themed icons as slide labels and captions.
Watch videos on how to create a virtual flying tour
Create Virtual Tours in Google Earth Pro | Creating Virtual Tours in Google Earth
4 Videos
Create Virtual Tours in Google Earth Pro | Creating Virtual Tours in Google Earth
Create Drone-Style Videos for FREE with Google Earth Studio
Tips & Tricks of Creating 360 Virtual Tour With Kuula

How To Make A Virtual Tour // 5 Simple Steps
Facts about digital mapping and virtual tours
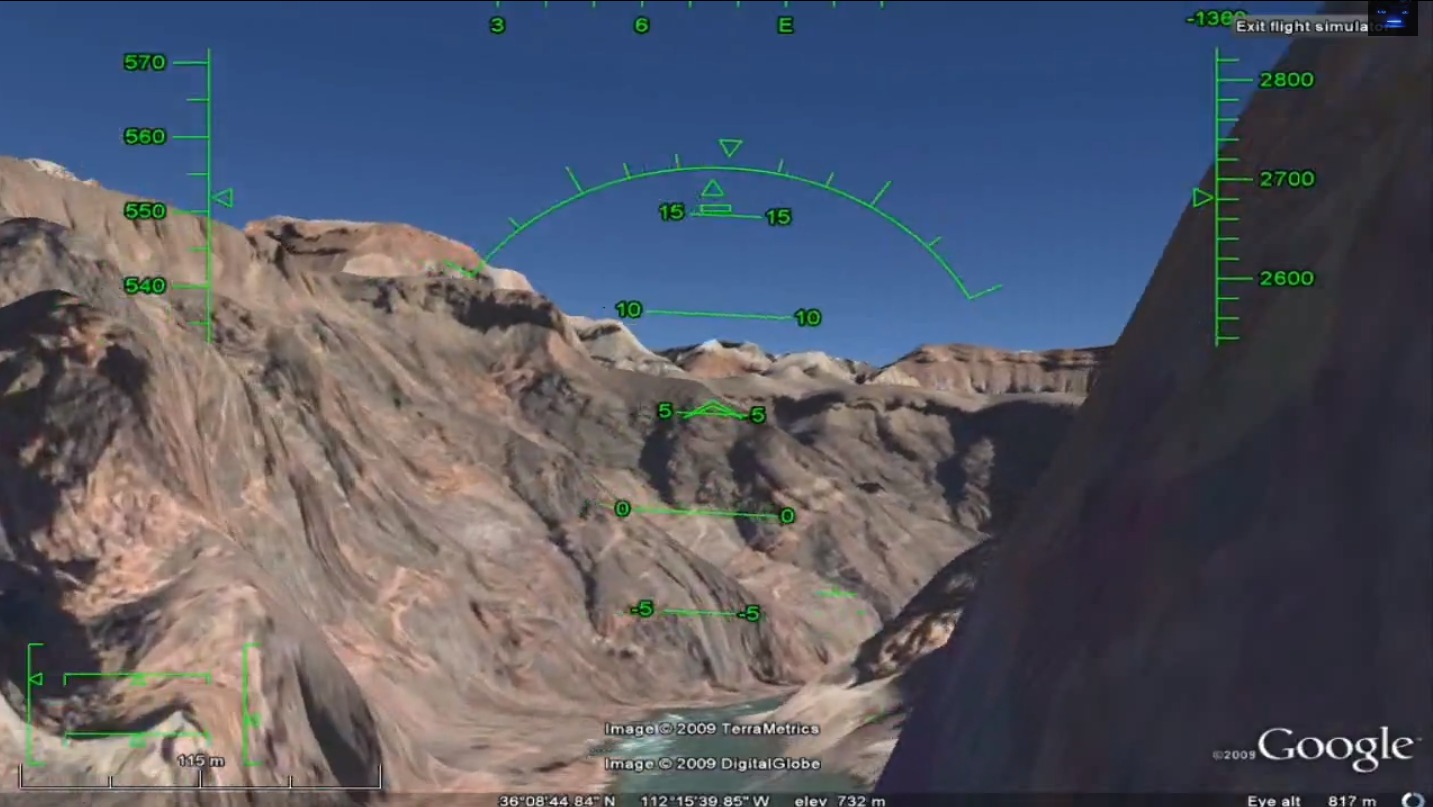
🗺️ Google Earth lets you 'fly' around nearly the whole planet using satellite imagery and 3D views.
✈️ Early virtual tours in the 1990s used stitched panoramic photos — an ancestor of today's flying tours.
📸 High-resolution aerial and satellite photos can reveal landmarks and features just a few meters wide.
🎙️ Adding voice narration and stories makes a guided tour far more memorable and fun to follow.
🌍 Once you share a virtual tour online, anyone anywhere can explore the route you created instantly.
How do you create a virtual flying tour using maps, photos, and simple presentation tools?
What materials and tools do I need to make a virtual flying tour?
What ages is a virtual flying tour suitable for?
What are the benefits and safe variations of making a virtual flying tour?
