Invent your own shading technique
Design and test your own shading technique using pencils, markers, and blending tools to create textured tonal drawings while experimenting with pressure and patterns.

Drawing Apps
Step-by-step guide to invent your own shading technique
Step 1
Place one sheet of drawing paper on a flat surface to be your final drawing.
Step 2
Put your scrap paper pencils markers blending tool eraser and sharpener within reach.
Step 3
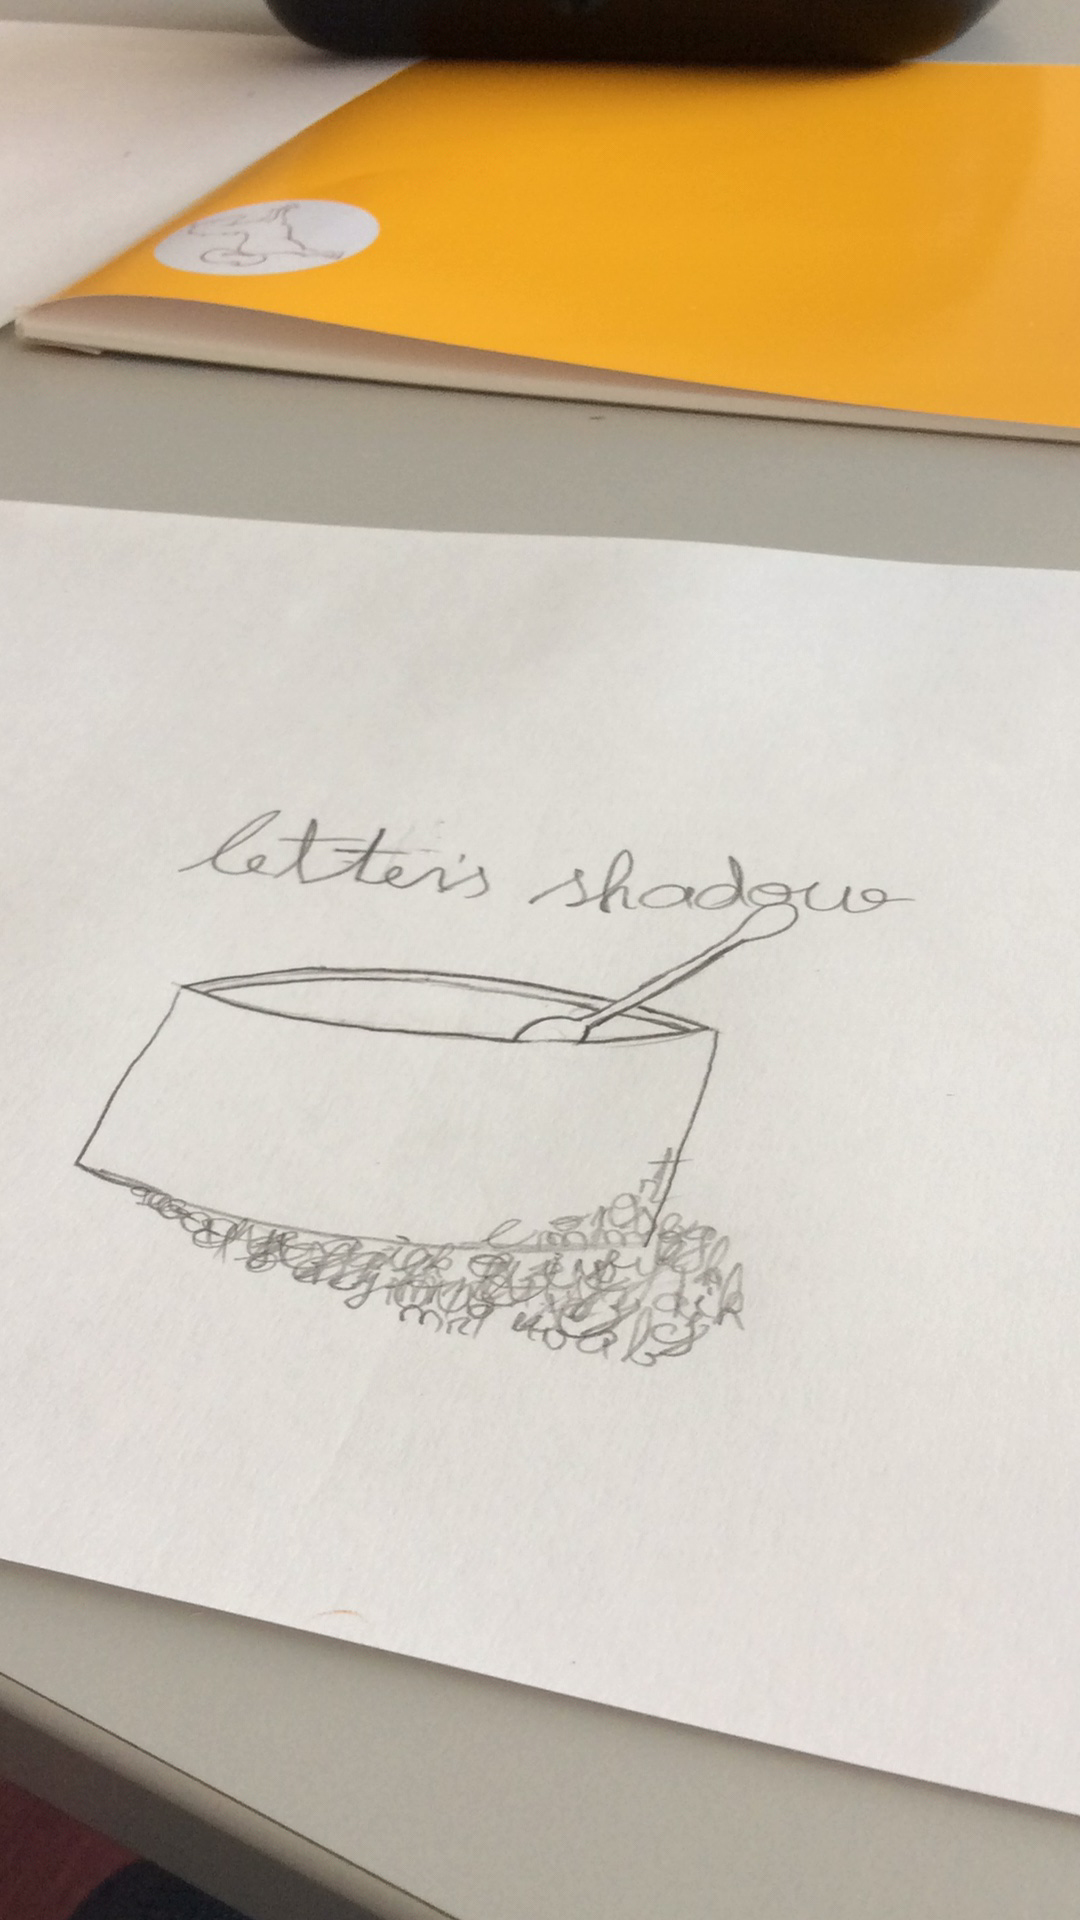
Pick one simple subject to draw like a ball leaf or a folded cloth to practice shading on.
Step 4
Draw a row of six small boxes on the scrap paper to make shading swatches.
Step 5
In the first three boxes practice light pressure using different patterns such as hatching cross hatching and stippling.
Step 6
In the next three boxes repeat those same patterns using heavier pressure to make darker tones.
Step 7
Use your blending tool in one swatch to blend pencil marks and notice how the texture changes.
Step 8
Try drawing the same patterns with a marker on another strip of scrap paper to see how marker texture differs.
Step 9
Compare all your swatches and circle or write the name of the pattern and pressure that you like best.
Step 10
Lightly sketch the outline of your chosen subject on the drawing paper.
Step 11
Apply your chosen pattern and pressure to the lightest areas first to build up tone gradually.
Step 12
Increase pressure or add more pattern layers to the areas that need to be darker.
Step 13
Use the blending tool lightly where you want smoother transitions and keep pattern visible where you want texture.
Step 14
Erase stray marks and sharpen any edges to finish your textured tonal drawing.
Step 15
Share your finished creation on DIY.org
Help!?
What can we use if we don't have a blending tool or special paper?
If you don't have a blending tool, use a folded tissue, a cotton swab, or a soft fingertip to gently blend pencil marks when you 'Use your blending tool in one swatch' and later 'Use the blending tool lightly where you want smoother transitions.'
My shading looks too dark or flat—what should I try?
If tones get too dark or flat, lift graphite lightly with the eraser and follow 'Apply your chosen pattern and pressure to the lightest areas first to build up tone gradually,' easing pressure and reworking your swatches until you regain contrast.
How can I adapt the steps for younger or older children?
For younger children simplify step 4 by drawing fewer than six swatches and practicing just two patterns with markers on scrap paper and a simple subject like a ball, while older kids can expand to more boxes, tighter cross‑hatching, layered pressure, and more blending per steps 5–9.
How can we extend or personalize this shading activity?
To extend the project, transfer the swatch pattern you 'circle or write' onto colored drawing paper, combine pencil and marker textures from 'Try drawing the same patterns with a marker,' add your own pattern variations, and then 'Share your finished creation on DIY.org.'
Watch videos on how to invent your own shading technique
How to Draw Cylinder Shadows - Make Your Art Look 3D
4 Videos

How to Draw Cylinder Shadows - Make Your Art Look 3D
How to Make Your Drawings Look 3D
How to shade your drawings to make them look real: How to Draw 12
Shading 101 | Simple Techniques for Drawing
Facts about drawing techniques for kids
✏️ Graphite pencils are labeled from 9H (very hard, very light) to 9B (very soft, very dark) — try different grades to get more tones!
🖊️ Markers come in water-based and alcohol-based types; alcohol markers blend smoothly but can bleed through thin paper, so test first.
🌀 Cross-hatching (lots of layered lines) has been used for centuries to create shadows and texture without smoothing tools.
🪄 Blending stumps, tissue, cotton swabs — even a fingertip — can soften pencil marks, but fingers can add oil that changes the paper over time.
🎯 Making a 5–9 step value scale (from white to darkest) is a quick way to test pressure and blending before drawing your final piece.
How do you invent and test your own shading technique with pencils, markers, and blending tools?
What materials do I need to invent and test a shading technique?
What ages is inventing and testing a shading technique suitable for?
What are the benefits of inventing your own shading technique for children?
