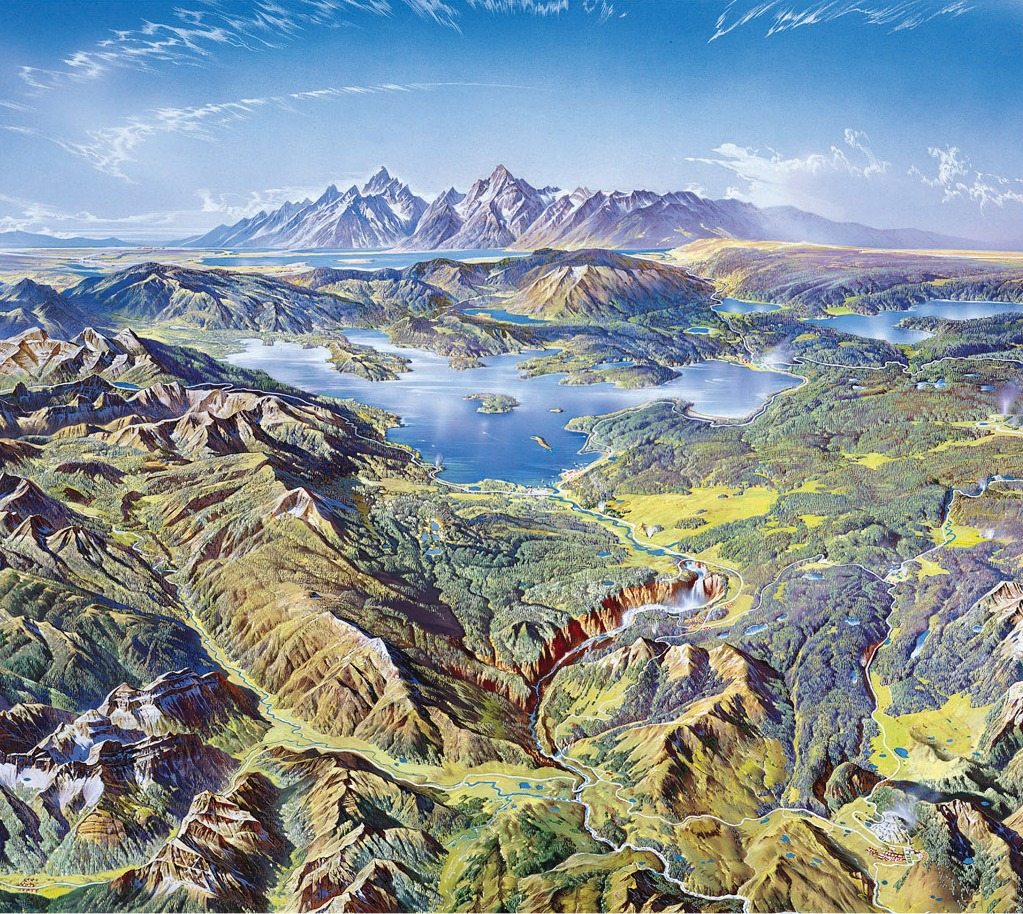
Map your favorite spot
Draw and create a detailed map of your favorite spot using measurements, symbols, a scale, and a legend to practice observation and spatial thinking.

Drawing Apps
Step-by-step guide to map your favorite spot
Fun for children: How to make a town map
Step 1
Pick your favorite spot to map and say its name out loud so you remember it.
Step 2
Walk around the spot and write a short list of the main things you want on the map like trees benches paths or a play area.
Step 3
Decide how much of the place you will show and draw a simple outer outline on your paper to match that area.
Step 4
Choose a scale for your map and write it clearly on the paper for example one meter equals one centimeter.
Step 5
Use your ruler or measuring tape to measure the real distances between your outline edges and each main thing and write those numbers down.
Step 6
Convert each real distance into your map units using the scale and write the scaled numbers next to the measurements.
Step 7
Place each feature on the map by measuring the scaled distances from the outline and draw each feature as a simple shape.
Step 8
Design a small symbol for each type of feature on sticky notes or the paper and draw the same symbols on the map.
Step 9
Draw a neat legend box and put each symbol with its name inside the box so others can read your map.
Step 10
Draw a north arrow in a corner of the map so people know direction.
Step 11
Add a clear title and color your map to make it bright and easy to read.
Step 12
Share a photo or upload your finished map to DIY.org so others can see your awesome work.
Help!?
What can we use instead of a ruler, measuring tape, or sticky notes if we don't have them?
Use a piece of string or shoelace with knots at measured intervals for distances and small cut squares of paper or label scraps to make and stick symbols in place of sticky notes.
My features look in the wrong place after drawing—what should I check?
Make sure you measured each real distance from the same outline edge, correctly converted those numbers using the written scale, and marked the scaled distances along the outline before drawing each simple shape.
How can this activity be adjusted for different age groups?
For preschoolers use counted footsteps and stickers for symbols, for elementary kids use a ruler or measuring tape plus a clear scale, legend, and north arrow, and for teens add precise conversions, gridlines, a compass, and a photo for uploading to DIY.org.
How can we make the map more creative or useful after finishing the basic steps?
Add a colored key in the legend, use patterned paper or laminated sticky symbols for durability, draw different line weights or contour hints for paths and elevation, and attach a photo or QR code so viewers on DIY.org can see the real spot.
Watch videos on how to map your favorite spot
How to Create a Story Map for Kids - Planning Your Narrative Writing
4 Videos
How to Create a Story Map for Kids - Planning Your Narrative Writing
Let's Draw a Community Map w/ a Key!
Make a Map in Canva
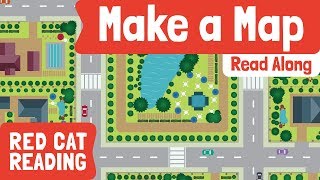
How to Make a Map | Geography for Kids | Made by Red Cat Reading
Facts about mapmaking for kids
🗺️ People have been making maps for thousands of years — ancient Babylonian clay maps date back over 2,500 years.
📏 Map scales shrink big places so they're manageable: a 1:10,000 scale means 1 cm on the map equals 100 m in real life.
🧭 The magnetic compass was first used for navigation in China about 1,000 years ago, helping explorers find their way.
👀 A clear legend and simple symbols let someone read a map in seconds — pictures often beat long labels!
📐 Surveyors use tape measures, compasses, and careful steps to get accurate distances — techniques people used even when building ancient monuments.
How do you map your favorite spot?
What materials are needed to create a detailed map?
What ages is this mapping activity suitable for?
What are the benefits of making detailed maps with children?
