Draft or mod a pattern
Design and modify a repeating pattern on paper or fabric using drawing, cutting, and simple measurements to explore symmetry, repetition, and creativity.

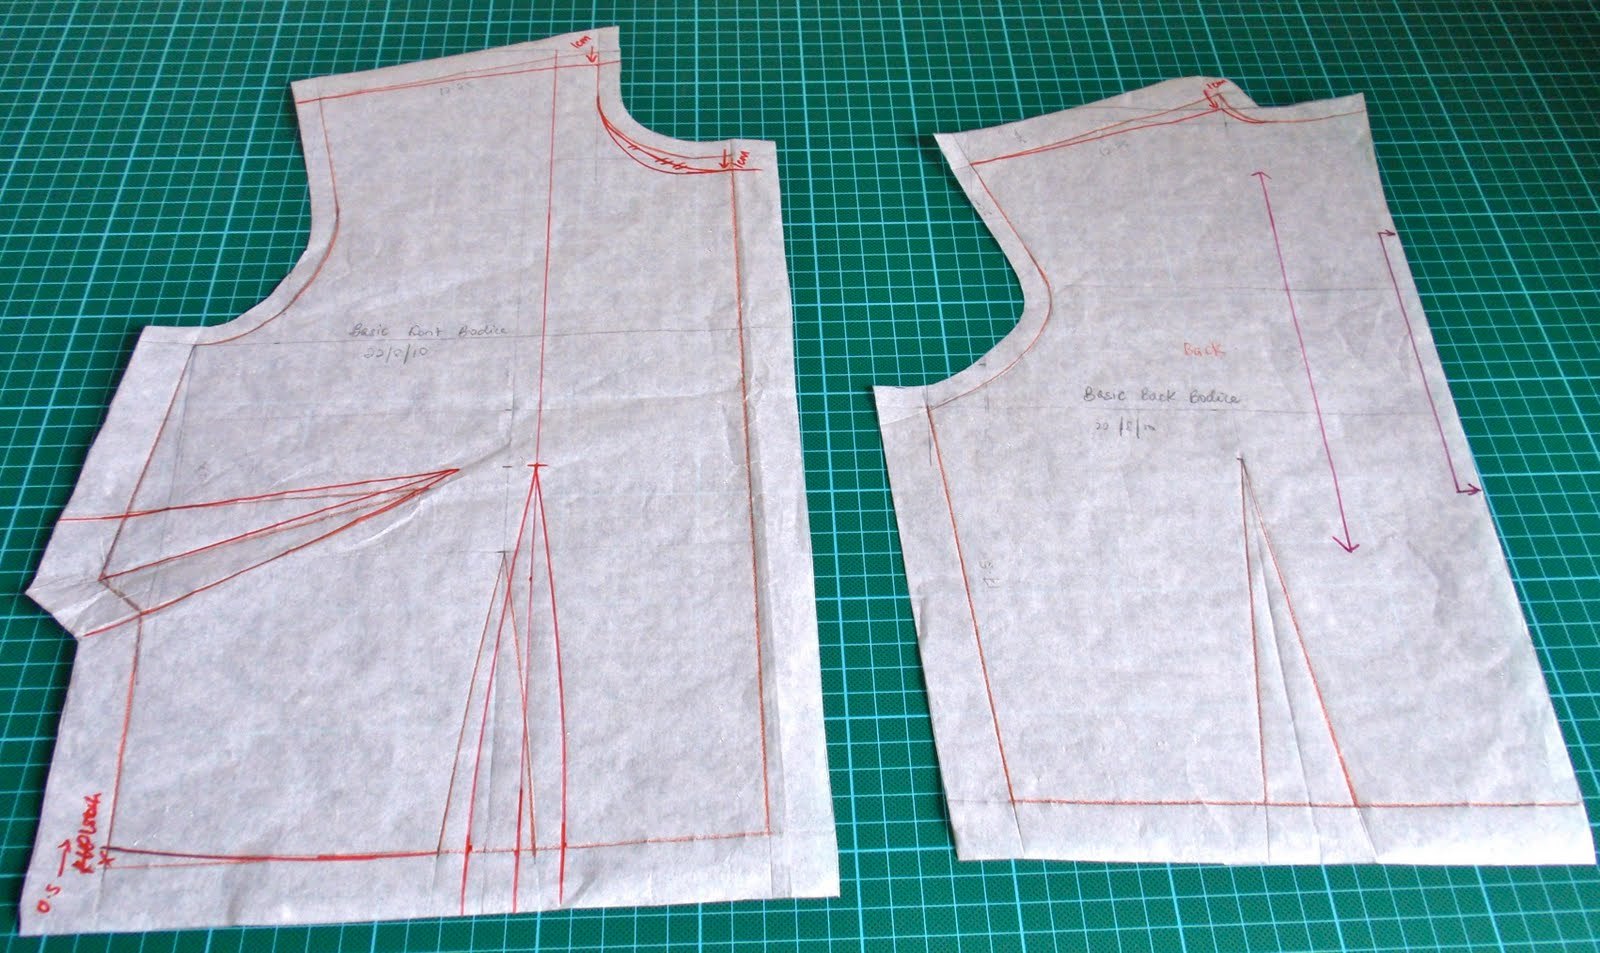

Step-by-step guide to design and modify a repeating pattern on paper or fabric
The Top 5 Ways to Make Your Own Sewing Patterns! (to make anything YOU want!)
Step 1
Spread your paper or fabric flat on a clean surface and tape the corners down so it does not move.
Step 2
Pick how big each repeat will be by choosing a square size between 3 and 6 centimeters and remember that number.
Step 3
Use your ruler to make light pencil marks every chosen measurement along the top edge and the side edge.
Step 4
Connect the matching marks with your ruler to draw a light grid of squares across the sheet.
Step 5
Place your scrap cardboard over one grid square and draw one simple motif that fits inside the square.
Step 6
With adult supervision cut your drawn motif out of the cardboard to make a stencil.
Step 7
Position the stencil in the first square and trace its outline lightly with a pencil.
Step 8
Move the stencil to each square and trace it to fill the whole page row by row.
Step 9
Flip or rotate the stencil in some squares and trace again to create mirrored or rotated repeats for symmetry.
Step 10
Add small extra lines or shapes to connect motifs and change the pattern where you like.
Step 11
Color your repeating pattern using your coloring materials to make it bright and fun.
Step 12
Take a photo of your finished pattern and share your creation on DIY.org
Help!?
What can I use if I don't have scrap cardboard or tape?
Use a cereal-box panel or thin plastic from packaging for the stencil and hold your paper or fabric flat with paper clips, binder clips, or small weights instead of tape as in the step 'tape the corners down so it does not move.'
My stencil keeps slipping and my lines look messy—how can I fix that?
Make lighter pencil marks when you 'make light pencil marks' and 'draw a light grid', then secure the cardboard stencil with a small piece of tape or a paperweight while you 'trace its outline lightly with a pencil' to prevent shifting and smudging.
How do I change the activity for younger or older kids?
For younger children choose a larger square (5–6 cm), have an adult do the 'cut your drawn motif out of the cardboard' step and let them trace and color, while older kids can use the smaller 3 cm repeats, cut their own stencil, and experiment with flipping or rotating the stencil for more complex repeats.
How can we make the pattern more interesting or personal?
Try layering two different stencils in some squares, follow the instruction to 'add small extra lines or shapes to connect motifs', use varied coloring materials like markers or fabric paint for texture, and 'take a photo of your finished pattern and share your creation on DIY.org.'
Watch videos on how to design and modify a repeating pattern on paper or fabric
Easy and Fast Dress Sewing Project - Tres Belle Kids Dress Pattern - Sew Along Tutorial
4 Videos
Easy and Fast Dress Sewing Project - Tres Belle Kids Dress Pattern - Sew Along Tutorial
10 Easy Patterns You Can Sew in a Day (+ Free Patterns!)
Simple Kids Apron Sewing Pattern - Step by Step Tutorial
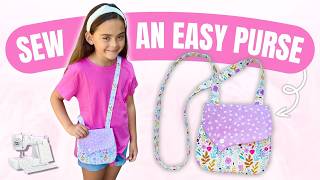
Sew a Cute Girls Purse in ONLY 13 Minutes! | Easy Sewing Project for Beginners (+ Printable Pattern)
Facts about pattern design and textiles for kids
🧩 Tessellations are patterns that cover a plane with no gaps or overlaps—think of bathroom tiles that fit perfectly together.
🧵 William Morris created famous repeating wallpapers and fabrics in the 1800s that helped popularize patterned textiles.
🔢 There are exactly 17 wallpaper groups (mathematical symmetry types) that describe all possible 2D repeating patterns.
✂️ You can make a repeating motif by cutting a simple paper shape, tracing it, and arranging copies in rows—an easy way to print patterns at home.
📐 Pattern symmetry often uses reflection, rotation, translation, and glide reflection to make designs repeat and feel balanced.
How do I design and modify a repeating pattern on paper or fabric?
What materials do I need to design and modify a repeating pattern?
What ages is designing and modifying repeating patterns suitable for?
What are the benefits, safety tips, and variations for repeating-pattern projects?
