Sew a sleeve
Sew a simple fabric sleeve to cover a small pillow or pencil case. Learn hand-stitching, measuring, cutting, and basic sewing safety.


Step-by-step guide to sew a sleeve
HOW TO MAKE A BEUTIFUL SLEEVE | SEWING TUTORIAL | SON SEWING| The Sewing Tutorial for Beginners
Step 1
Lay your fabric flat on the table with plenty of space around it.
Step 2
Measure the length of the pillow or pencil case and write down that number.
Step 3
Measure the height (shorter side from top to bottom) of the pillow or pencil case and write down that number.
Step 4
Calculate the cutting size: length = measured length + 2 cm and width = (measured height × 2) + 2 cm.
Step 5
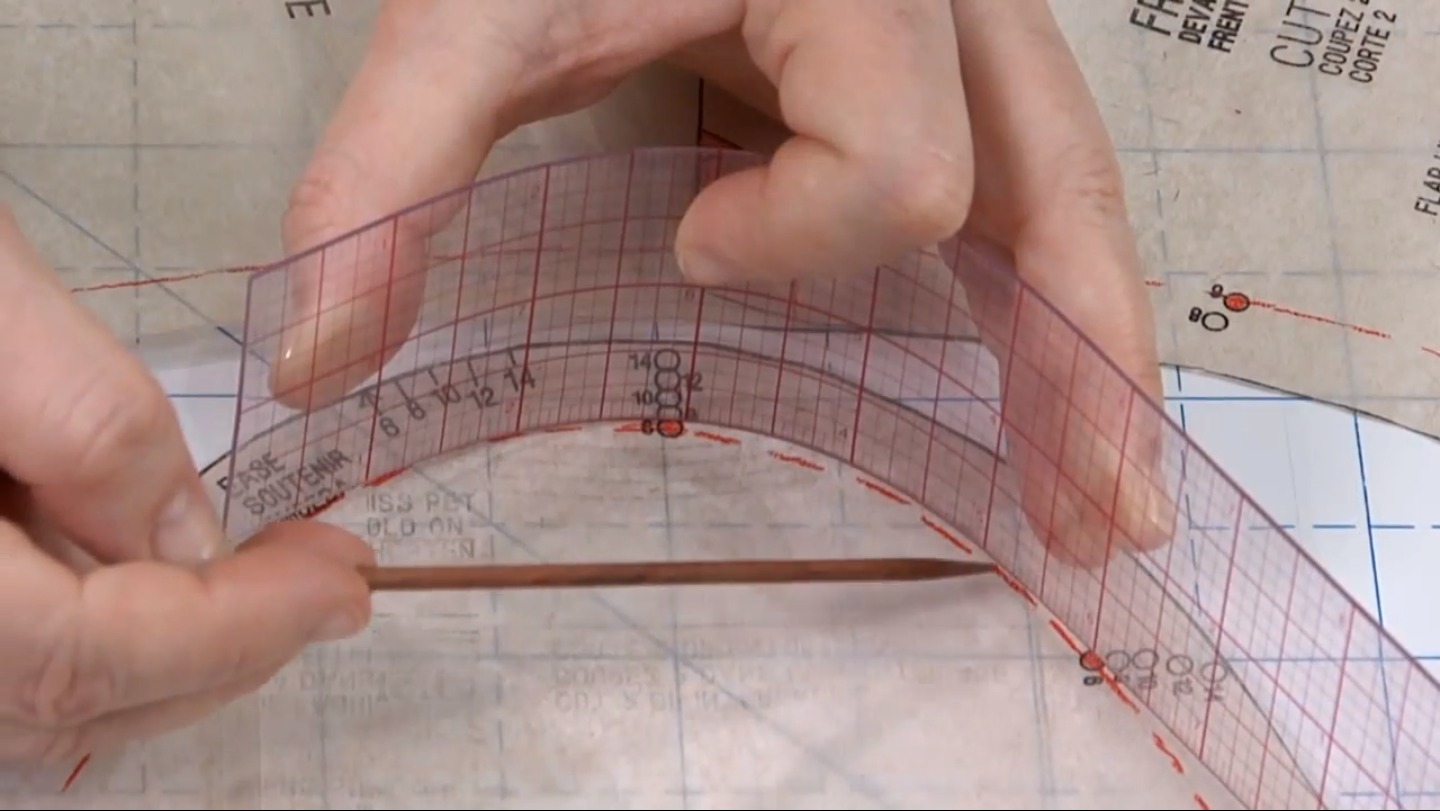
Use the ruler and fabric marker to draw the rectangle on the fabric using the size from Step 4.
Step 6
Cut out the marked rectangle carefully with scissors.
Step 7
Fold the rectangle in half so the two height halves meet with the "nice" printed sides facing each other.
Step 8
Pin or clip the two long raw edges together so they stay lined up.
Step 9
Thread your needle and tie a small knot at the end of the thread.
Step 10
Sew along the two pinned long edges with a 1 cm seam allowance using a running stitch and do a few backstitches at the start and end to secure.
Step 11
Turn the sleeve right side out through the open end so the nice side of the fabric shows.
Step 12
Slide your small pillow or pencil case into the sleeve to check the fit.
Step 13
Fold the open end inward about 1 cm to make a neat hem and pin it in place.
Step 14
Sew the hem across the open end to finish the sleeve neatly.
Step 15
Share a photo or video of your finished sleeve on DIY.org
Help!?
What can we use instead of a fabric marker, pins, or a fine sewing needle if we don't have them?
Use tailor's chalk or a pencil to draw the rectangle in Step 5, binder clips or paper clips to hold the long raw edges together in Step 8, and a blunt plastic darning needle or fabric glue as an alternative to threading a fine needle for Step 9/10.
My finished sleeve is too tight and the pillow won't slide in after I turned it right side out—what should I do?
Increase the cutting size in Step 4 by 1–2 cm or unpick and resew the long seams with a wider 1.5 cm seam allowance in Step 10 so the finished sleeve fits the pillow.
How can I adapt the activity for younger children or make it more challenging for older kids?
For younger children, have an adult pre-cut the rectangle in Step 6 and let them pin and practice large running stitches in Step 10 with a plastic needle, while older kids can draft their own patterns, use a sewing machine for Step 10, or add a zipper before Step 11.
What are some ways to personalize or improve the sleeve before sharing our finished project?
Add appliqué, embroidery, or fabric paint to the 'nice' side before turning the sleeve in Step 11 and finish with a decorative topstitch or a small fabric loop sewn into the hem in Step 14 for hanging.
Watch videos on how to sew a sleeve
How to Sew in Sleeves Right the First Time - Sleeve TUTORIAL
4 Videos
How to Sew in Sleeves Right the First Time - Sleeve TUTORIAL
How to cut and sew a shirt sleeve with cuff (beginners tutorial)
Learn to Sew with Debbie Shore, Kids! Lesson 1
How to Sew a Sleeve
Facts about basic sewing for kids
🪡 People have been sewing for over 25,000 years — some of the oldest sewing needles were made from bone!
🧵 A single spool of thread can be used to stitch dozens of small sleeves, so one little project can go a long way.
✂️ Kids' safety scissors have blunted tips and special blades so little hands can cut fabric more safely.
📏 'Measure twice, cut once' is a handy rule in sewing that helps avoid wasting fabric and fixing mistakes.
🧸 A simple hand-sewn sleeve can turn a scrap of fabric into a cozy cover for a tiny pillow or a neat pencil case.
How do I teach my child to sew a fabric sleeve for a small pillow or pencil case?
What materials do I need to sew a simple fabric sleeve at home?
What ages is hand-stitching and making a simple fabric sleeve suitable for?
What are the benefits and safety tips for kids learning to sew a fabric sleeve?
