Attach Buttons, Snaps and Hooks
Learn to sew buttons, sew on snaps, and small hooks onto fabric using a needle, thread, and basic tools while practicing measuring and safety.


Step-by-step guide to attach buttons, snaps and hooks
How to attach snap buttons - Step-by-Step for beginners
Step 1
Wash your hands so your sewing stays clean and safe.
Step 2
Set up a tidy well-lit workspace on a flat table with your materials within reach.
Step 3
Lay your fabric flat and smooth out any wrinkles with your hands.
Step 4
Measure and mark three spots on the fabric with the ruler and fabric marker for the button the snap and the hook.
Step 5
Put a thimble on the finger you will use to push the needle to protect your finger.
Step 6
Cut an 18-inch piece of thread then thread the needle and tie a knot at the end to prepare your sewing tool.
Step 7
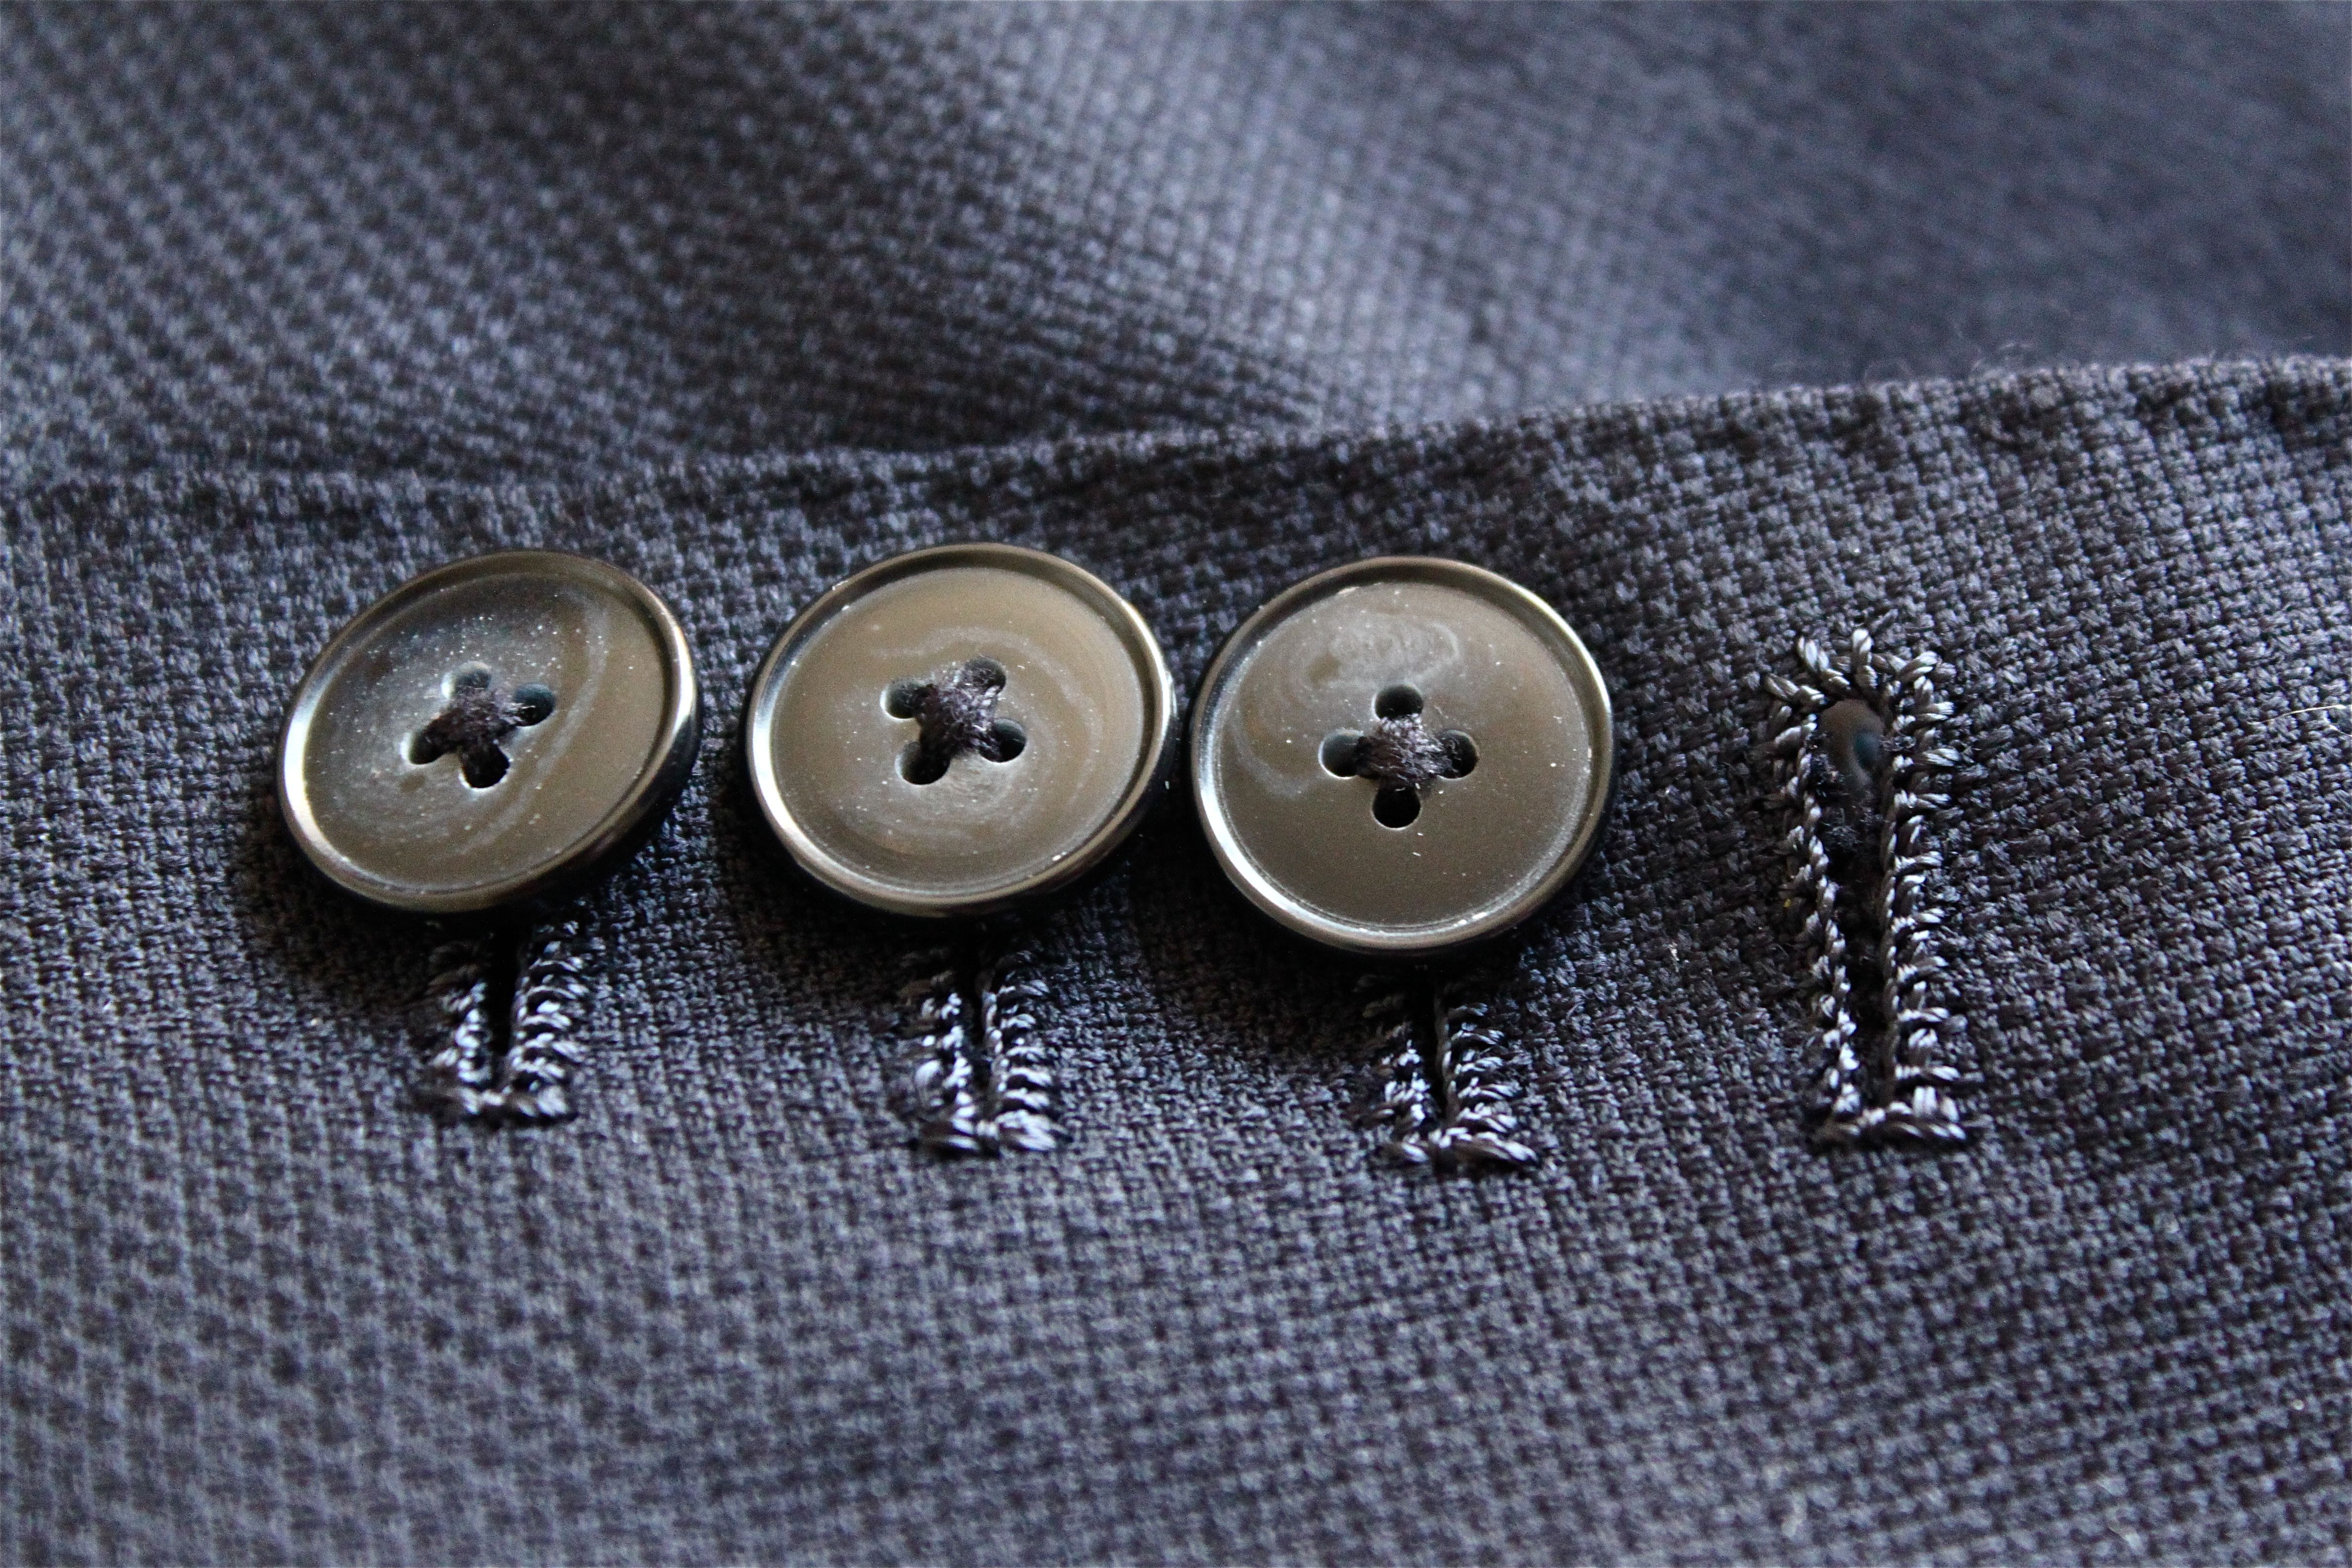
Place the button on its marked spot and push the needle from the back of the fabric up through one button hole.
Step 8
Push the needle back down through the opposite button hole and pull the thread tight to make the first stitch.
Step 9
Repeat the up-and-down stitching through the button holes three more times to secure the button firmly.
Step 10
Tie a secure knot on the back of the fabric and trim the extra thread close to the knot.
Step 11
Thread a fresh 18-inch piece of thread and tie a knot at the end to get ready for the snap.
Step 12
Place the snap top on its marked spot and stitch through the snap holes five times to attach it securely.
Step 13
Tie a secure knot at the back of the snap and trim the extra thread close to the knot.
Step 14
Thread another 18-inch piece of thread tie a knot then place the small hook on its mark and stitch through and around its loops six times to hold it tightly and then tie a knot and trim the thread.
Step 15
Share your finished button snap and hook creation on DIY.org
Help!?
What can I use if I don't have a fabric marker, thimble, or snaps and hooks?
If you don't have a fabric marker use tailor's chalk or a pencil to mark the three spots with the ruler, protect your finger with a folded bandage or a plastic thimble instead of a metal thimble, and substitute snaps or hooks with Velcro strips or safety snaps from a craft store.
My button or snap feels loose after sewing — what should I do?
If the button or snap feels loose after the instructed four stitches for the button, five for the snap, or six for the hook, sew additional passes through the holes with a double thread, pull each stitch tight, and finish with a secure knot as described in the steps.
How can I adapt this activity for different ages or skill levels?
For younger children use blunt plastic needles, larger buttons, pre-cut shorter threads and adult supervision with fewer stitches, while older kids can use finer thread, precise measuring with the ruler and fabric marker, and decorative stitching techniques.
How can we extend or personalize the finished button, snap, and hook project?
Personalize and strengthen your finished piece before sharing on DIY.org by adding a small fabric patch behind the button and snap, using colorful embroidery floss to stitch decorative patterns around the marked spots, or sewing on extra buttons and beads.
Watch videos on how to attach buttons, snaps and hooks
15+ Ways To Add Buttons To Cards And Paper Crafts
4 Videos
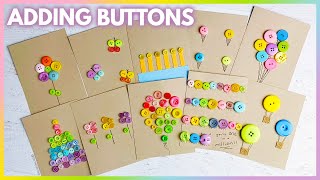
15+ Ways To Add Buttons To Cards And Paper Crafts
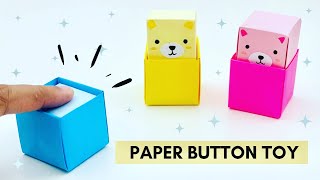
How To Make Paper Button Toy For Kids / Moving Paper Toy / Paper Craft Easy / KIDS crafts
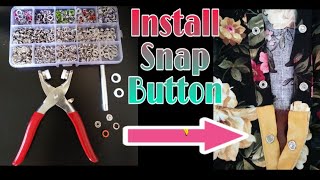
How to Attach a Snap Button

How To Attach Snaps to Clothing
Facts about hand-sewing for kids
🧵 Buttons have been used for over 4,000 years — archaeologists found decorated button-like fasteners in the Indus Valley from around 2000 BCE!
⚡ Snap fasteners are built to last: heavy-duty snaps can be opened and closed thousands of times, which is why they’re popular on baby clothes and outerwear.
🪝 The simple hook-and-eye was a favorite fastener before zippers — a few neat stitches and it can hold a garment securely for years.
📏 Measuring and marking fabric before sewing is a superpower — ‘measure twice, sew once’ helps your buttons and hooks line up perfectly.
🧤 Using a thimble and a pincushion keeps fingers safe and makes pushing a needle much easier during stitching.
How do I teach my child to sew buttons, snaps, and hooks onto fabric?
What materials do I need to sew buttons, snaps, and hooks with my child?
What ages is learning to sew buttons, snaps, and hooks suitable for?
What are the benefits of teaching children to sew buttons, snaps, and hooks?
