Use hatching in a drawing
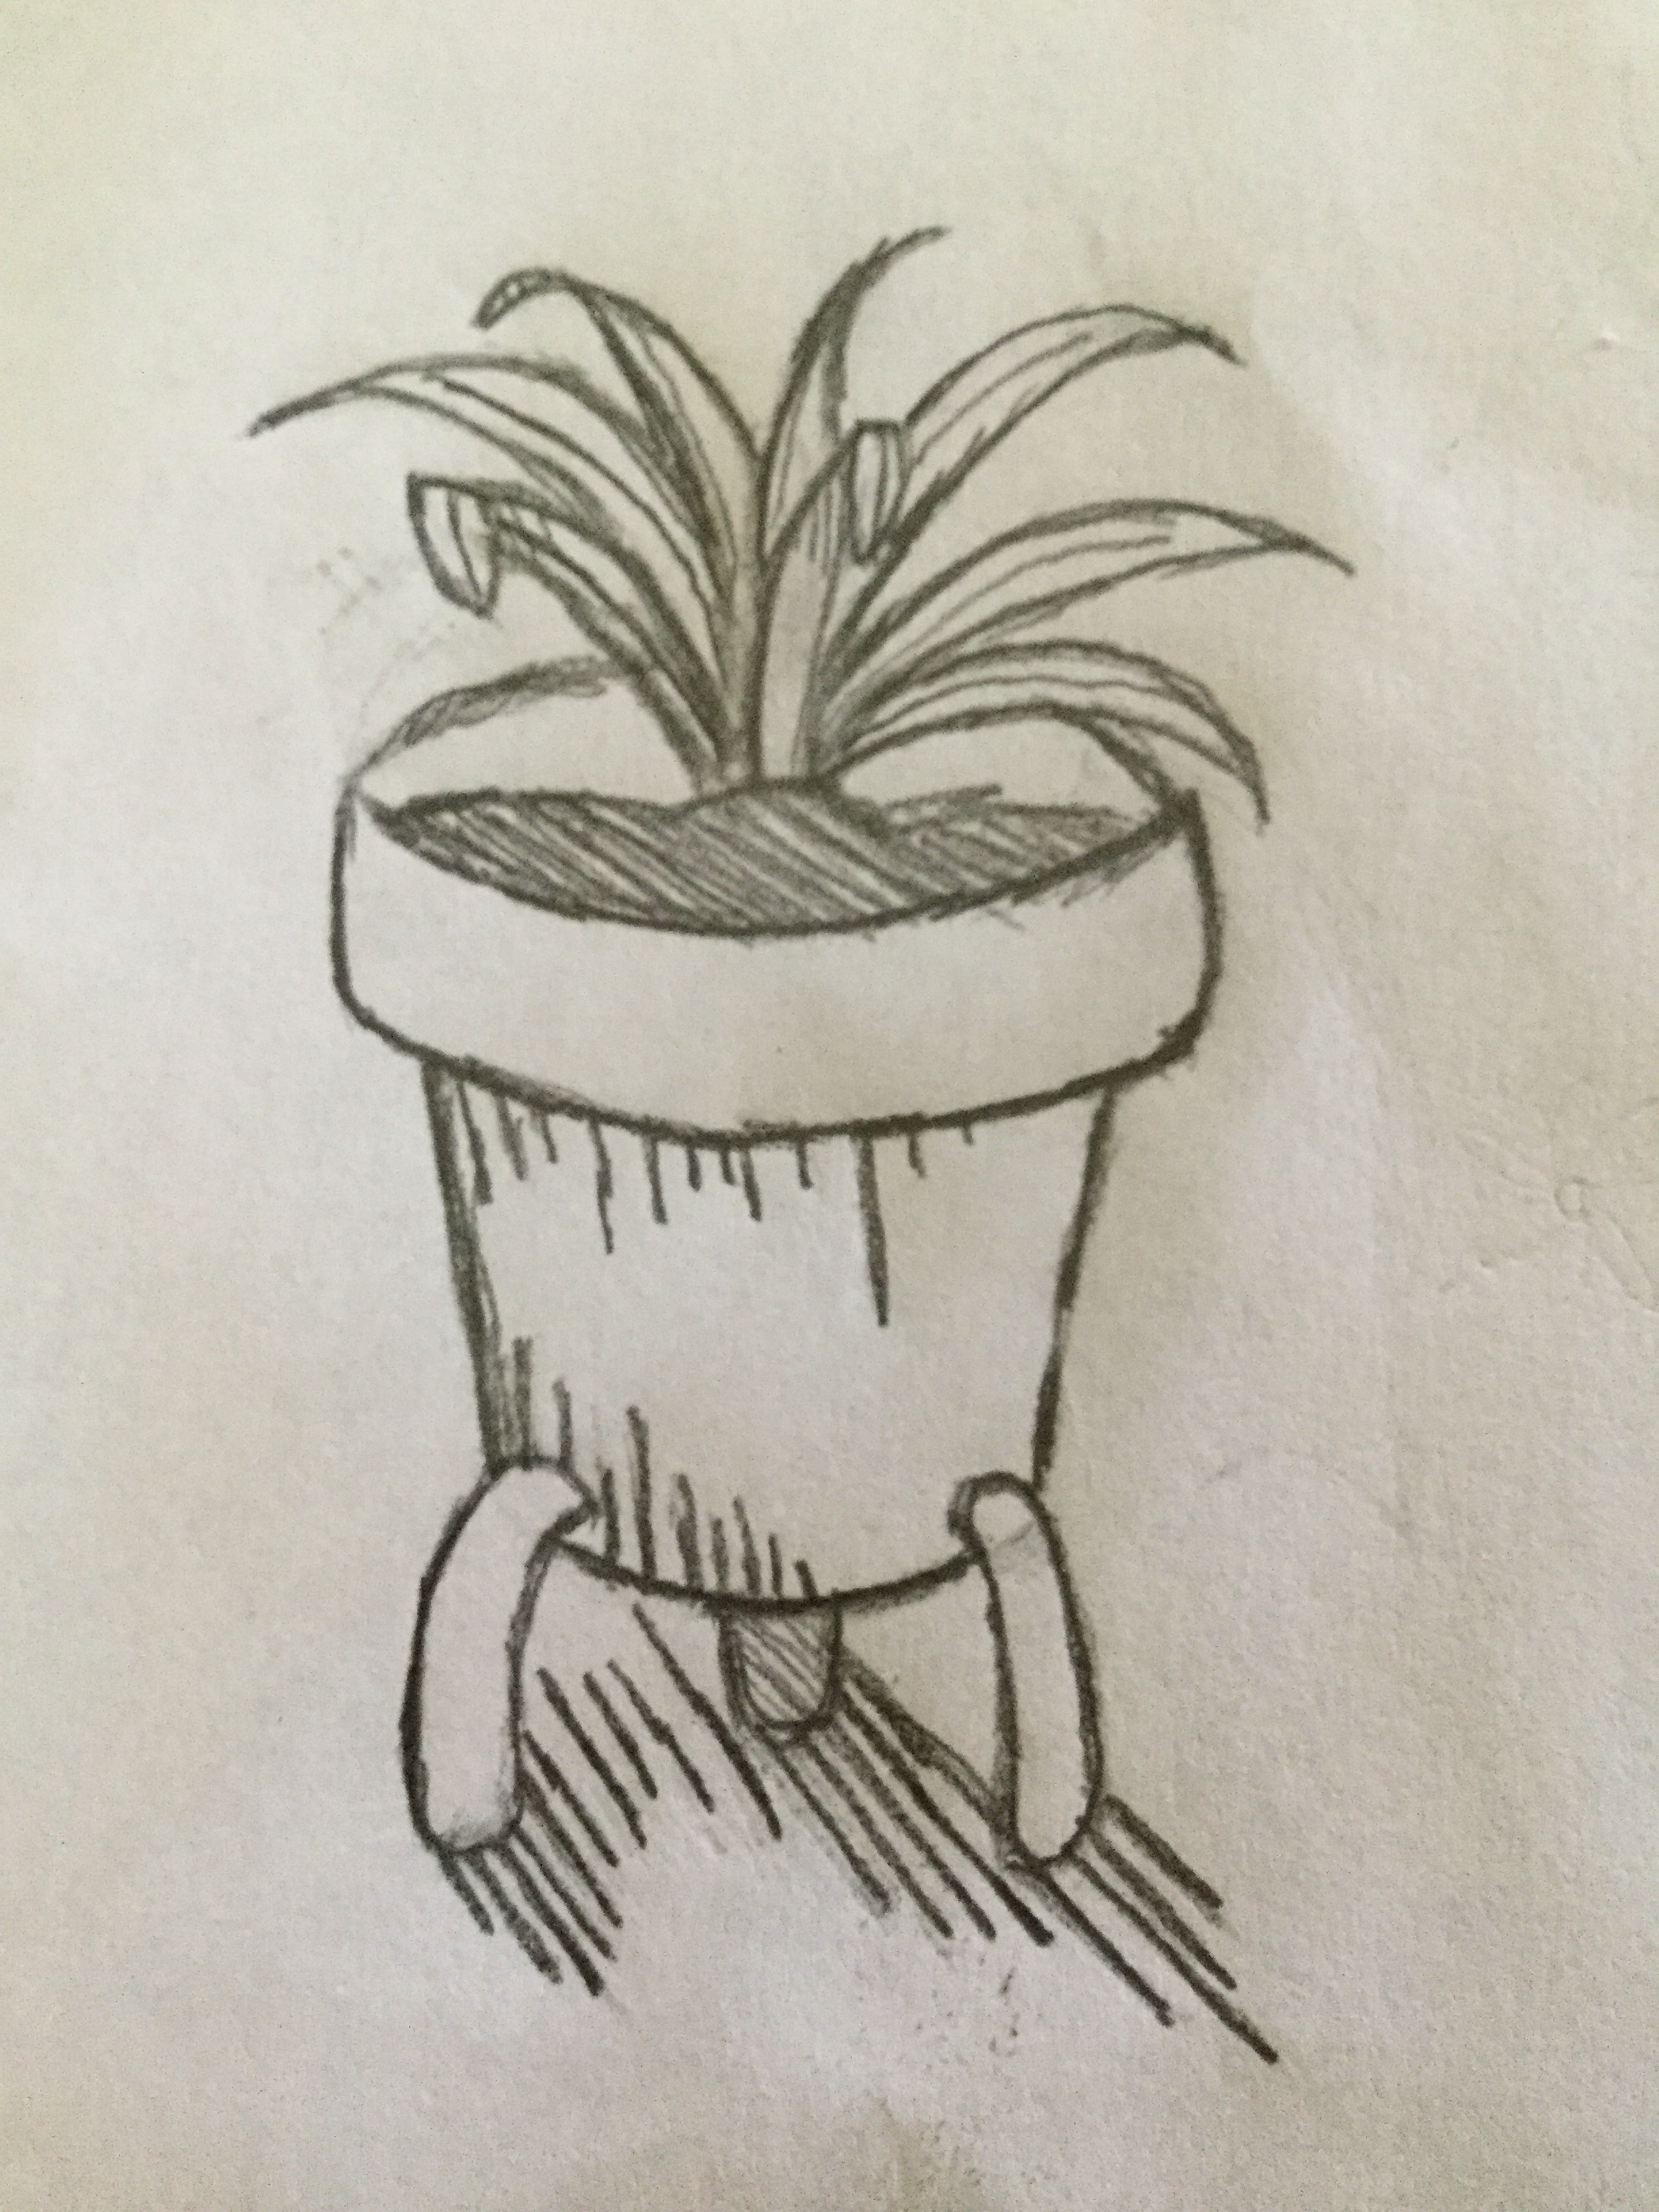
Create a shaded pencil drawing using hatching and cross-hatching techniques. Practice line direction, pressure, and spacing to show light and shadow.

Drawing Apps
Step-by-step guide to create a shaded pencil drawing using hatching and cross-hatching
Step 1
Place a simple object (like an apple or mug) in front of you to draw.
Step 2
Lightly sketch the basic outline of the object on your paper using a faint pencil stroke.
Step 3
Decide where the light is coming from and draw a small arrow outside the object to show the light direction.
Step 4
Lightly mark three zones on your sketch: light area, mid-tone area, and shadow area.
Step 5
On scrap paper practice making even parallel lines (hatching) with different spacings and pencil pressures.
Step 6
On scrap paper practice cross-hatching by adding another set of parallel lines at an angle to the first set.
Step 7
Use light widely spaced hatching strokes on the light areas of your drawing following the shape of the object.
Step 8
Use closer, slightly darker hatching strokes for the mid-tone areas to build more value.
Step 9
Add cross-hatching with heavier pressure in the darkest shadow areas to deepen the tone.
Step 10
Draw the cast shadow on the surface using hatching lines that point away from the light source.
Step 11
Soften any harsh edges by using lighter, thinner hatching where two tones meet.
Step 12
Lightly lift small highlights with your eraser where the light hits the object most.
Step 13
Share your finished drawing on DIY.org
Help!?
What can we use if we don't have scrap paper, different pencils, or an eraser for practicing hatching and lifting highlights?
If you don't have scrap paper or a kneaded eraser, use the back of used printer paper or a cereal-box panel for practice (step 5) and lift small highlights (step 11) by gently rubbing with a clean tissue or the rounded tip of a cotton swab after drawing with a regular pencil.
My hatching looks messy or the tones don't blend—what should I do?
If hatching looks messy or tones don't blend, follow step 5 to practice even parallel lines on scrap paper, gradually change spacing and pencil pressure between your light, mid-tone, and shadow zones (steps 6–8), and soften harsh edges using lighter, thinner hatching (step 10) or by lifting highlights with your eraser (step 11).
How can I adapt this hatching activity for younger or older children?
For younger kids, use a chunky pencil or crayon, simplify to two zones (light and shadow) and make wide, bold hatched strokes following the object's shape (steps 1–6), while older children should keep the three-zone system, practice cross-hatching on scrap paper (steps 5–7), and refine pressure to create subtle mid-tones and erased highlights (steps 8–11).
How can we extend or personalize the drawing after finishing the basic hatching?
Extend the activity by drawing the same object under different light directions (step 3), experimenting with colored pencils or textured paper to change how your hatch marks read, making a comparison of practice sheets versus the final drawing, and then sharing your favorite result on DIY.org (step 12).
Watch videos on how to create a shaded pencil drawing using hatching and cross-hatching
HATCHING TUTORIAL - How to use parallel, contour and cross hatching for shading and form
4 Videos
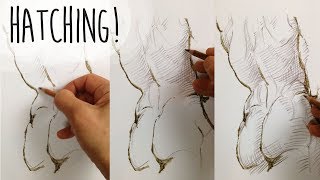
HATCHING TUTORIAL - How to use parallel, contour and cross hatching for shading and form
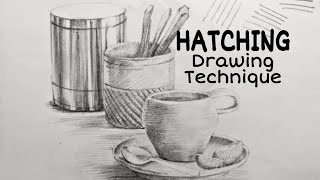
Hatching Drawing Technique Tutorial
Hatching Drawing Lesson

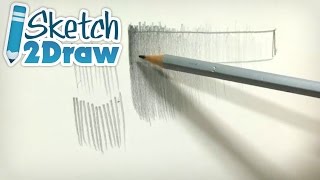
4 Easy Hatching Techniques for Beginner Drawing | Drawing Tips & Tricks
Facts about pencil shading and hatching techniques
✏️ Artists choose pencil grades (H = harder, B = softer) to control how dark or light their hatching looks.
🎨 Cross-hatching works by layering lines at different angles — more layers = darker tone without smudging.
🖼️ Albrecht Dürer, a Renaissance master, used extremely fine cross-hatching in engravings to create rich textures and depth.
👀 Our eyes read value (light and shadow) more strongly than color, so hatching is a powerful way to show form and depth.
📐 Changing line spacing, direction, and pressure is like mixing a gray scale from lines — tightly spaced lines look darker, widely spaced ones look lighter.
How do I teach my child to create a shaded pencil drawing using hatching and cross-hatching?
What materials do we need to practice hatching and cross-hatching with pencils?
What ages is hatching and cross-hatching drawing suitable for?
What are the benefits of practicing hatching and cross-hatching with children?
