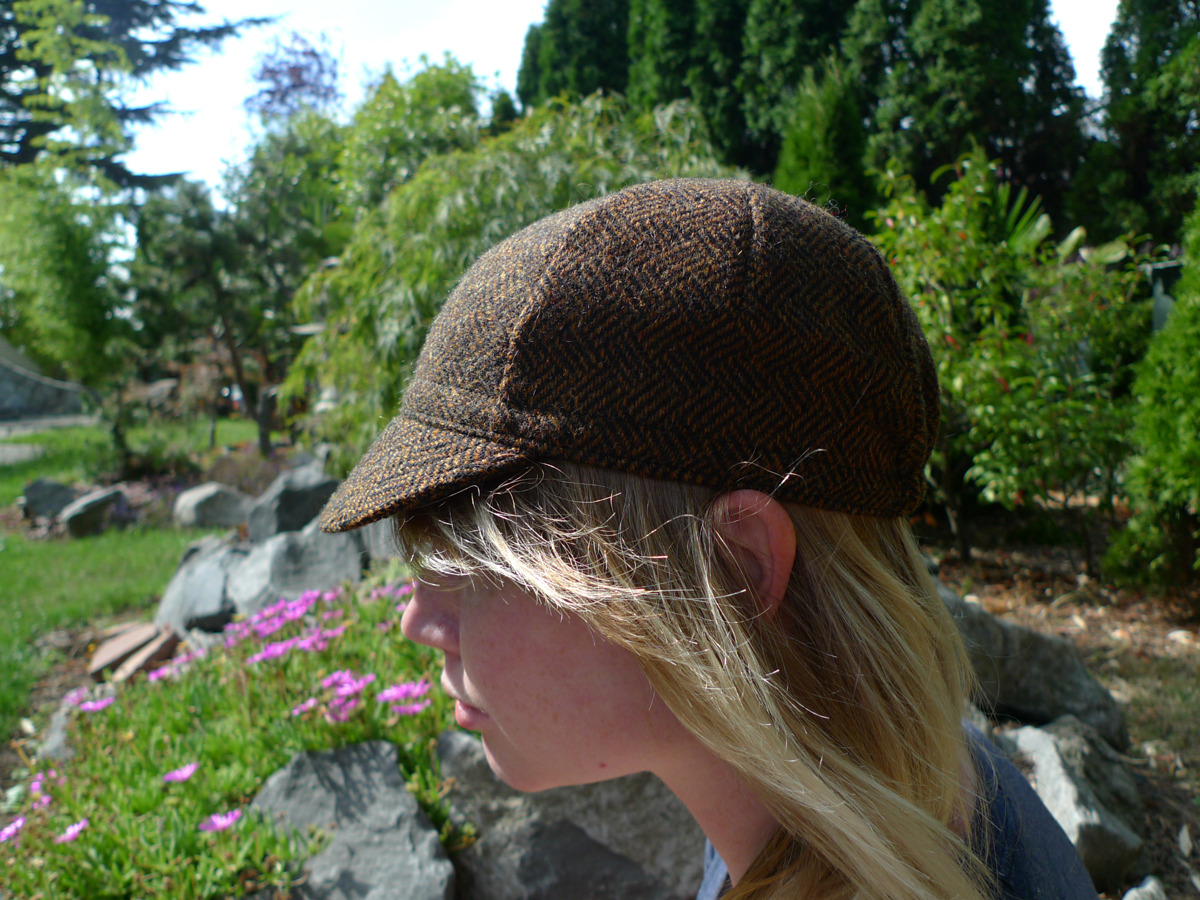
Sew a hat
Sew a simple fabric hat using basic stitches, measure and cut patterns, pin pieces together, and practice hand sewing or machine sewing safely.


Step-by-step guide to sew a simple fabric hat
Learn how to Sew these ADORABLE Kid's Winter Hats. They are so easy to make!
Step 1
Measure the head circumference and the desired hat height with the measuring tape and write both numbers down.
Step 2
Fold the fabric in half with the right sides (the pretty sides) facing each other and smooth out wrinkles.
Step 3
Draw a rectangle on the folded fabric with the fabric marker using this formula: width = head circumference + 1 inch and height = hat height + 2 inches.
Step 4
Cut the rectangle along your drawn lines using the fabric scissors.
Step 5
Practice a running stitch and a whipstitch on the scrap fabric for about five minutes to warm up your sewing hand.
Step 6
Pin the two short edges of the rectangle together with the right sides facing so the raw edges match.
Step 7
Sew the pinned short edges together with a 1/2 inch seam allowance using your needle and thread or sewing machine while keeping fingers away from the needle.
Step 8
Turn the fabric tube so the seam is centered along one side.
Step 9
Fold the bottom edge up to make a cuff about 1 inch wide and pin the cuff in place.
Step 10
Sew the cuff down along the edge with small stitches so the cuff stays folded.
Step 11
Thread a needle and sew one running stitch around the open top edge of the hat, keeping the stitch line even.
Step 12
Pull the running stitch tight to gather the top closed and tie a secure knot to fasten it.
Step 13
Trim any loose threads with the scissors so your hat looks neat.
Step 14
Turn the hat right-side out and try it on to check the fit and make small adjustments if needed.
Step 15
Share a photo of your finished hat and tell what you learned on DIY.org.
Help!?
What can I use if I don't have a measuring tape, fabric marker, or fabric scissors?
Use a piece of string and a ruler to take the head circumference and hat height, mark the rectangle on the folded fabric with tailor's chalk or a pencil, and cut along your drawn lines with sharp household scissors if you don't have fabric scissors.
My gathered top won't close evenly—what should I check or do?
Make sure your running stitch is spaced evenly all the way around the open top edge, remove any pins, gently slide and distribute the fabric gathers before you pull the thread tight, then tie a secure knot as instructed.
How can I adapt this hat-sewing project for different age groups?
For younger kids let them measure with the tape, decorate the folded rectangle, and watch an adult sew the pinned short edges and cuff, while older kids can practice the running stitch and whipstitch on scrap fabric then sew the seam, fold and sew the cuff, and pull the gathering themselves.
What are simple ways to personalize or improve the finished hat?
Before you tie the secure knot at the gathered top, attach a pompom or ribbon, or sew a fleece lining into the tube after cutting the rectangle and before sewing the short edges to make the hat warmer and neater.
Watch videos on how to sew a simple fabric hat
Easy Sew DIY Fleece Hat | Welcome to Nana's
4 Videos
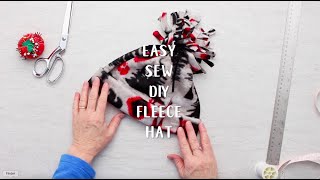
Easy Sew DIY Fleece Hat | Welcome to Nana's

DIY Bucket Hat | Best Fitting | Simple Sewing Tutorial

How to Sew a Classic Sailor Hat | Step-by-Step Tutorial

It's Sew Easy! Stylish Pom Pom Hats. Step by Step Tutorial
Facts about basic sewing and textile crafts for kids
🧵 Many sewing projects use a seam allowance of about 1/4 to 5/8 inch — that extra fabric keeps seams strong!
🎩 Millinery is the art of hat making; milliners design and build hats, trims, and decorations.
✂️ A simple fabric hat can often be made from just three pattern pieces: the crown, the band, and the brim (for brimmed styles).
🪡 Thimbles have been used for centuries to protect fingers while hand-sewing — Romans made metal thimbles over 2,000 years ago.
🧷 The first practical sewing machine patent was awarded to Elias Howe in 1846, which helped make garment-making much faster.
How do I help my child sew a simple fabric hat step by step?
What materials and tools do I need to sew a child's fabric hat?
What ages is this hat sewing activity suitable for?
What safety tips should I follow when sewing a hat with my child?
