Build a DIY Green House
Build a small DIY greenhouse from recycled plastic bottles and cardboard, plant seeds, measure growth, and observe how warmth and moisture help plants thrive.


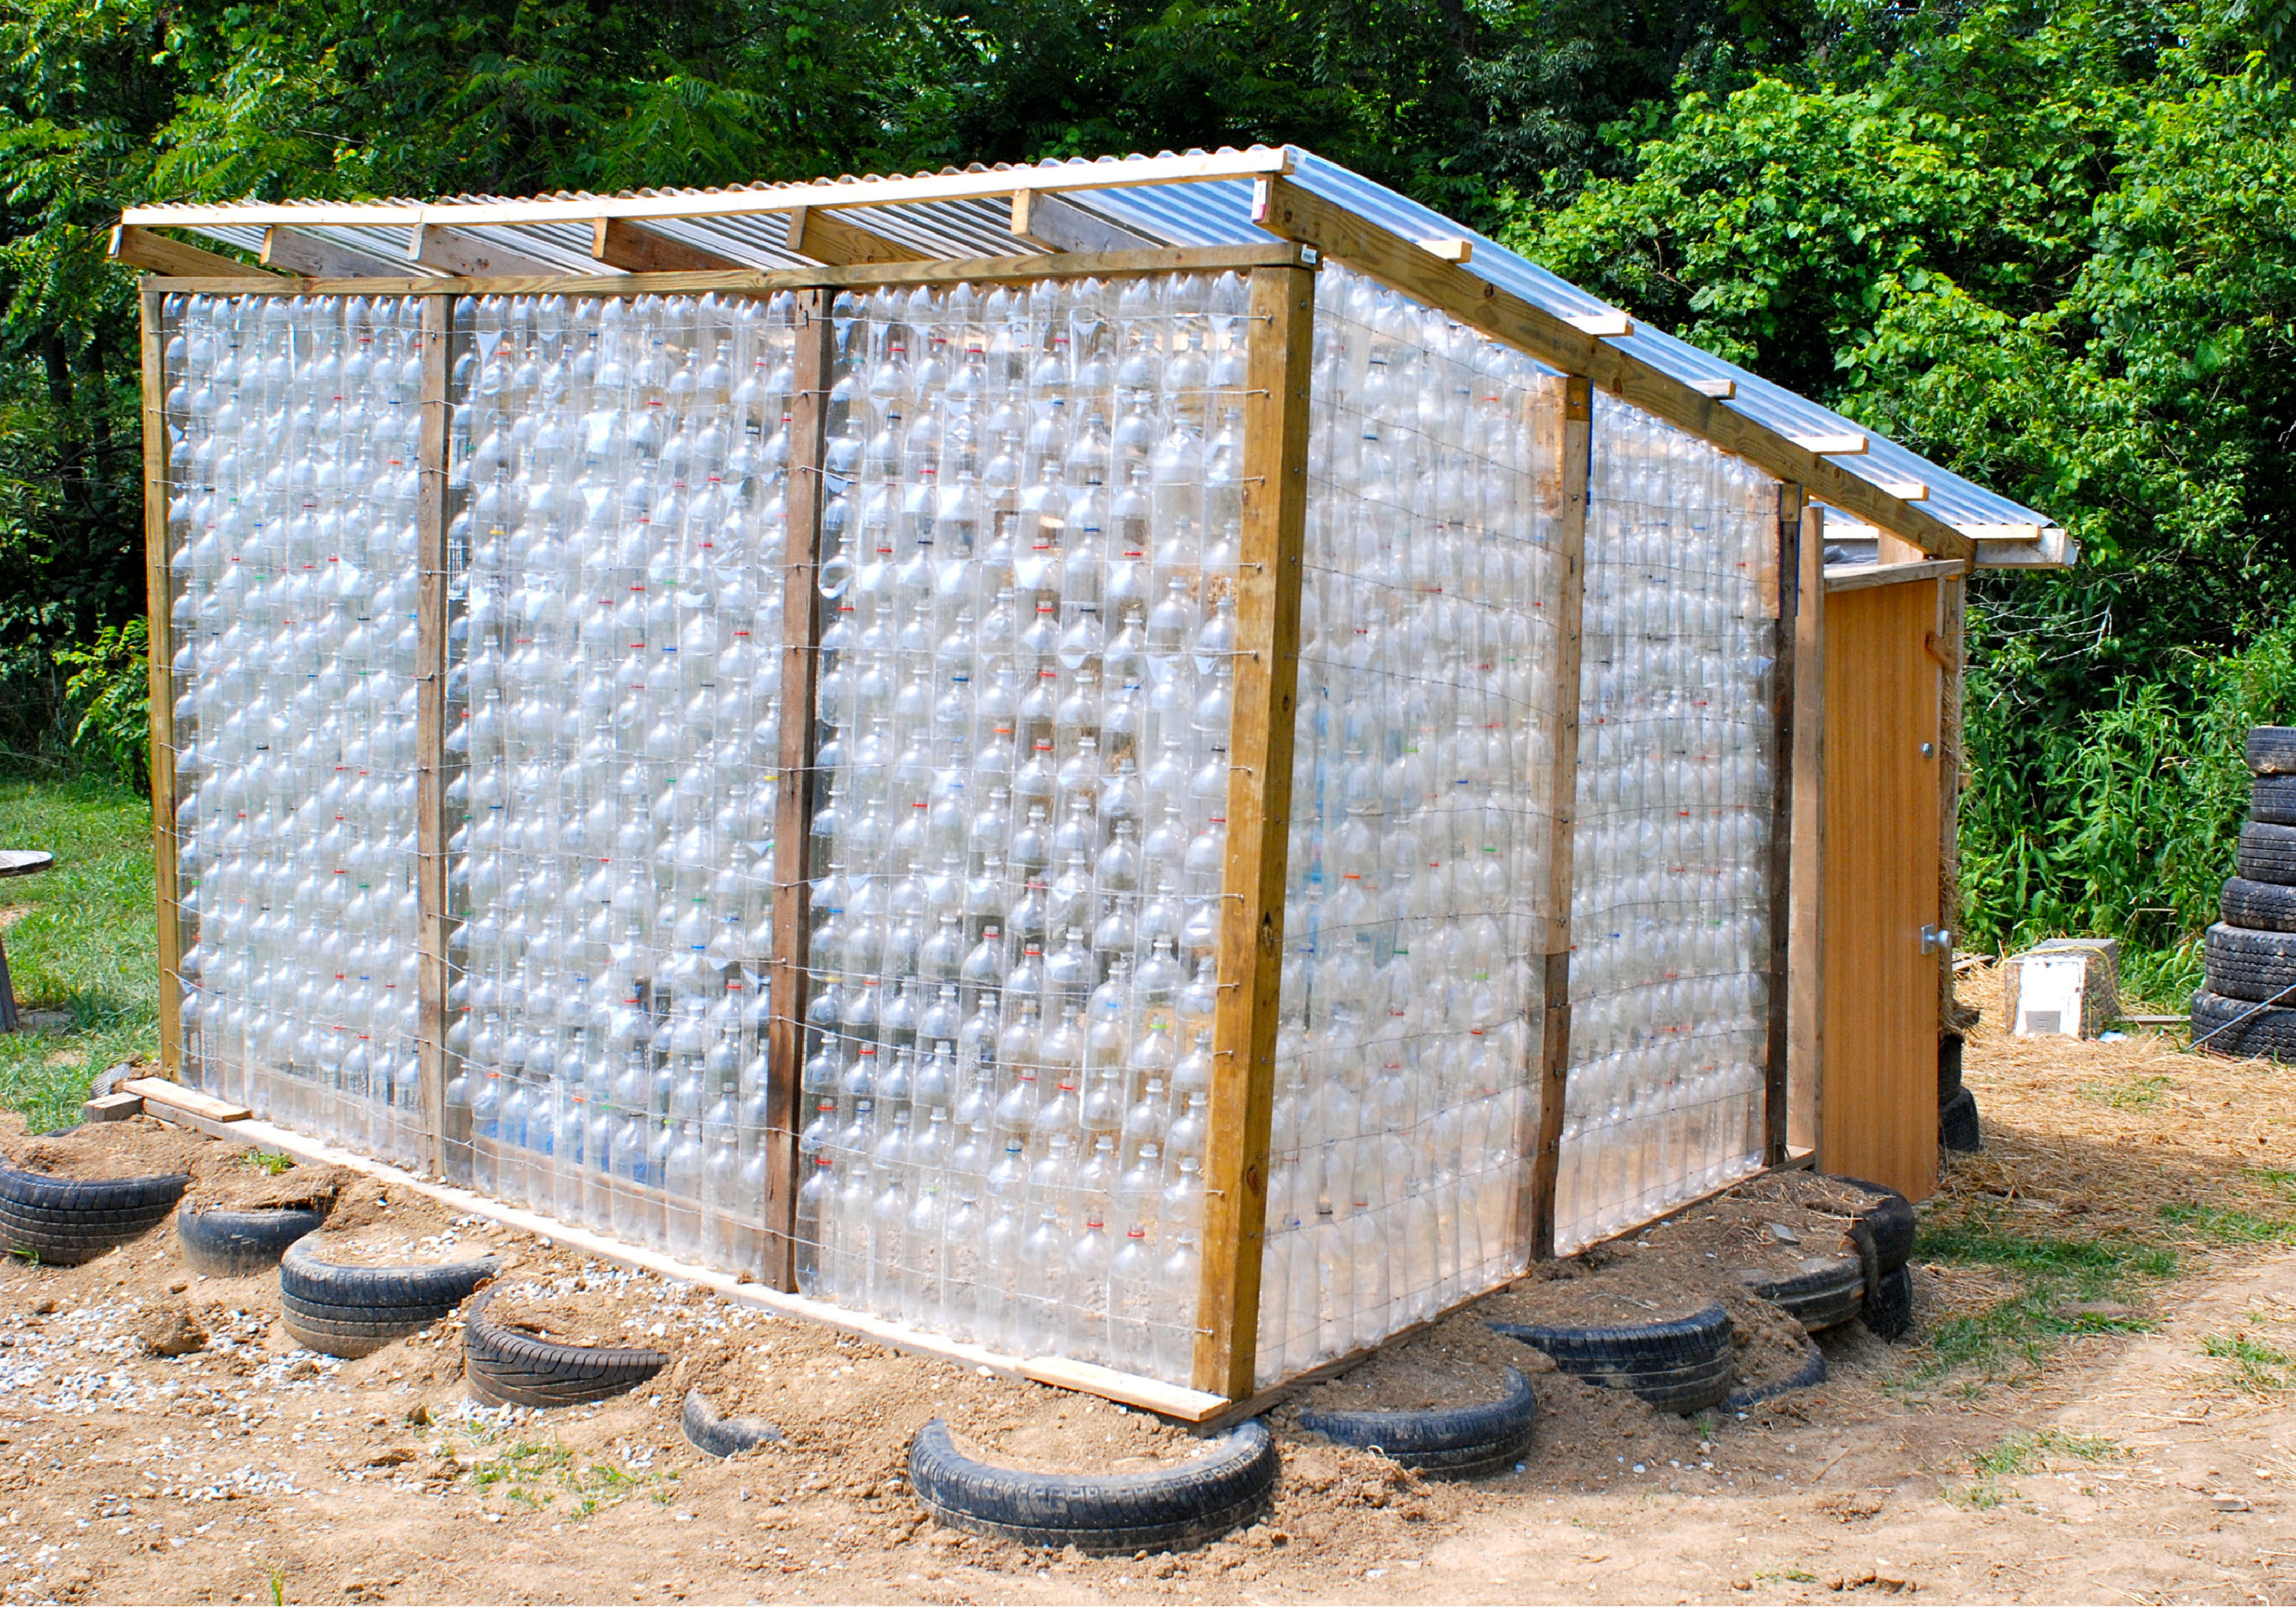

Step-by-step guide to build a DIY greenhouse
Step 1
Gather all Materials Needed and bring them to a clean flat workspace.
Step 2
Rinse each plastic bottle inside and out and let them dry.
Step 3
With adult supervision cut each bottle into two parts so you have clear tops and bottoms to use as lids and pots.
Step 4
Cut the cardboard into a flat tray shape slightly larger than your bottle bottoms.
Step 5
Tape or glue the bottle bottoms onto the cardboard so they stand up as little pots.
Step 6
Put a small layer of rocks or pebbles into the bottom of each bottle pot for drainage.
Step 7
Fill each bottle pot with potting soil leaving about one finger width from the top.
Step 8
Use your marker and notebook to write the date and the type of seed for each pot.
Step 9
Press two or three seeds into the soil of each pot and cover them gently with a thin layer of soil.
Step 10
Water each pot lightly so the soil is just damp but not soaking wet.
Step 11
Place the clear bottle tops over each pot to make warm moist domes that trap heat and humidity.
Step 12
Put your cardboard tray on a sunny windowsill then use the ruler to measure the soil surface to the rim as a starting height and write that number and the date in your notebook.
Step 13
Check your mini greenhouse every day feel the soil for moisture and every two or three days measure and write each seedling height plus a short note about how warm or moist the dome feels.
Step 14
Share a photo or description of your finished DIY greenhouse and what you observed on DIY.org
Help!?
What can we use instead of clear plastic bottles if they're hard to find?
Use clean clear takeout food containers, plastic deli cups, or glass jars as the bottle tops and bottoms by cutting or inverting them in step 3 and using them as lids and pots, and remember to add pebbles for drainage as in step 5.
My seeds haven't sprouted after two weeks — what common steps might have gone wrong and how do I fix it?
Check that you followed step 9 (watered only lightly), step 12 (placed the tray on a sunny windowsill), and step 5 (added drainage pebbles); if the soil is soggy, air the domes for a few hours and cut back watering, and if it's too cool move the tray to a warmer spot.
How can I adapt this greenhouse project for younger children or older kids?
For younger children, have an adult handle bottle cutting in step 3 and let kids do simpler tasks like filling soil and pressing seeds, while older kids can use the ruler to take precise measurements and keep detailed daily height and humidity notes in the notebook as in steps 12–13.
What are some ways to personalize or extend the DIY greenhouse once it's growing?
Personalize by painting or labeling each bottle and tray, add a small thermometer or humidity notes to your notebook for extra data, try transplanting the strongest seedlings to larger pots later, and share photos or observations on DIY.org as suggested in the final step.
Watch videos on how to build a DIY greenhouse
How To Make a MINI GREENHOUSE At Home | Diy Project
4 Videos

How To Make a MINI GREENHOUSE At Home | Diy Project
Free Greenhouse Plans Build Video
Mini Greenhouse Build - DIY
The World's Cheapest DIY Greenhouse - Anyone Can Build It!
Facts about gardening for kids
🌡️ A mini greenhouse made from bottles and cardboard can be several degrees warmer than the outside air, which helps seeds sprout faster.
🌱 Many common vegetable seeds (like lettuce, radish, and mustard) can germinate in as little as 3–10 days when kept warm and moist.
♻️ Reusing a single 2-liter plastic bottle as a cold frame or cloche gives it a second life and keeps plastic out of the trash.
💧 A closed mini-greenhouse creates condensation that drips back into the soil—an automatic tiny water cycle that cuts down on watering.
📏 Measuring seedling height each week shows clear progress—young plants often grow several centimeters per week under good conditions.
How do you build a DIY greenhouse from recycled bottles and cardboard?
What materials do I need to build a recycled bottle greenhouse?
What ages is this DIY greenhouse suitable for?
What are the benefits and safety tips for a mini greenhouse project?
