Display pressed plants
Press leaves and flowers between paper, arrange and mount them into a labeled display or simple framed collage to learn plant shapes and preservation.


Step-by-step guide to display pressed plants
How to Press Flowers 💐
Step 1
Gather all the Materials Needed and set up a flat clean workspace with an adult nearby.
Step 2
Go outside or look around your home and choose several leaves and flowers you want to press.
Step 3
Gently shake each leaf and flower to remove dirt and extra water.
Step 4
Open a heavy book to a middle page so it lies flat.
Step 5
Place one sheet of plain paper on the open page of the book.
Step 6
Lay one leaf or flower flat on the paper without overlapping it with other pieces.
Step 7
Place another sheet of plain paper over the leaf or flower to cover it.
Step 8
Close the book carefully so the plant stays flat between the papers.
Step 9
Put other heavy books on top of the closed book to add weight.
Step 10
Leave the stack undisturbed for 1 to 3 weeks so the plants can dry and press fully.
Step 11
Carefully open the book and lift each pressed plant by sliding a fingertip under an edge.
Step 12
Arrange the pressed plants on your cardboard to make a display layout you like without gluing them yet.
Step 13
Glue each pressed plant to the cardboard using small dots of glue to hold it in place.
Step 14
Write each plant’s name and the date on an index card and attach the cards below the matching plant.
Step 15
Share your finished creation on DIY.org
Help!?
If I don't have a heavy book or plain paper, what can I use instead?
Use a flat wooden board or baking sheet with canned goods or bricks on top instead of a heavy book, and use parchment paper, coffee filters, or plain printer paper in place of the plain paper sheets (avoid newspaper ink) when following the step to place sheets on the open page.
My leaves turned moldy or stuck to the paper after a week—what should I do?
If plants get moldy or stick, carefully lift them off, replace any damp plain paper with dry parchment or coffee filters, increase the weight on the book, and move the stack to a warmer, drier spot to dry for another 1–2 weeks while checking weekly.
How can I adapt this activity for younger children or older kids?
For younger children have an adult pre-press specimens and let the child arrange and glue pressed plants onto cardboard with a large glue stick and stickers, while older kids can press their own plants using tweezers, attach index cards with scientific names and dates, and record habitat notes.
How can we personalize or improve our pressed plant display?
Enhance your display by arranging and gluing pressed plants onto colored cardboard, sealing them under clear contact paper or framing them for protection, adding handwritten index cards with names and dates, and photographing the finished piece to share on DIY.org.
Watch videos on how to display pressed plants
Learn How to Press Flowers...In the Microwave! | How to Press Flowers
4 Videos
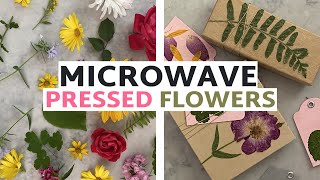
Learn How to Press Flowers...In the Microwave! | How to Press Flowers
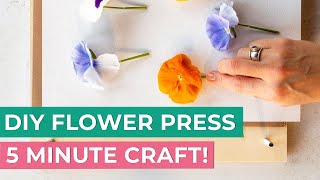
Quick Flower Press DIY: Easy Steps!
How to press flowers at home. Flower Press Kit. Craft idea for kids and adults.
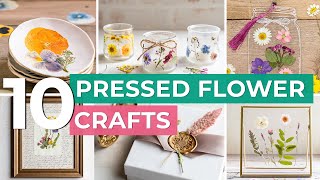
Top Pressed Flower Crafts of the Year
Facts about botany for kids
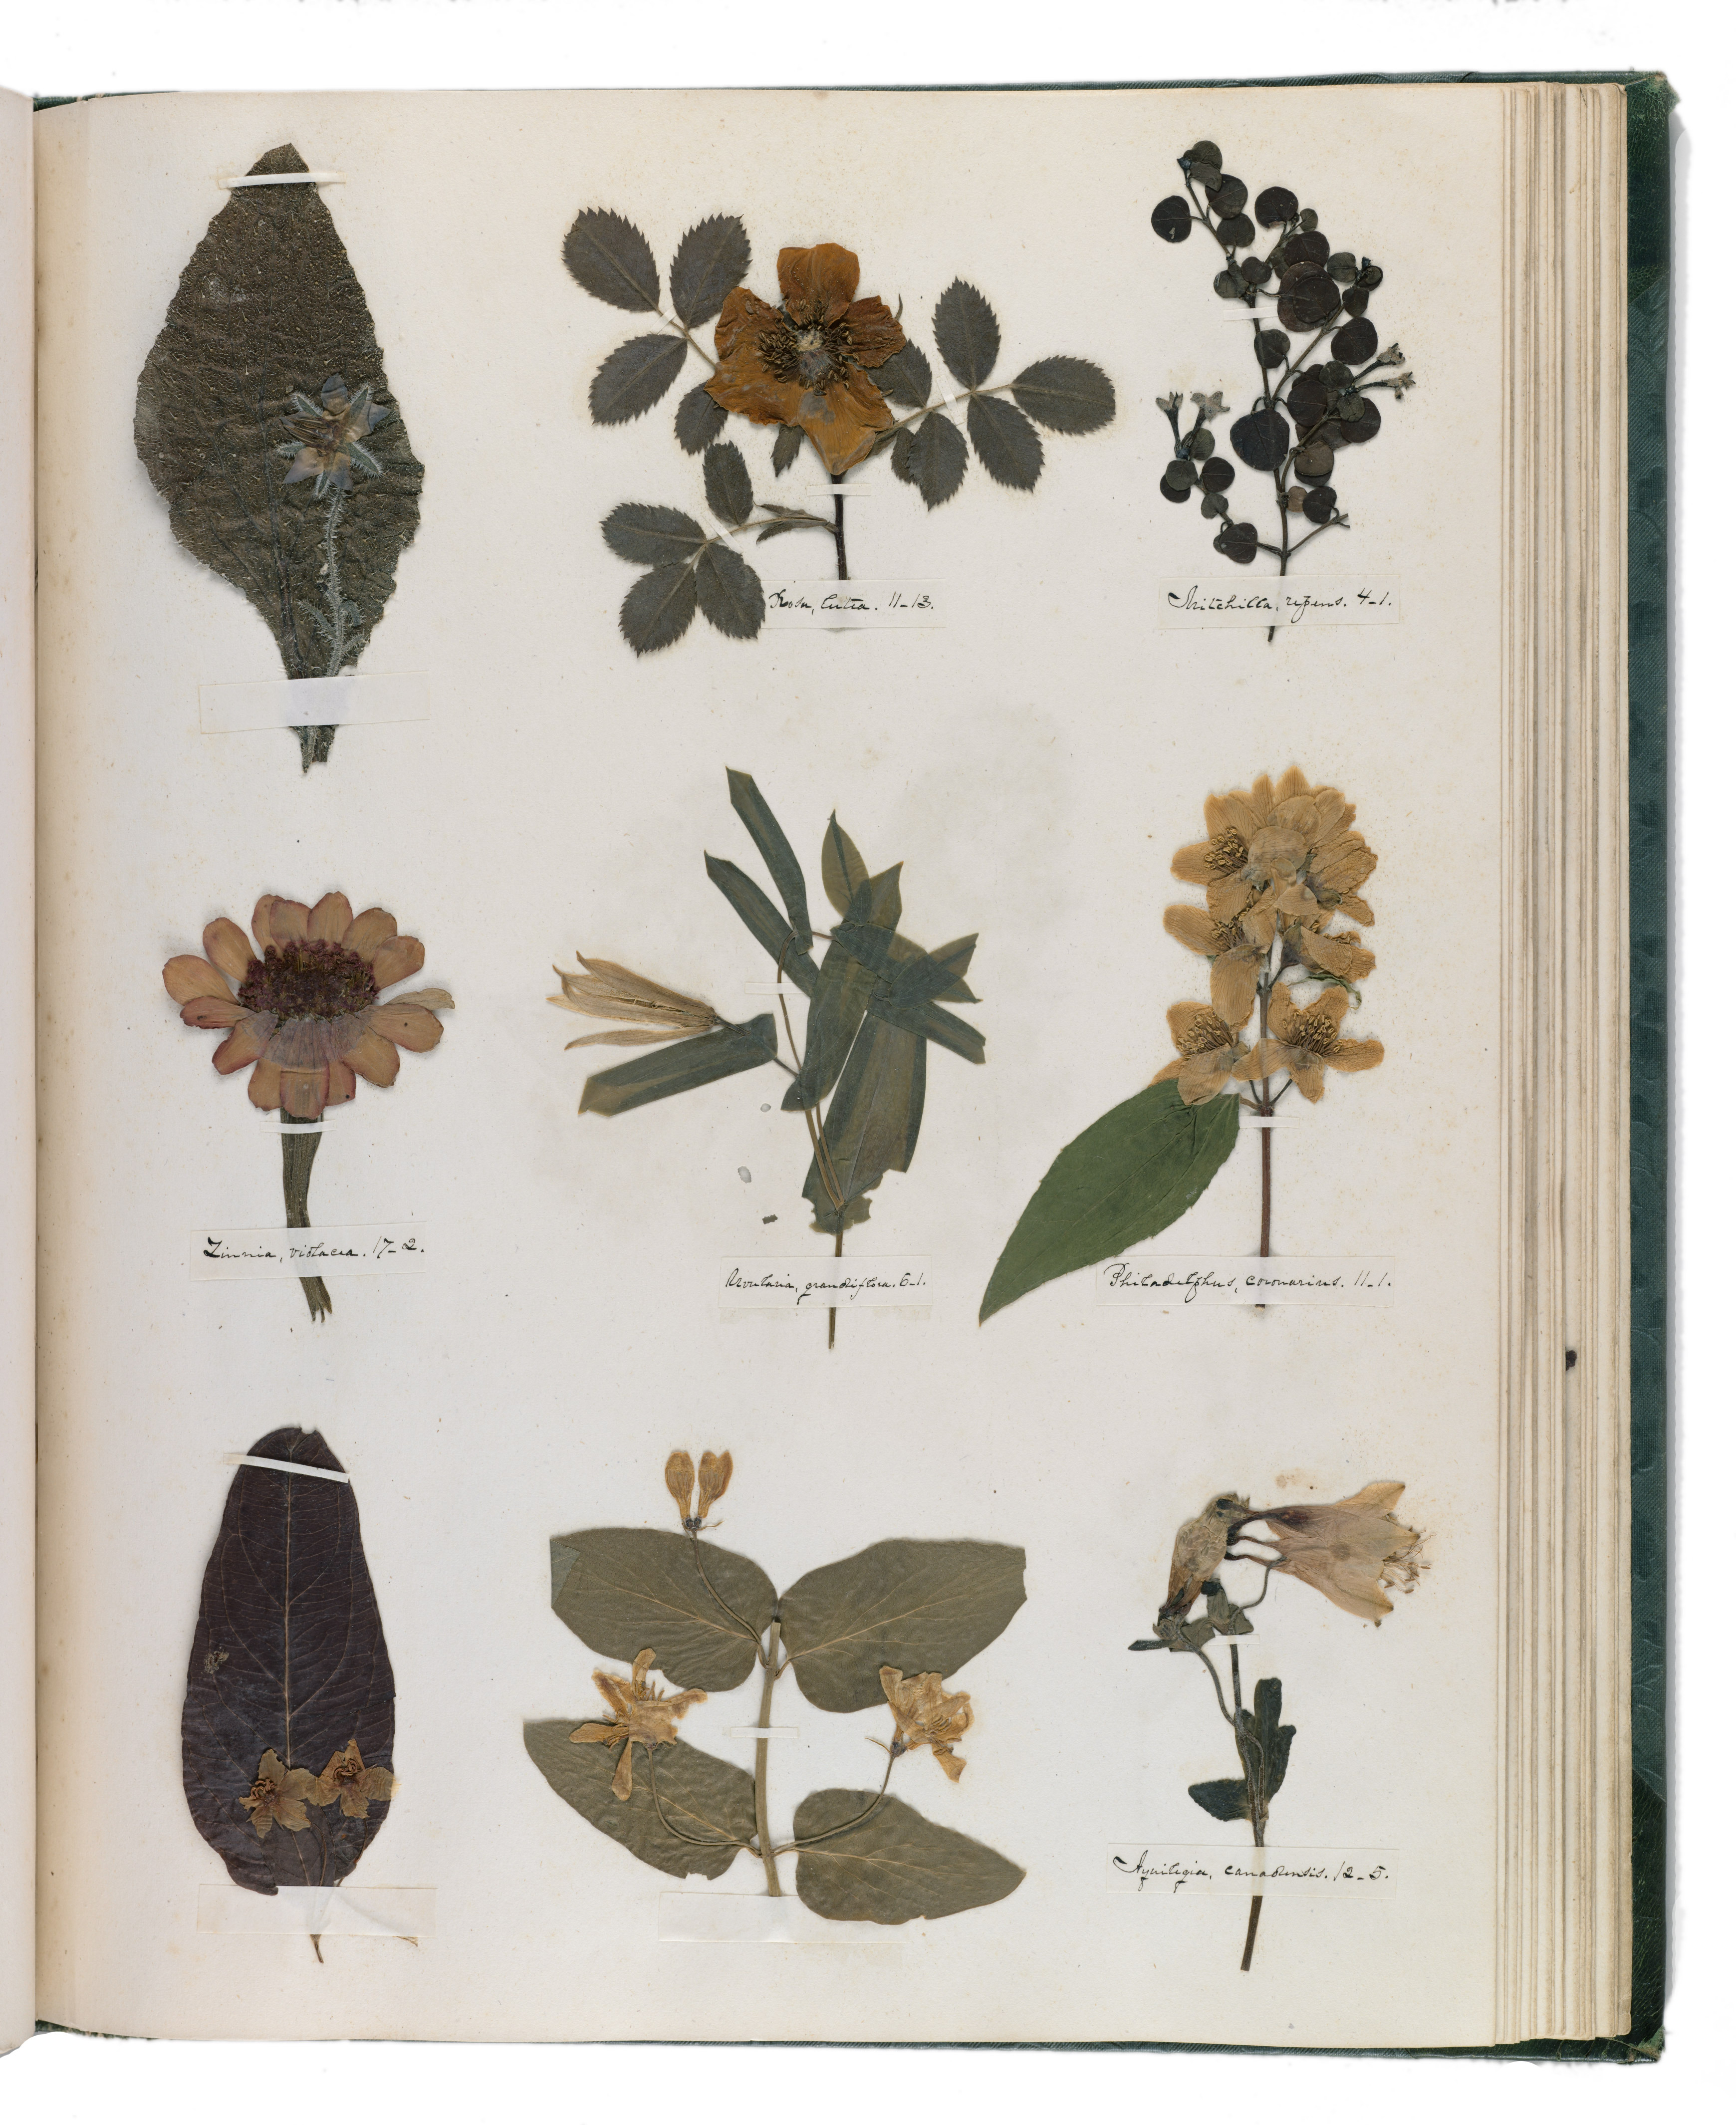
🌿 Herbarium collections—carefully pressed and labeled plants—have been made for over 500 years to study and preserve plant diversity.
📦 Some major herbaria around the world hold over a million specimens each, making them treasure troves for scientists.
⏳ Most leaves and flowers take about 1–4 weeks between absorbent papers under weight to dry flat and fully press.
🧪 Properly pressed and stored plant specimens can last for centuries and help researchers track changes in plants over time.
🏷️ Adding a label with the plant name, location and date turns a pretty pressed-flower display into a useful record for learning and ID.
How do you make a pressed plant display with your child?
What materials do I need to press leaves and flowers and make a framed collage?
What ages is pressing plants and making a labeled display suitable for?
What are the benefits of pressing plants for kids and what safety tips should parents follow?
