Make your own lures
Make colorful homemade fishing lures using spoons, beads, feathers, and non-toxic paint; learn about buoyancy, movement, and safe adult-supervised hook attachment.

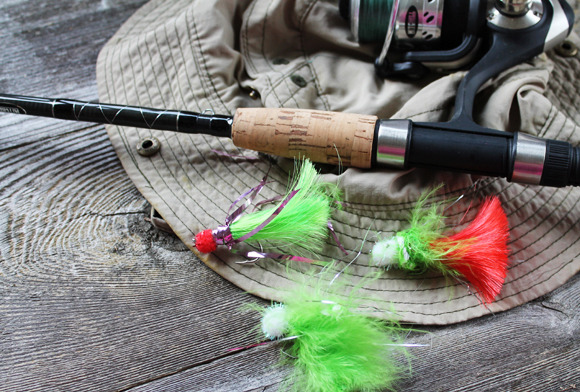

Step-by-step guide to make your own fishing lures
Make Your Own Fishing Lure from Balsa Wood: Easy DIY for Anglers and Lure Makers #handmadelure
Step 1
Lay down newspaper or an old towel to protect your table and keep your workspace tidy.
Step 2
Wash the spoon with soap and water and dry it completely with a towel.
Step 3
Paint the spoon with bright colors and fun patterns using the non-toxic paint.
Step 4
Let the paint dry completely until it is not sticky to the touch.
Step 5
Brush a thin coat of clear waterproof sealant or clear nail polish over the paint to protect it.
Step 6
Let the sealant dry completely so the paint stays shiny in the water.
Step 7
Slide a few assorted beads onto a split ring to add sparkle and weight to your lure.
Step 8
Put a small dab of waterproof craft glue on the back of the spoon handle and press a small bunch of feathers into the glue.
Step 9
Let the feather glue dry completely so the tail stays put when you fish.
Step 10
Ask an adult to use needle-nose pliers to thread the bead-loaded split ring through the spoon’s hole or handle loop and close the ring securely.
Step 11
Ask the adult to attach the small fishing hook to the split ring using pliers and make sure the ring is fully closed and tight.
Step 12
Put a small piece of adhesive tape over the hook barb until you are ready to fish to keep everyone safe.
Step 13
Test your lure in a small bowl of water and watch how it sinks and moves when you pull it through the water.
Step 14
Move beads along the ring or trim the feathers a little to change buoyancy or action, then test again until you like how it swims.
Step 15
Take a photo of your finished fishing lure and share your creation on DIY.org
Help!?
What can we use if we don't have non-toxic paint, split rings, or waterproof craft glue?
Use acrylic craft paint or permanent markers instead of non-toxic paint, a small key ring or a bent paperclip in place of a split ring, and clear nail polish or an adult-applied superglue as a substitute for waterproof craft glue.
My paint is still sticky or the feathers keep falling off—how do we fix that?
Apply thinner, even coats of the non-toxic paint and let each layer dry fully before brushing on the clear waterproof sealant or clear nail polish, and secure feathers with a small dab of waterproof craft glue and hold until set so the tail stays put.
How can we adapt this lure-making activity for different ages?
For younger kids let them wash and paint the spoon, slide large plastic beads onto a key ring and glue yarn or paper feathers while an adult uses pliers to attach the split ring and hook, and for older kids let them trim feathers, move beads to change buoyancy, and use needle-nose pliers to attach real hooks before testing in the bowl.
What are some ways to improve or personalize my finished fishing lure?
After painting and before sealing, add reflective tape or a little glitter under the clear sealant, thread extra beads or a tiny bell on the split ring to change weight and sound, trim feather shapes for different action, then photograph your creation to share on DIY.org.
Watch videos on how to make your own fishing lures
CHEAP AND EASY DIY Fishing Lures That You Can Make NOW!!!
3 Videos
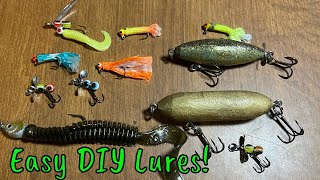
CHEAP AND EASY DIY Fishing Lures That You Can Make NOW!!!
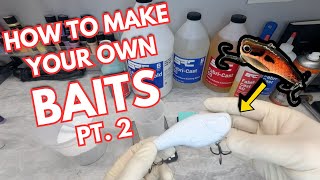
How to Make Hard Plastic Lures for Beginners - DIY Homemade Fishing Lures with Specialty Resin
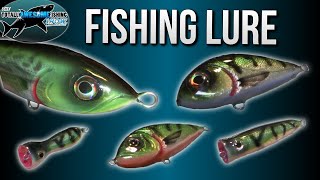
How to Make a Fishing Lure - Step by Step Guide | TAFishing
Facts about fishing tackle and lure-making
🎣 Spoon-style metal lures were inspired by kitchen spoons and have been used since the 1800s for their shiny wobble that attracts fish.
🪶 Feathers add lifelike movement to lures—fly fishers have used them for centuries to mimic insect wings and small fins.
🌊 Buoyancy decides if a lure floats, sinks, or suspends—tiny changes in weight or trapped air can completely change how it swims.
🖌️ Many acrylic and water-based paints are labeled non-toxic and dry fast, making them a kid-friendly way to decorate lures with adult supervision.
🪝 Fishing hooks are sharp—always have an adult attach hooks, use hook covers, and practice safe knot-tying away from little fingers.
How do you make homemade fishing lures?
What materials do I need to make lures at home?
What ages is this lure-making activity suitable for?
What are the benefits and safety tips for making fishing lures?
